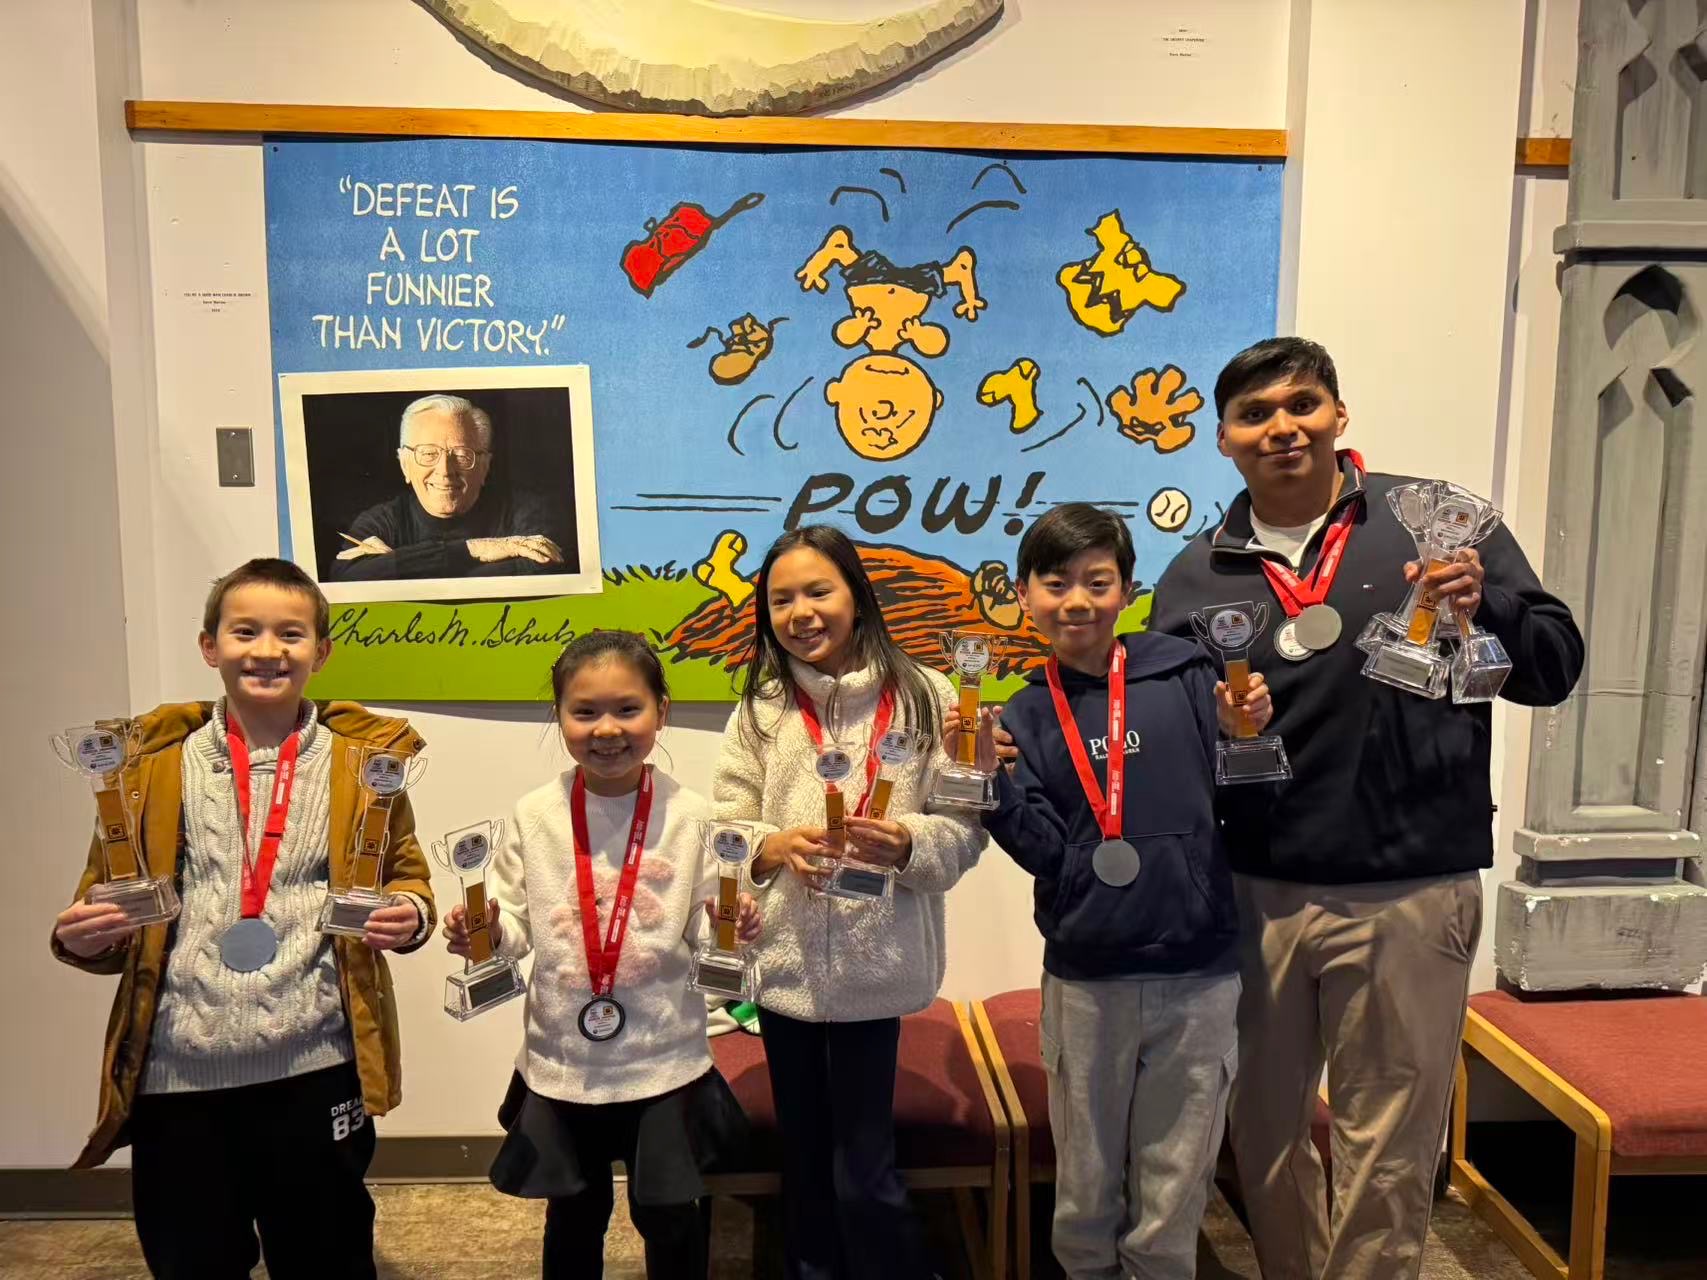
The Team: History Guardians
Recover Degrading Artifacts
We are the History Guardians
Claire, Isabella, Luke, and Mason found a real archaeology problem: artifacts and ancient writing can degrade before people can read and preserve them. From here, choose the Innovation Project or Robot Design path.
Meet the Team
Claire
I play lacrosse, and I love animals.
Isabella
I like art, fencing, and tennis.
Luke
I like to play chess and soccer.
Mason
I like to do piano and math.
SPARK Innovation Project
Innovation Project
SPARK: our Smart Portable Artifact Recovery Kit for recovering degraded words and symbols from artifacts.
Open Innovation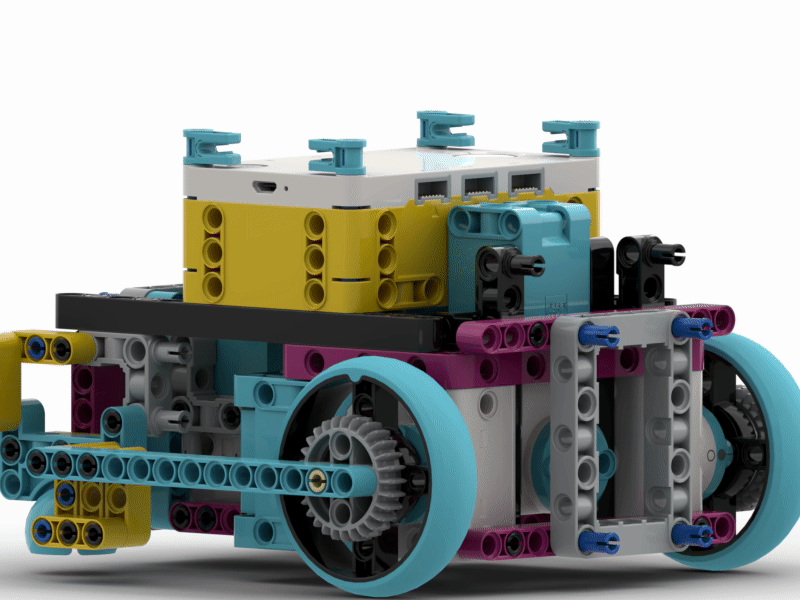
Robot Design
Our robot design evolution, mission strategy, mechanical work, programming, PID testing, and core values.
Open Robot Design