Design Evolution & Iteration
Our robot design started by identifying problems from last season. Previously, our robot used two attachment motors—one in the front and one in the back—but this setup was unstable and inefficient.
The rear motor sat at a different height, and swapping attachments often pulled off the front plate. Over the summer, we redesigned our robot using an iterative process.
Last Year's Motor Setup Issues

Front and back motors at different heights created instability and made attachment swaps difficult.
Motor Placement Options (Collage)
We tested multiple motor placements and orientations. Click any thumbnail to enlarge.


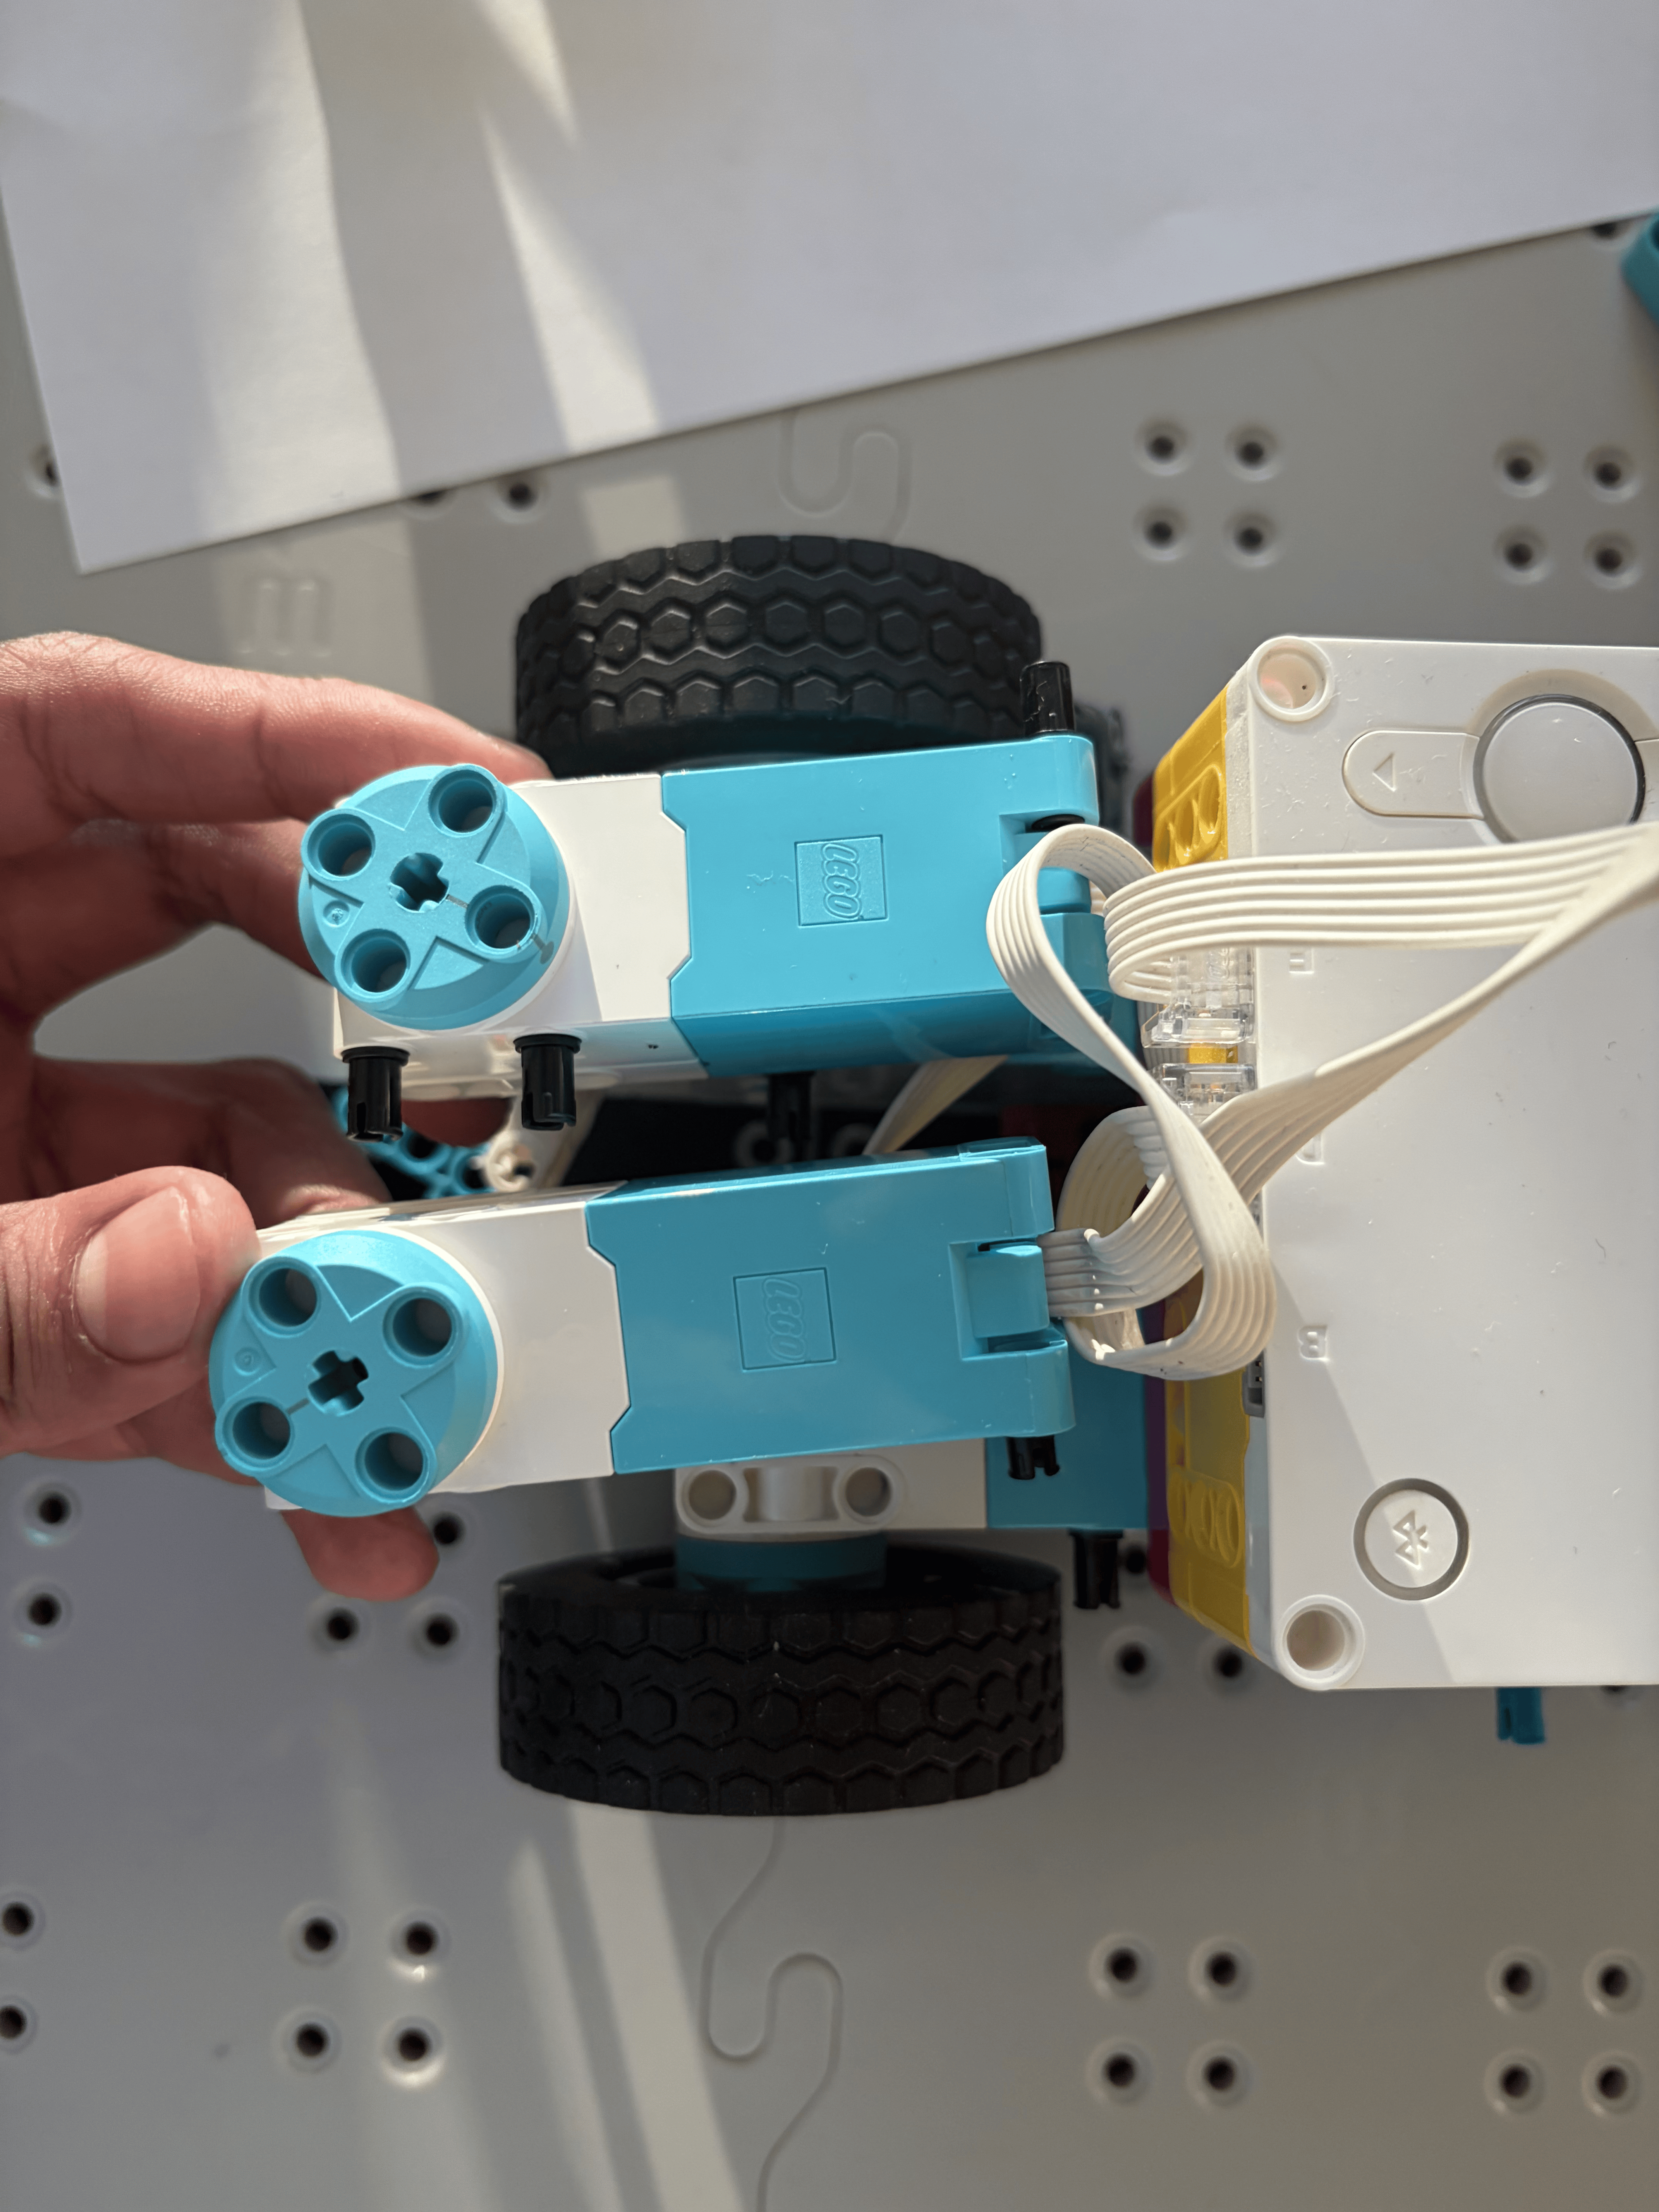
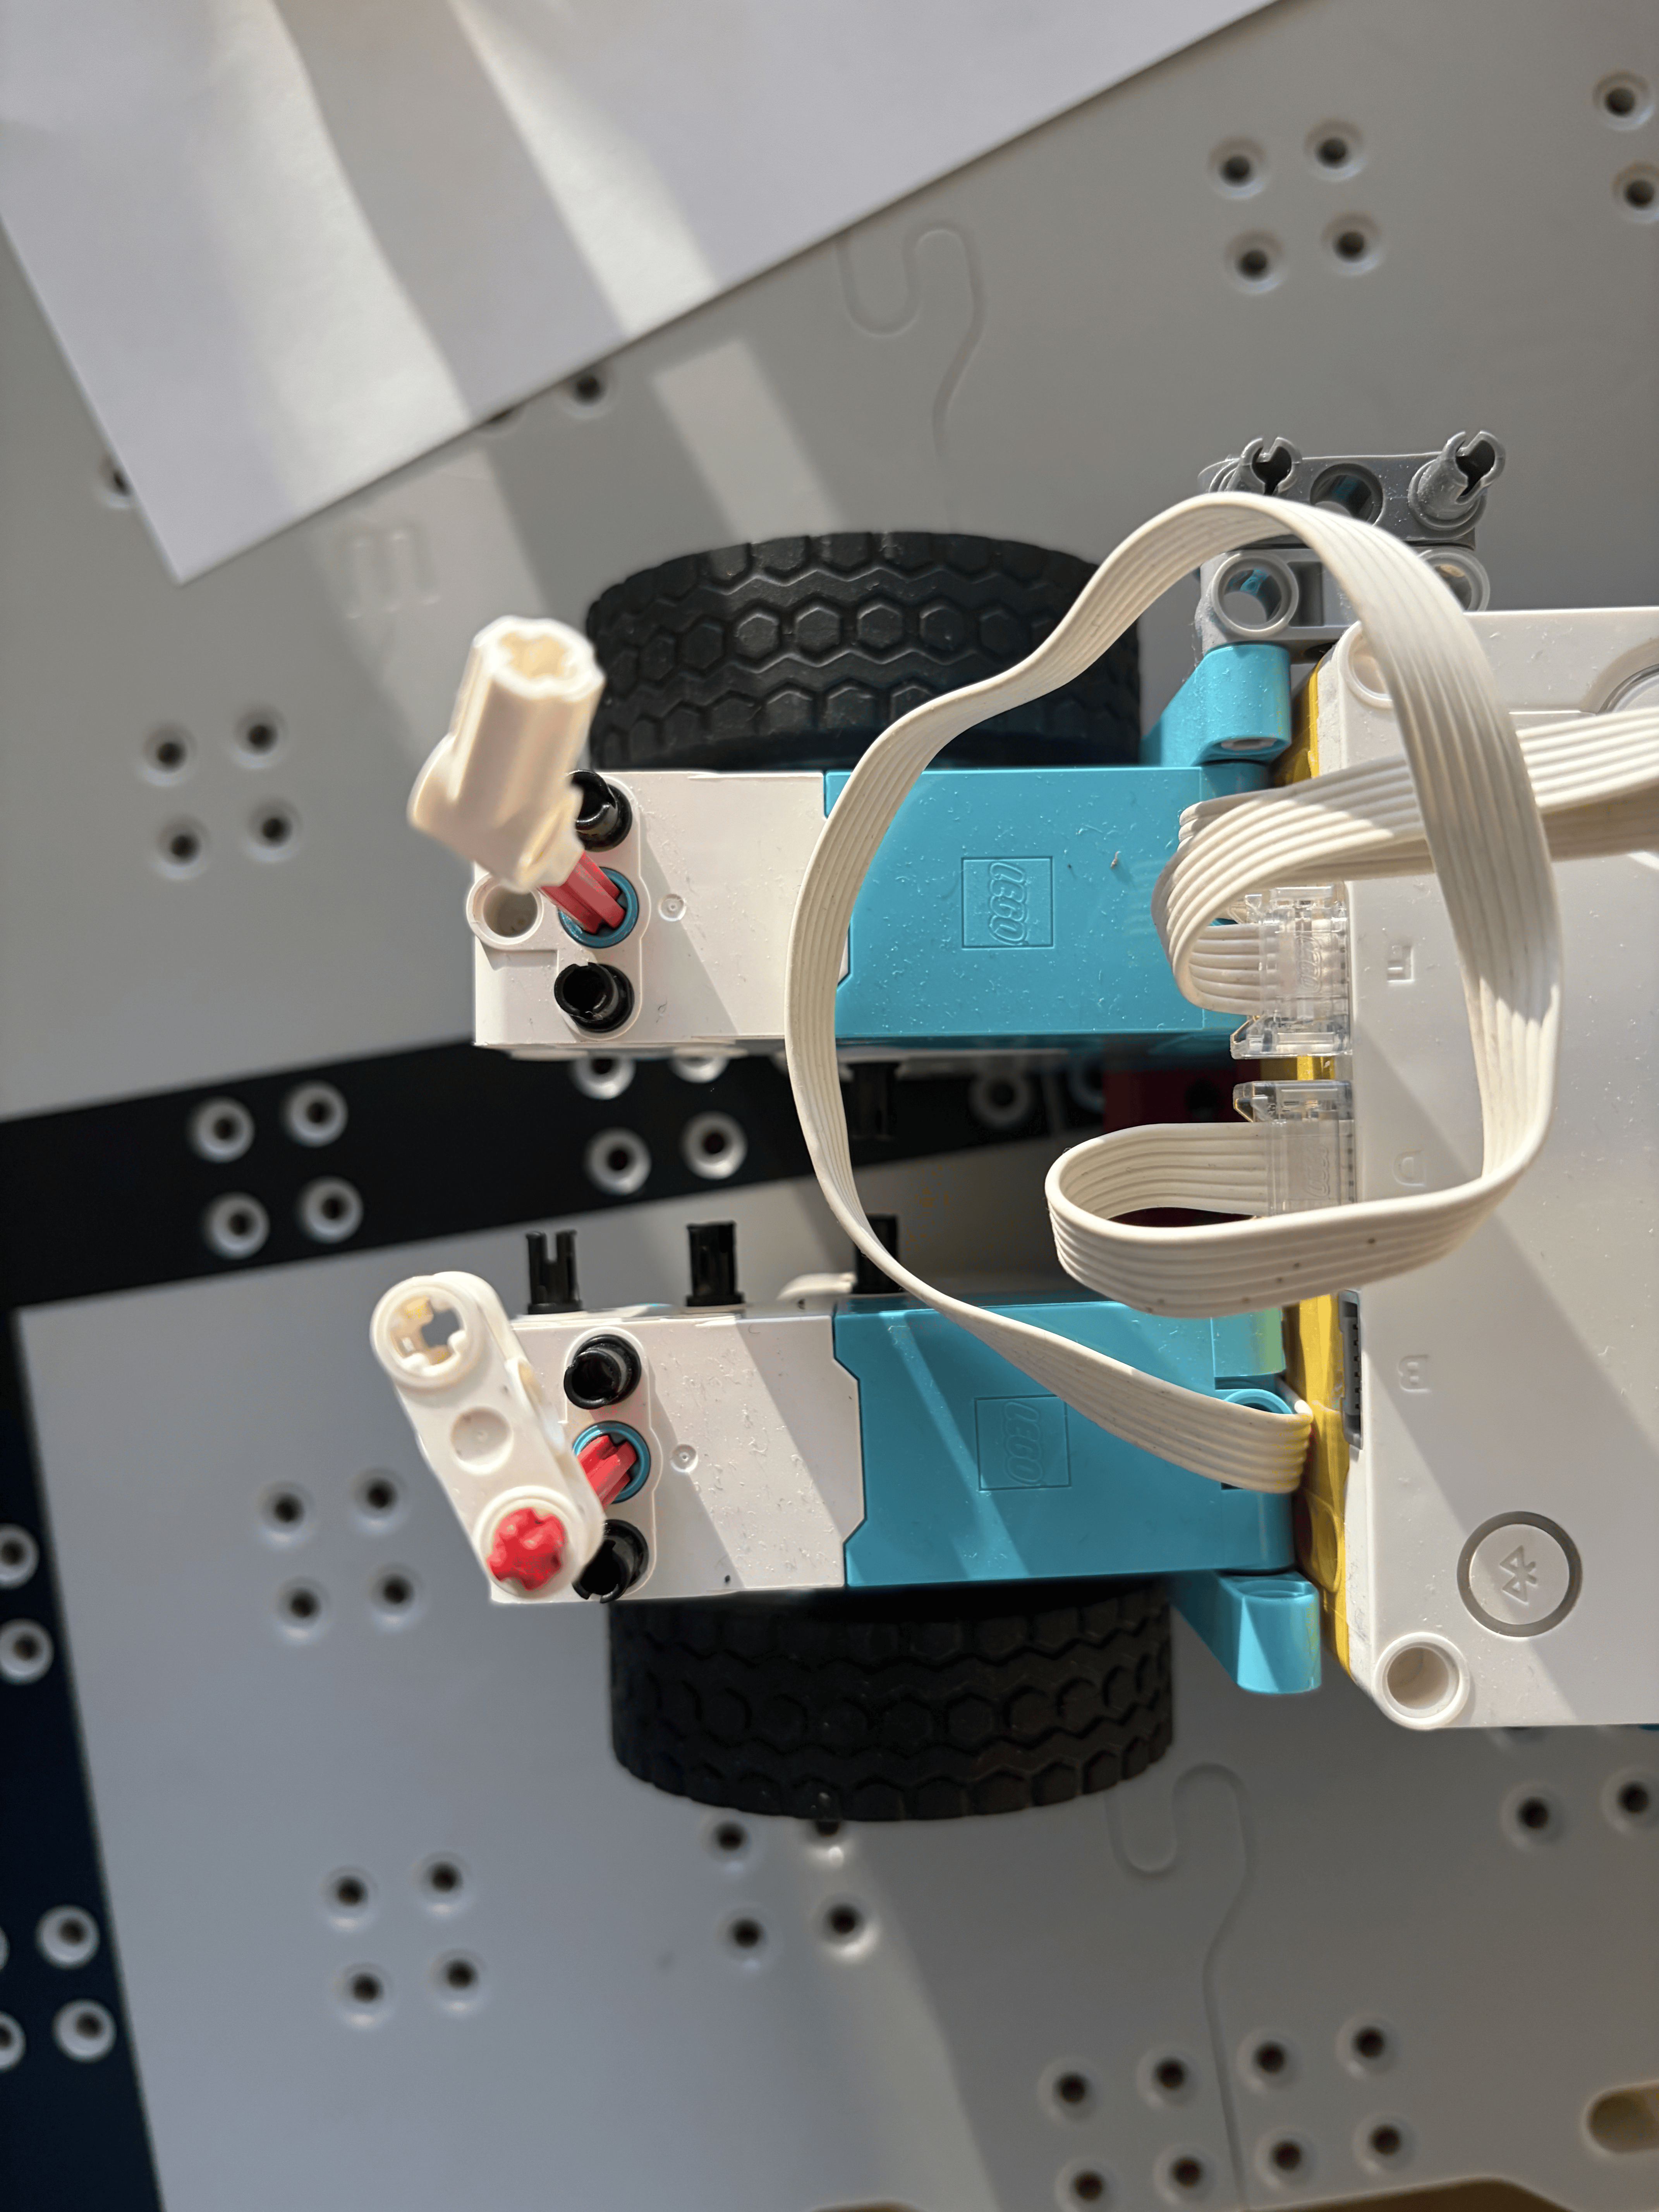
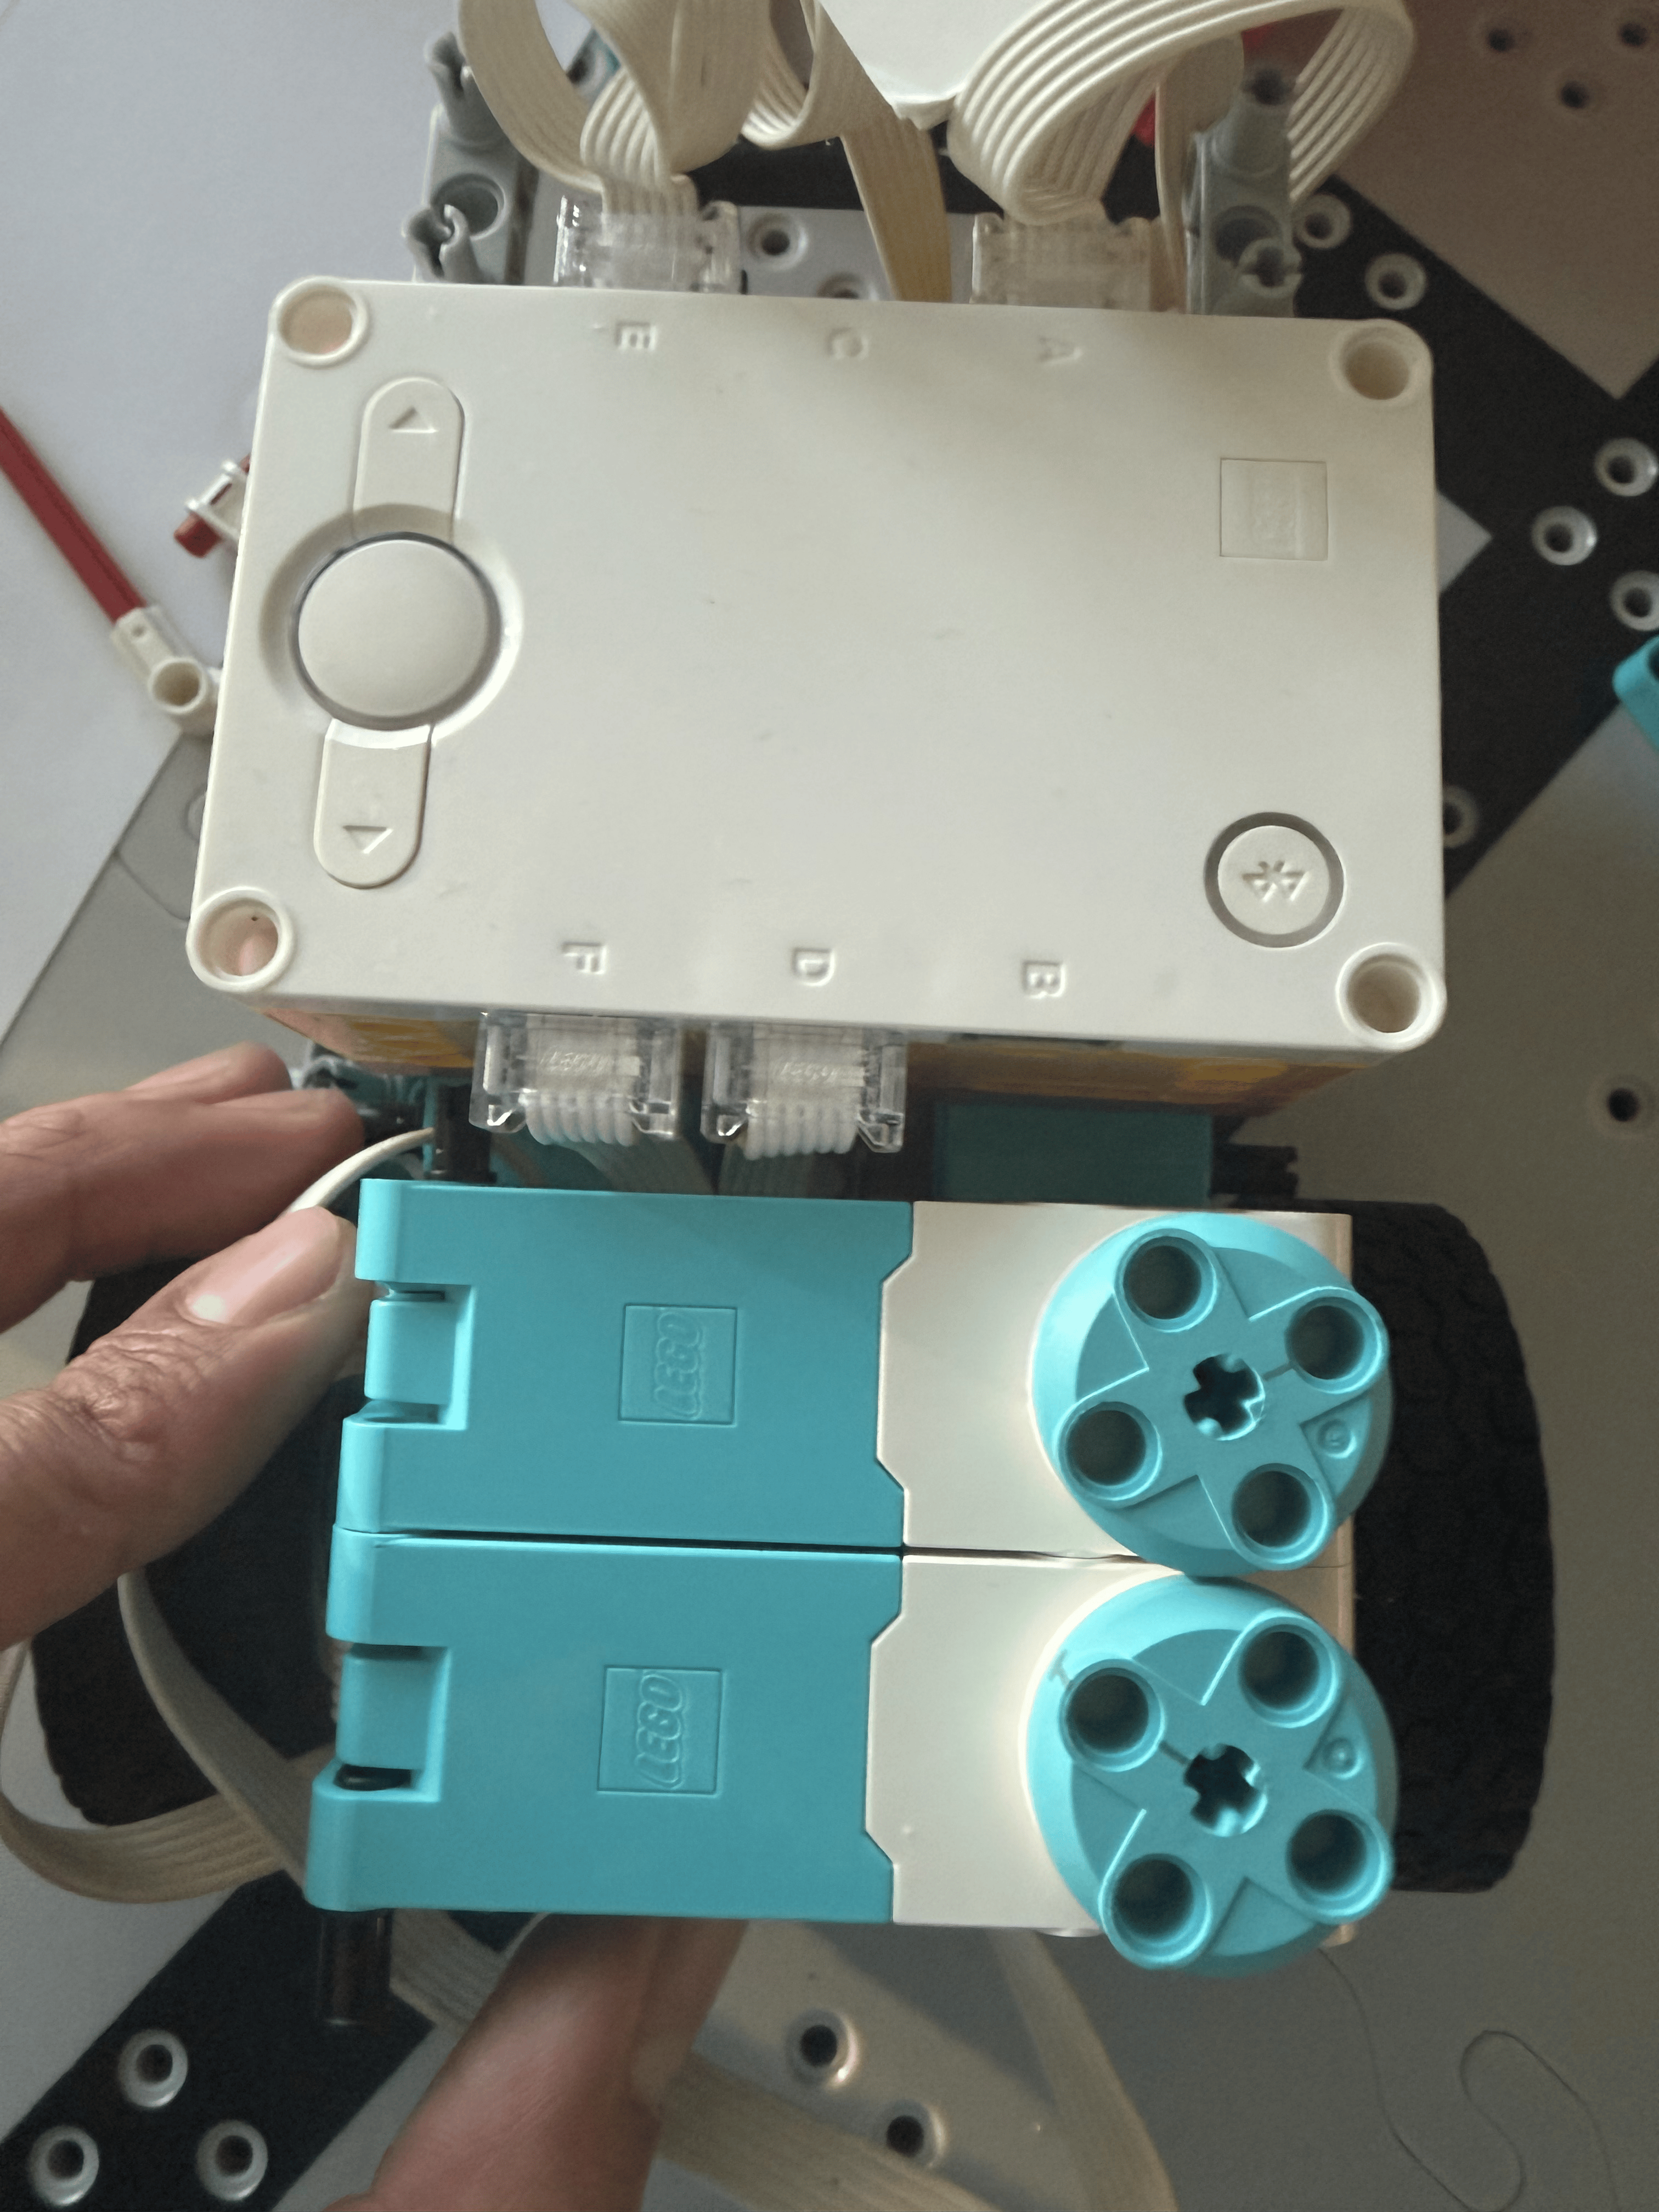
Note: This collage lets viewers compare options at a glance and open any image for a closer look.
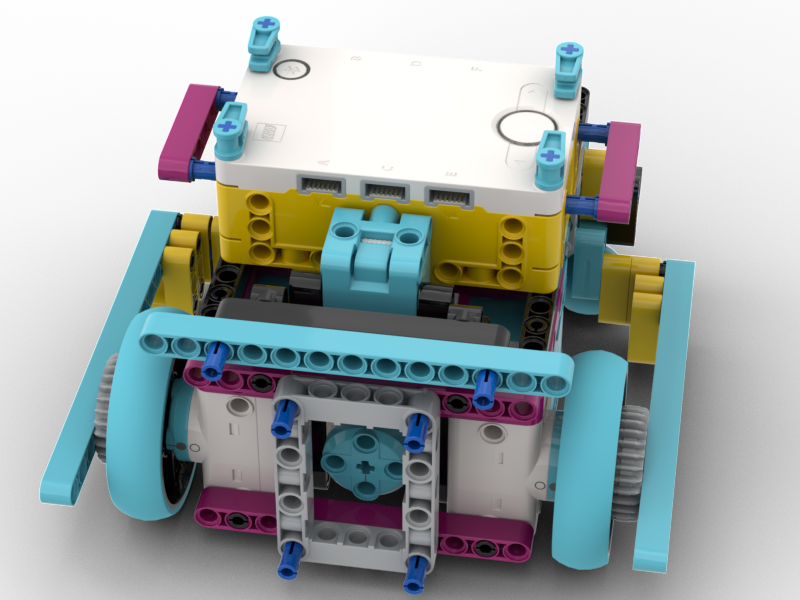
CAD Design: BrickLink Studio
BrickLink Studio Model
Digital CAD model allowing us to test designs virtually before building
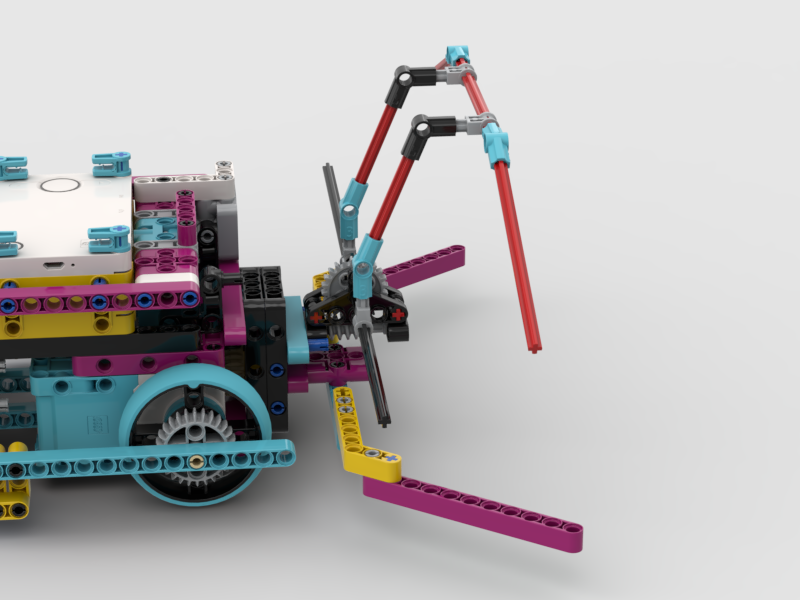
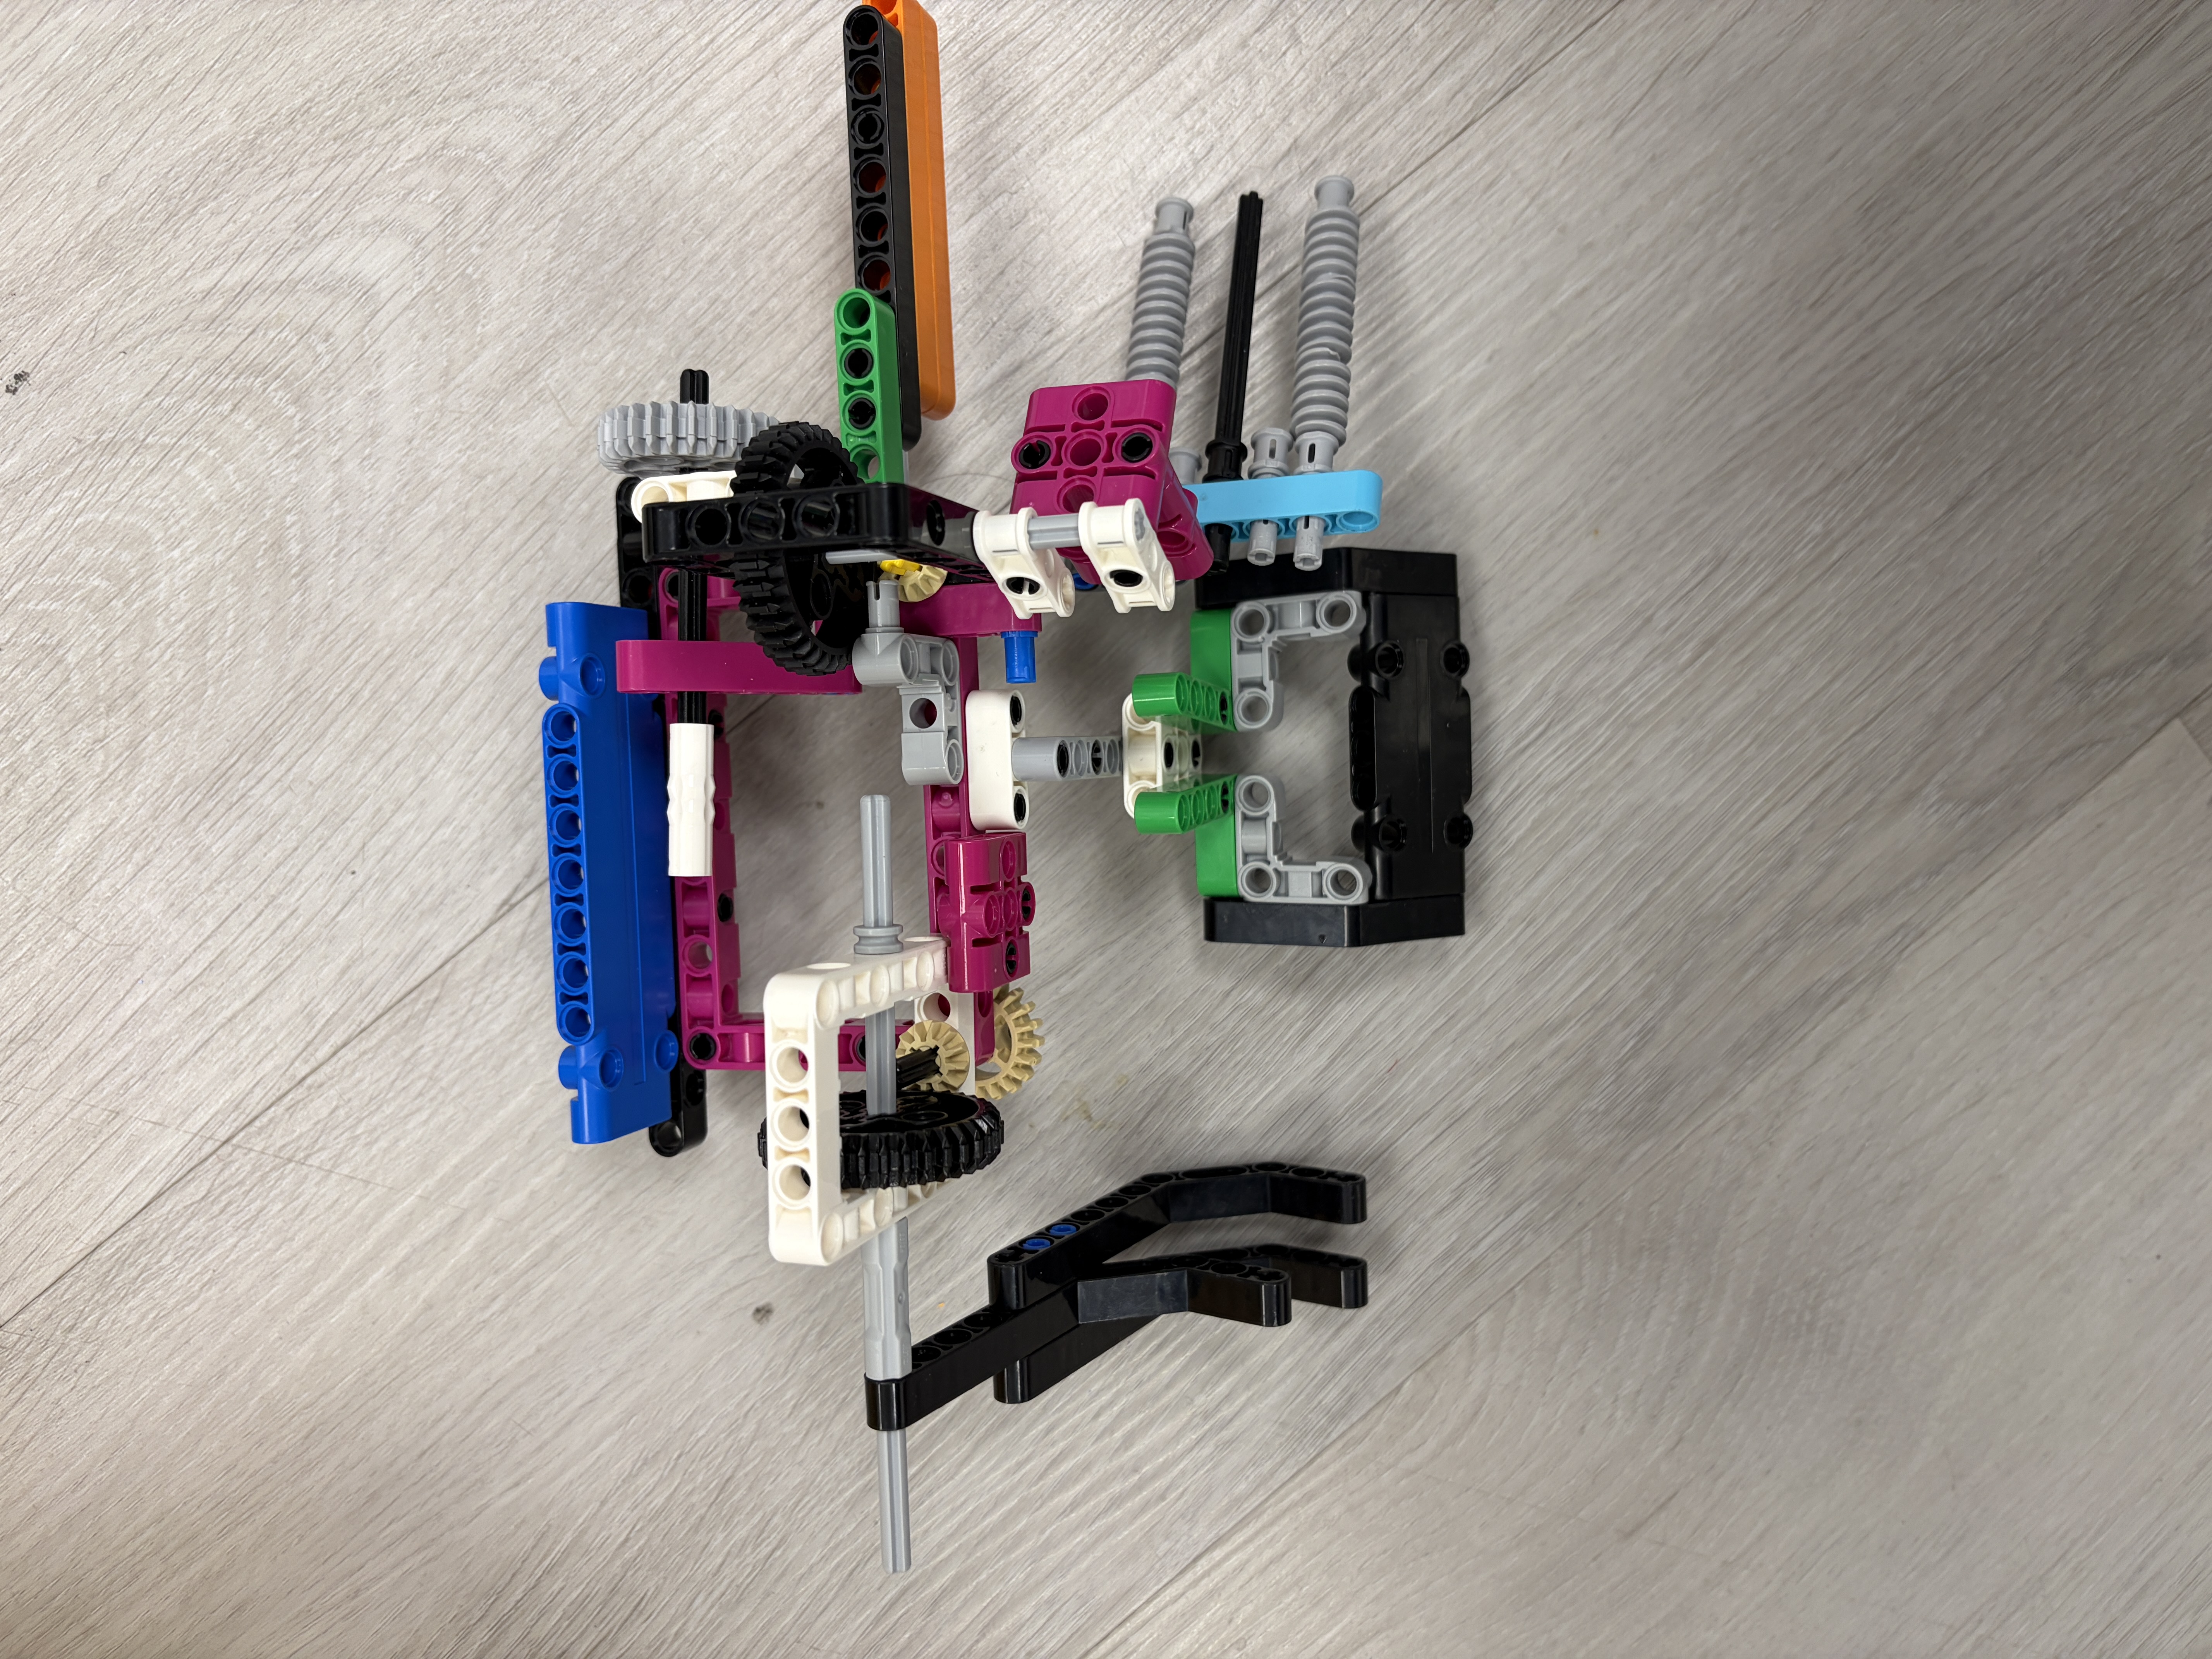
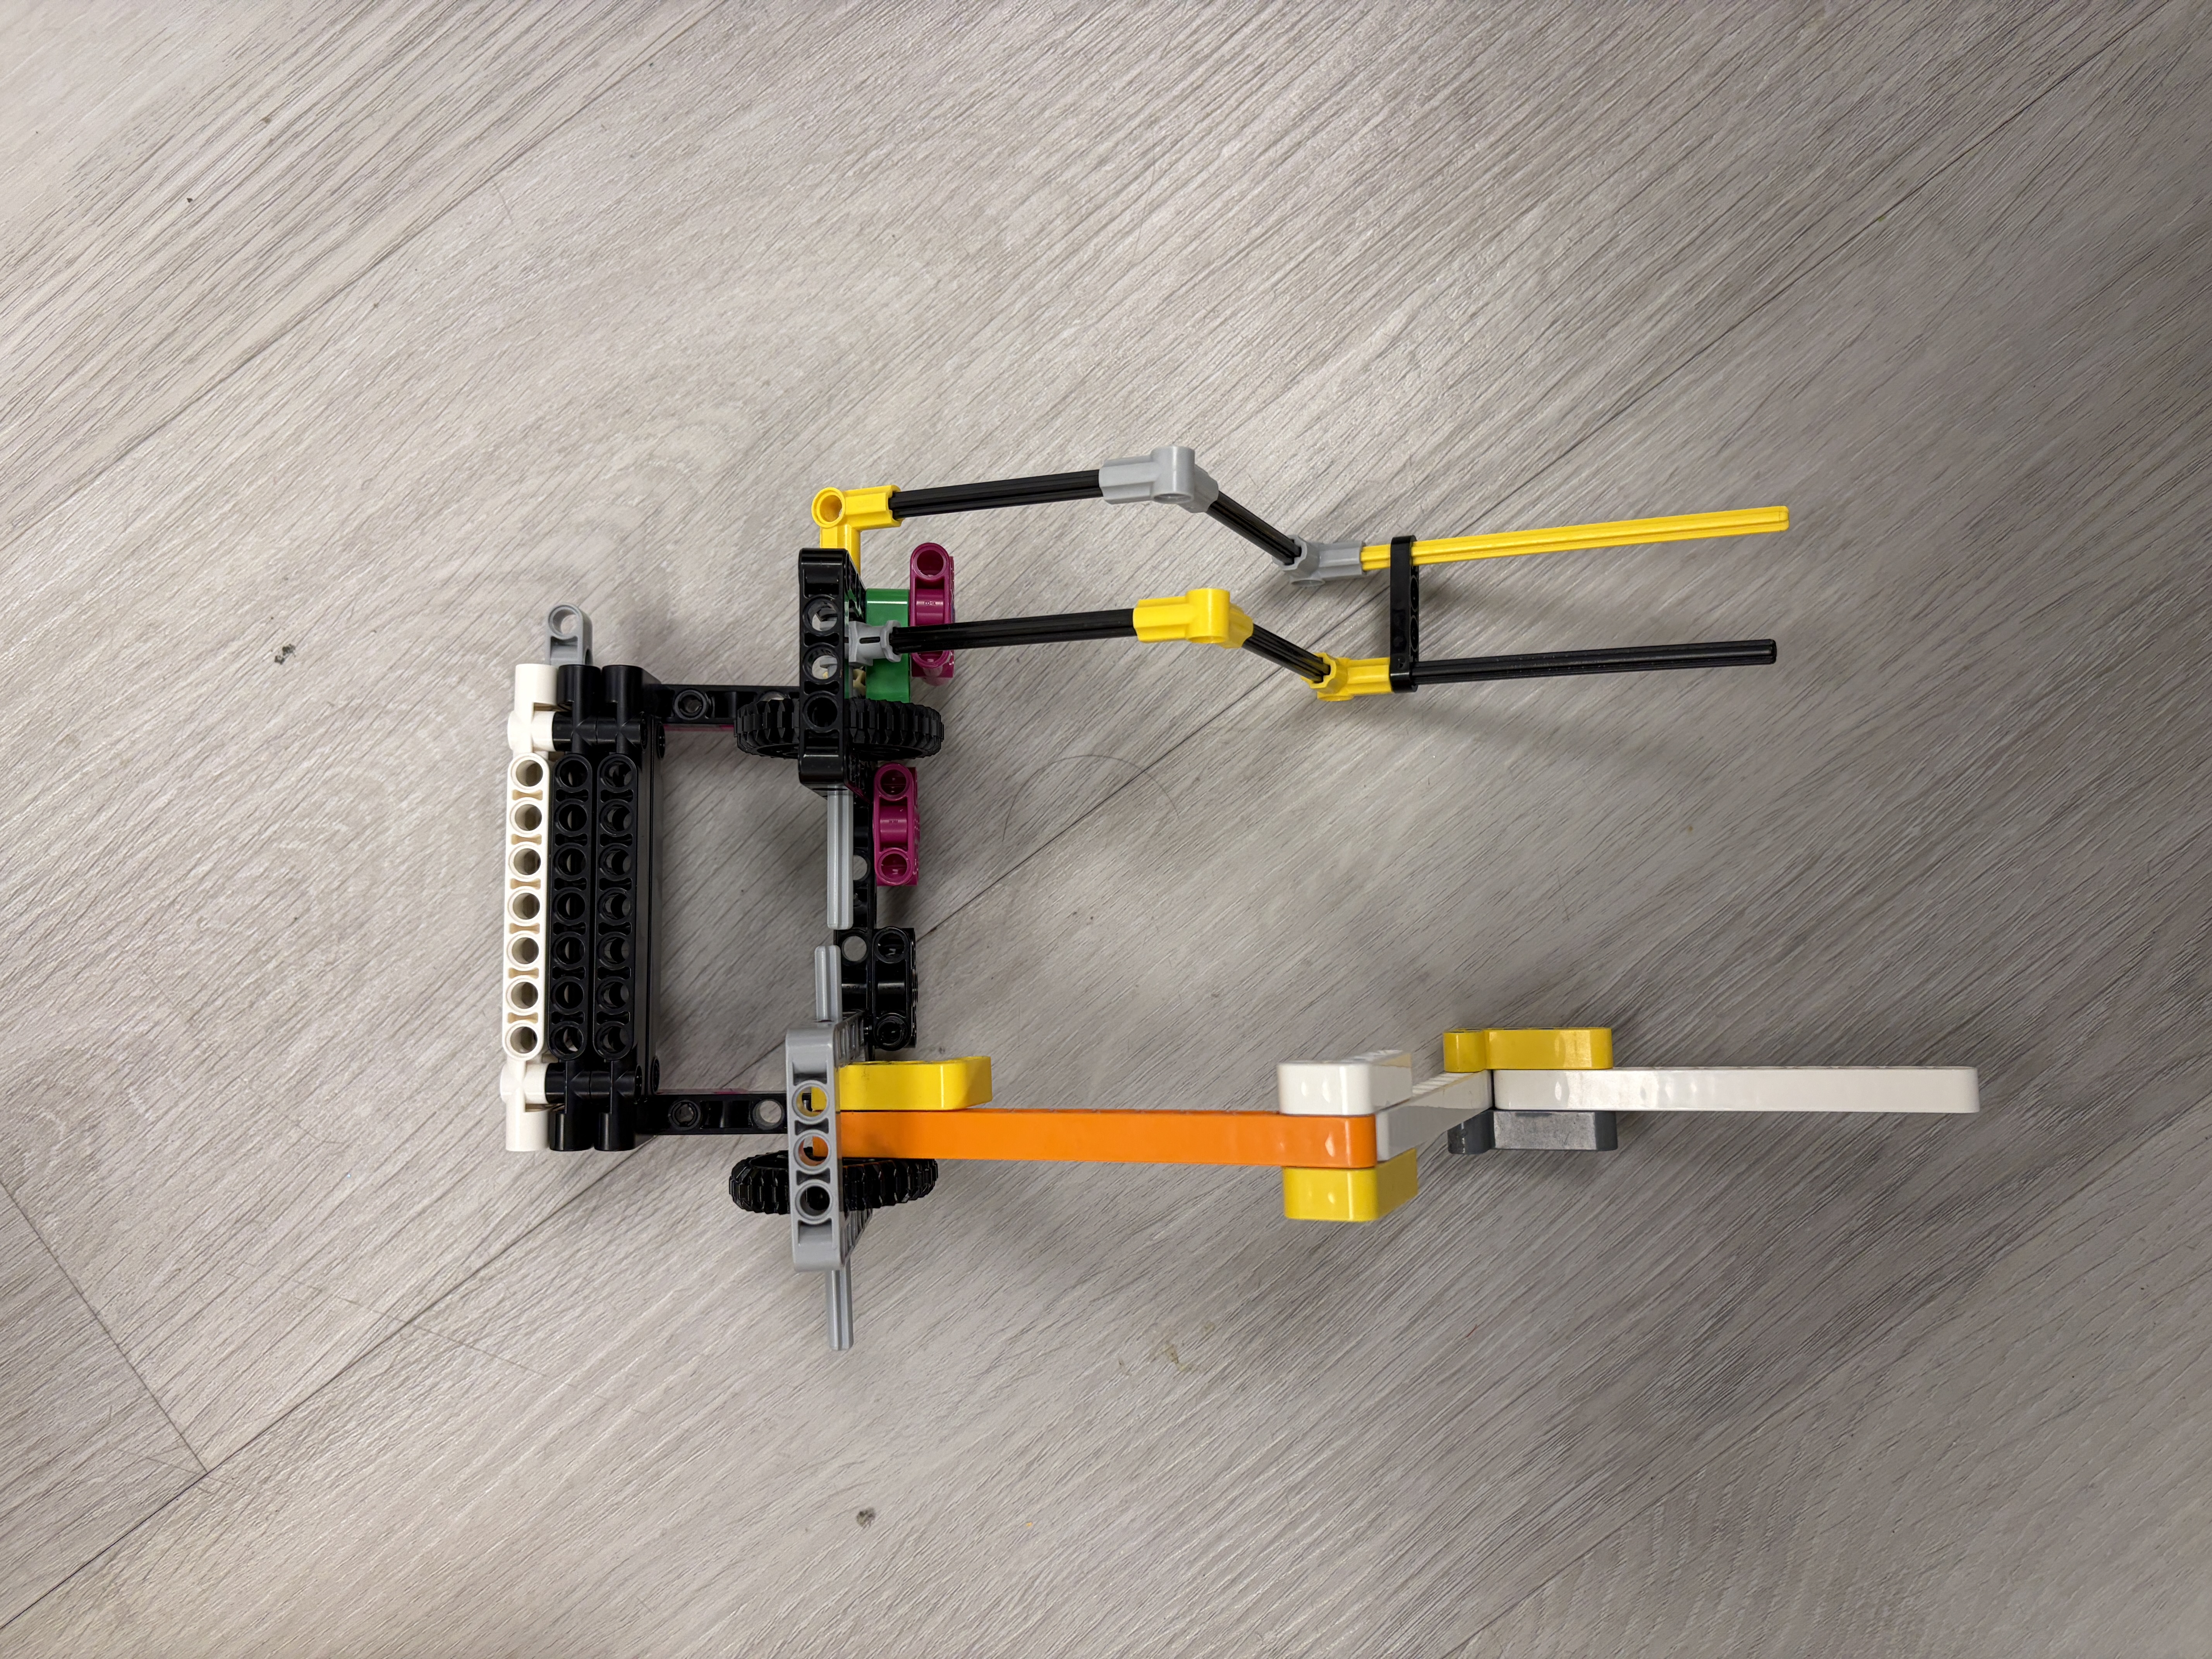
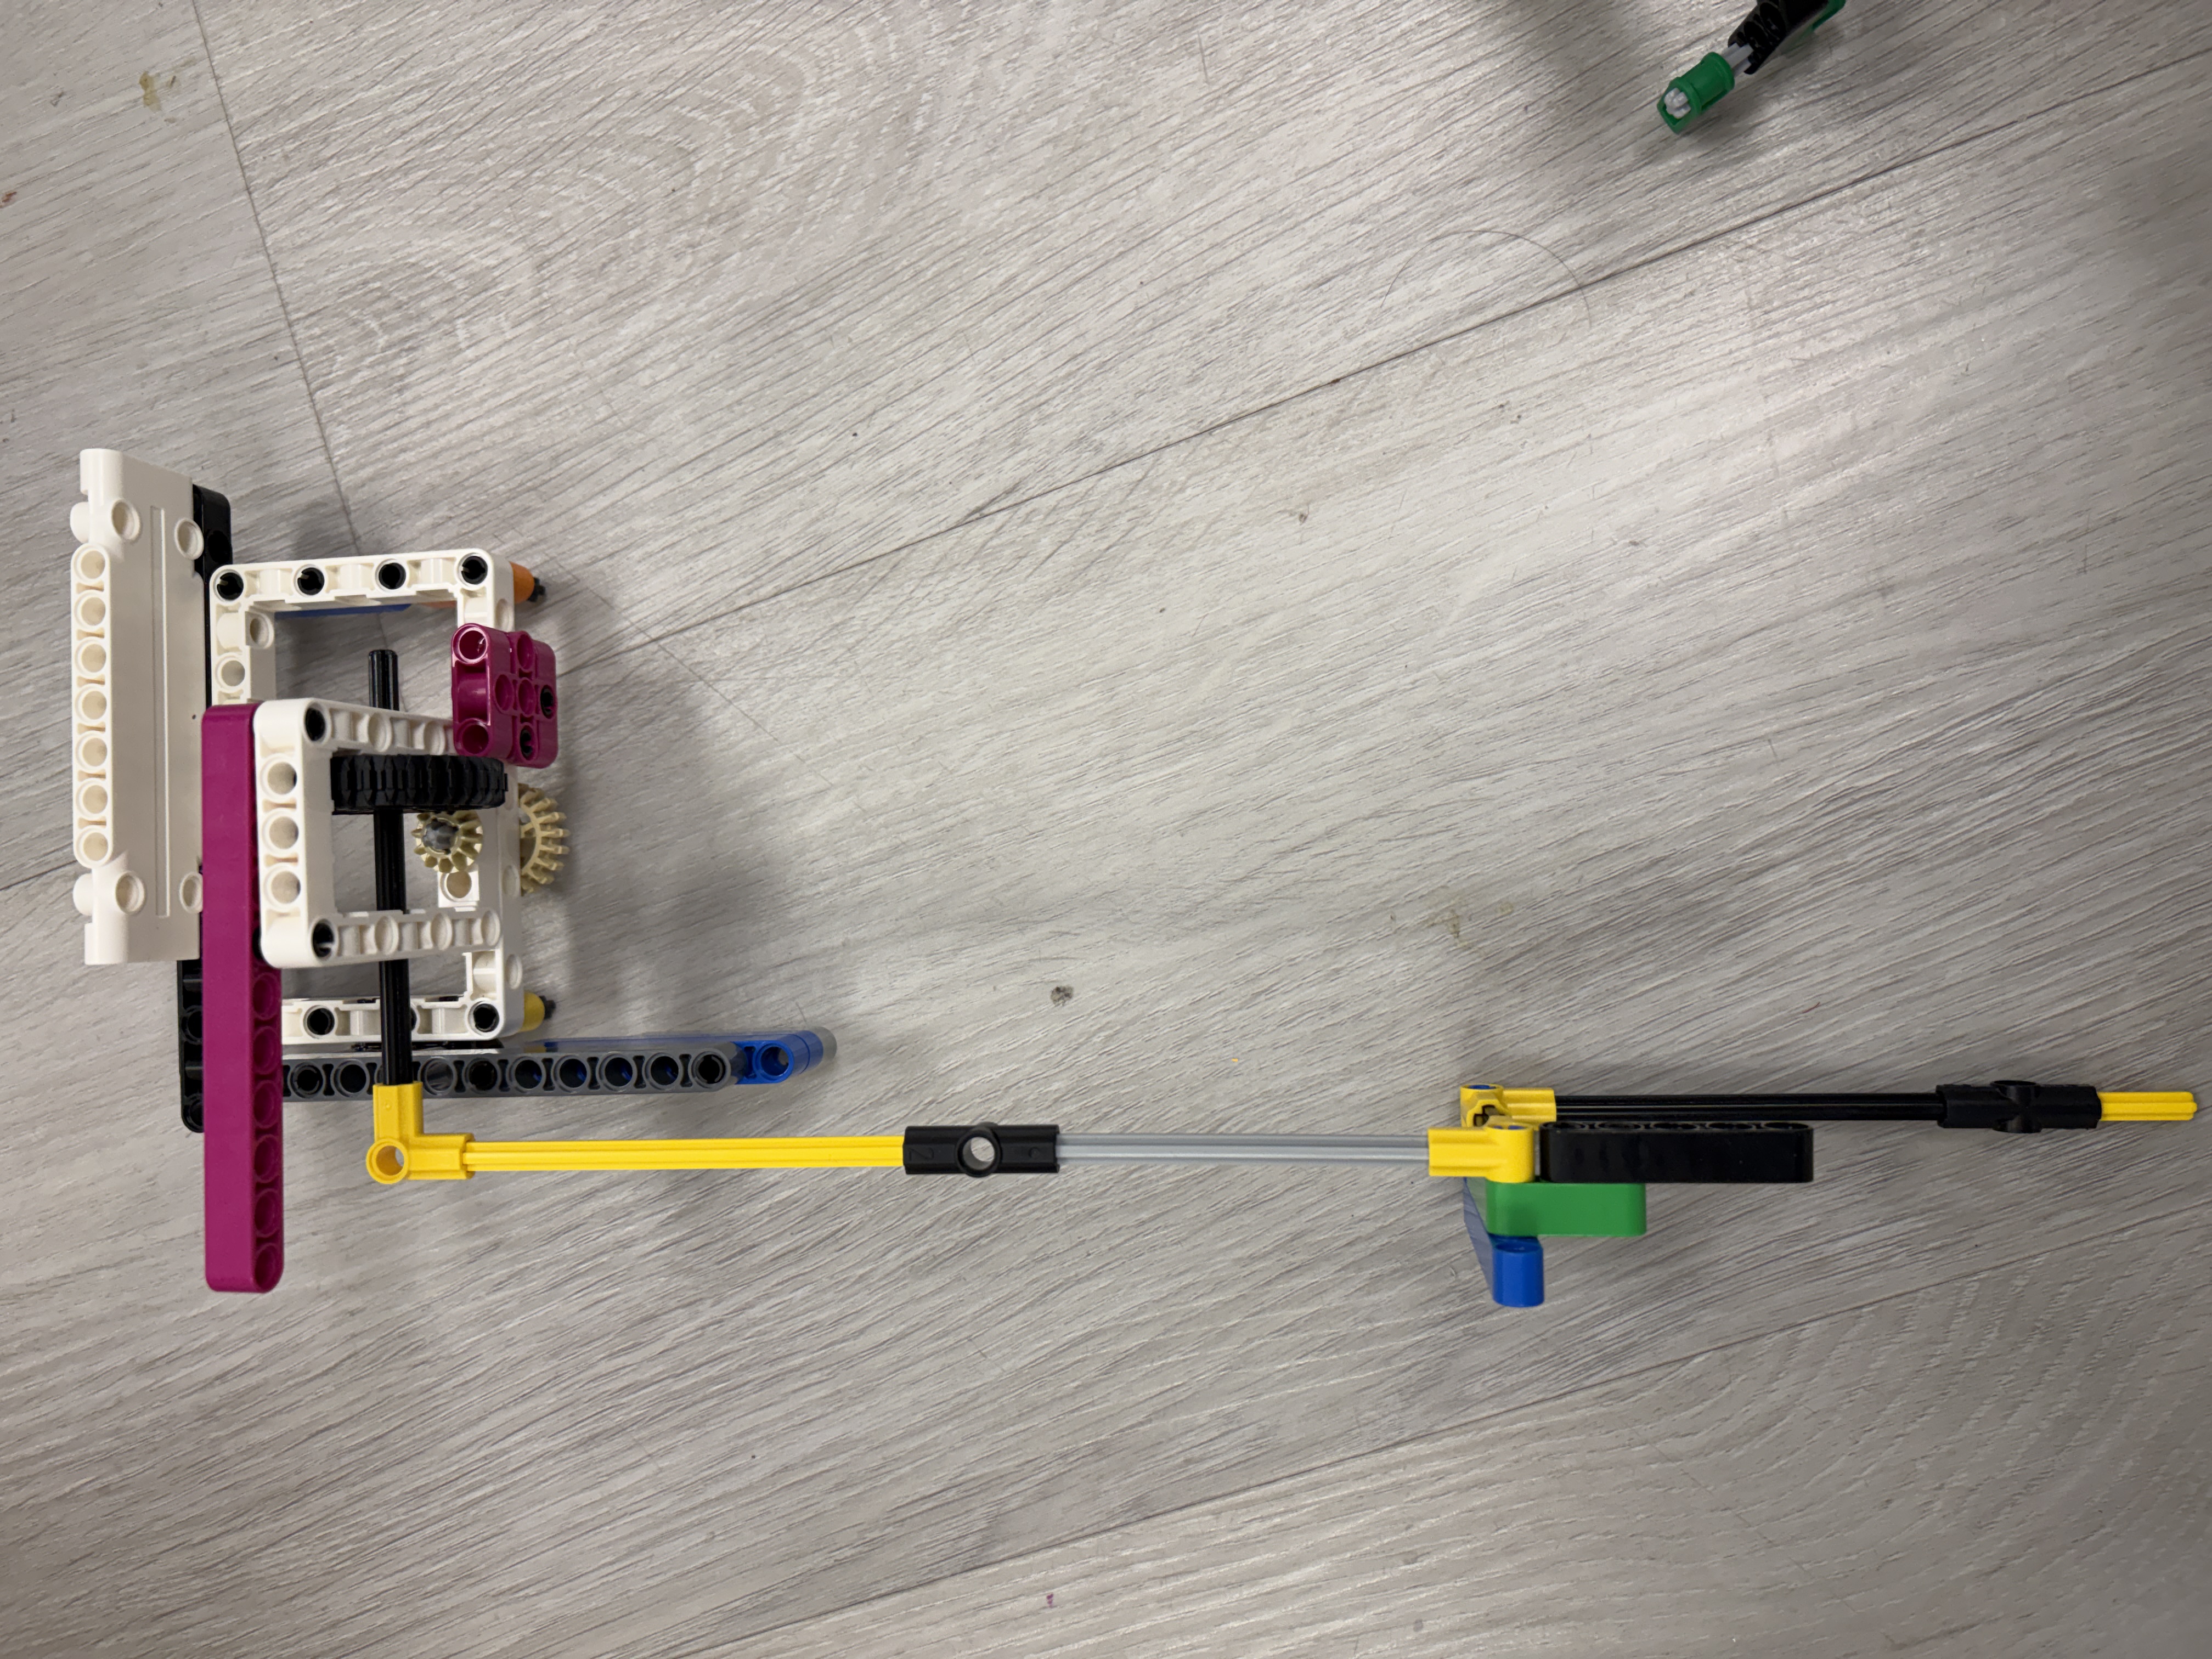
Pinless Attachment System
Attachment Mechanism

Gravity-drop attachments that fit securely without pins, allowing for quick swaps
Attachment in Action
.gif)
Demonstrating the quick-swap mechanism with gravity-drop attachment
Before & After: Design Evolution
Last Year's Robot
Unstable dual-motor setup with rear motor at different height
This Year's Robot
Optimized flat front motors with pinless, gravity-drop attachments
Mission Strategy & Brainstorming
Student Brainstorming & Sketches (Collage)
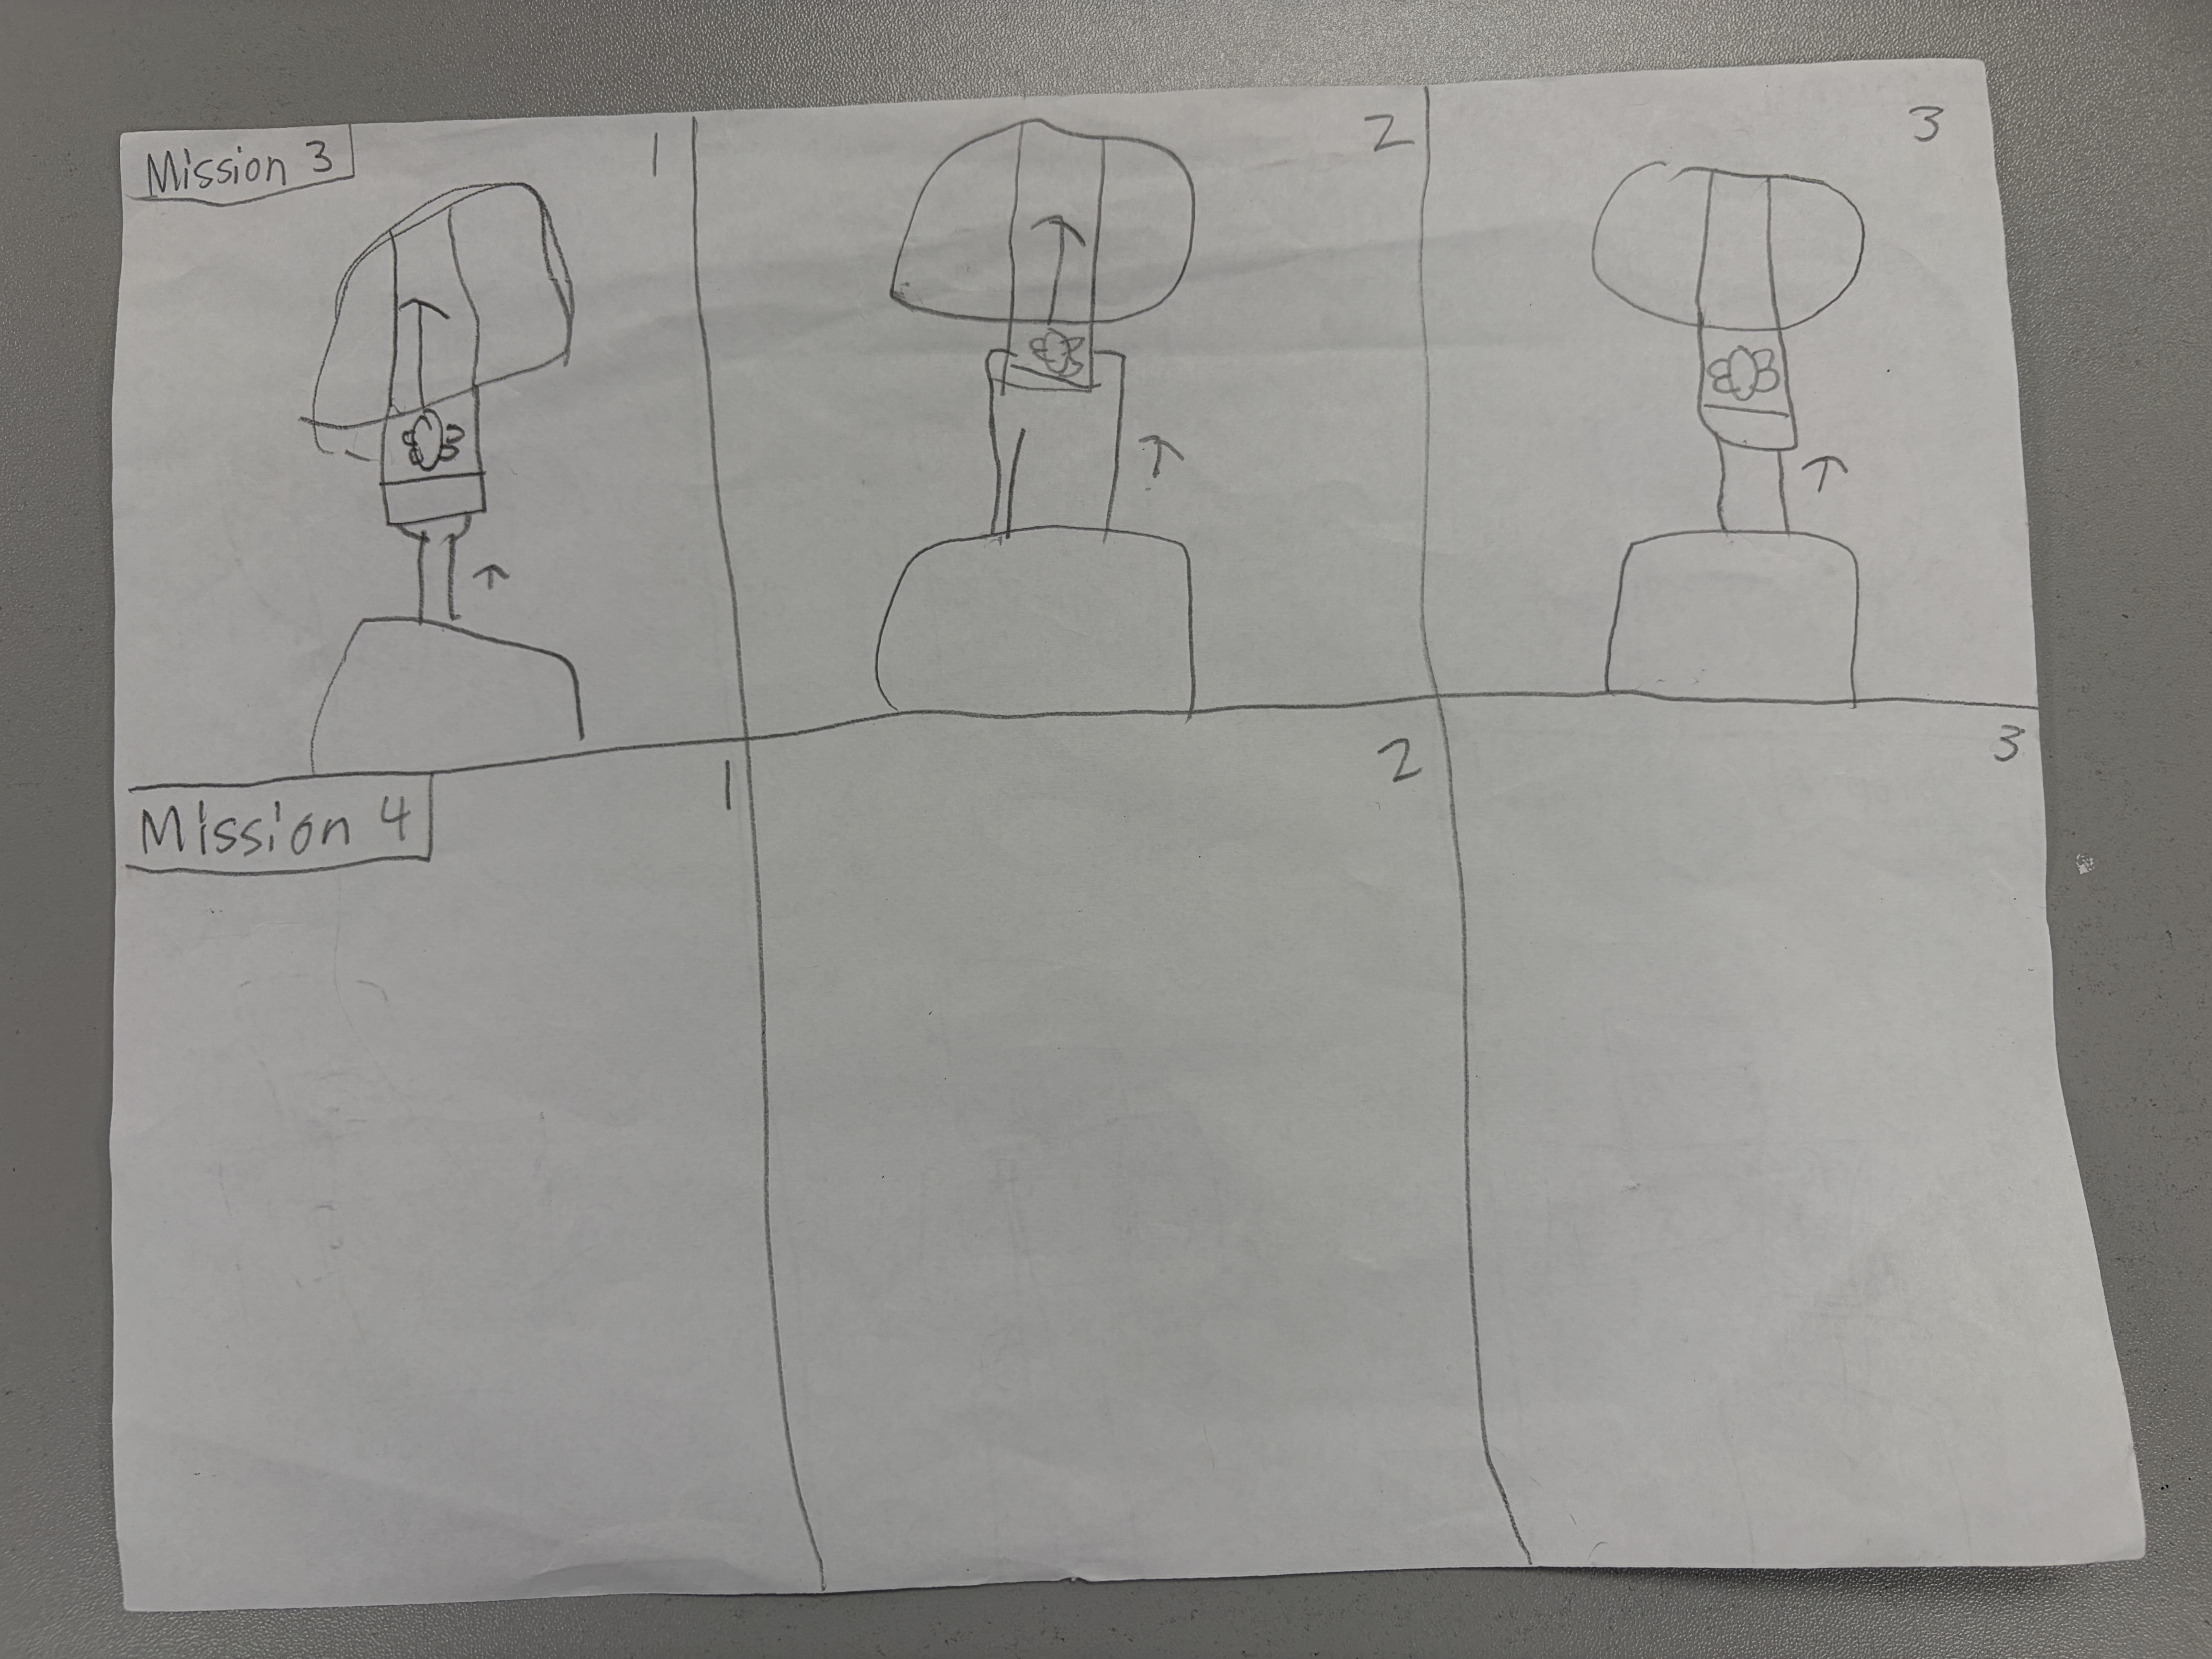
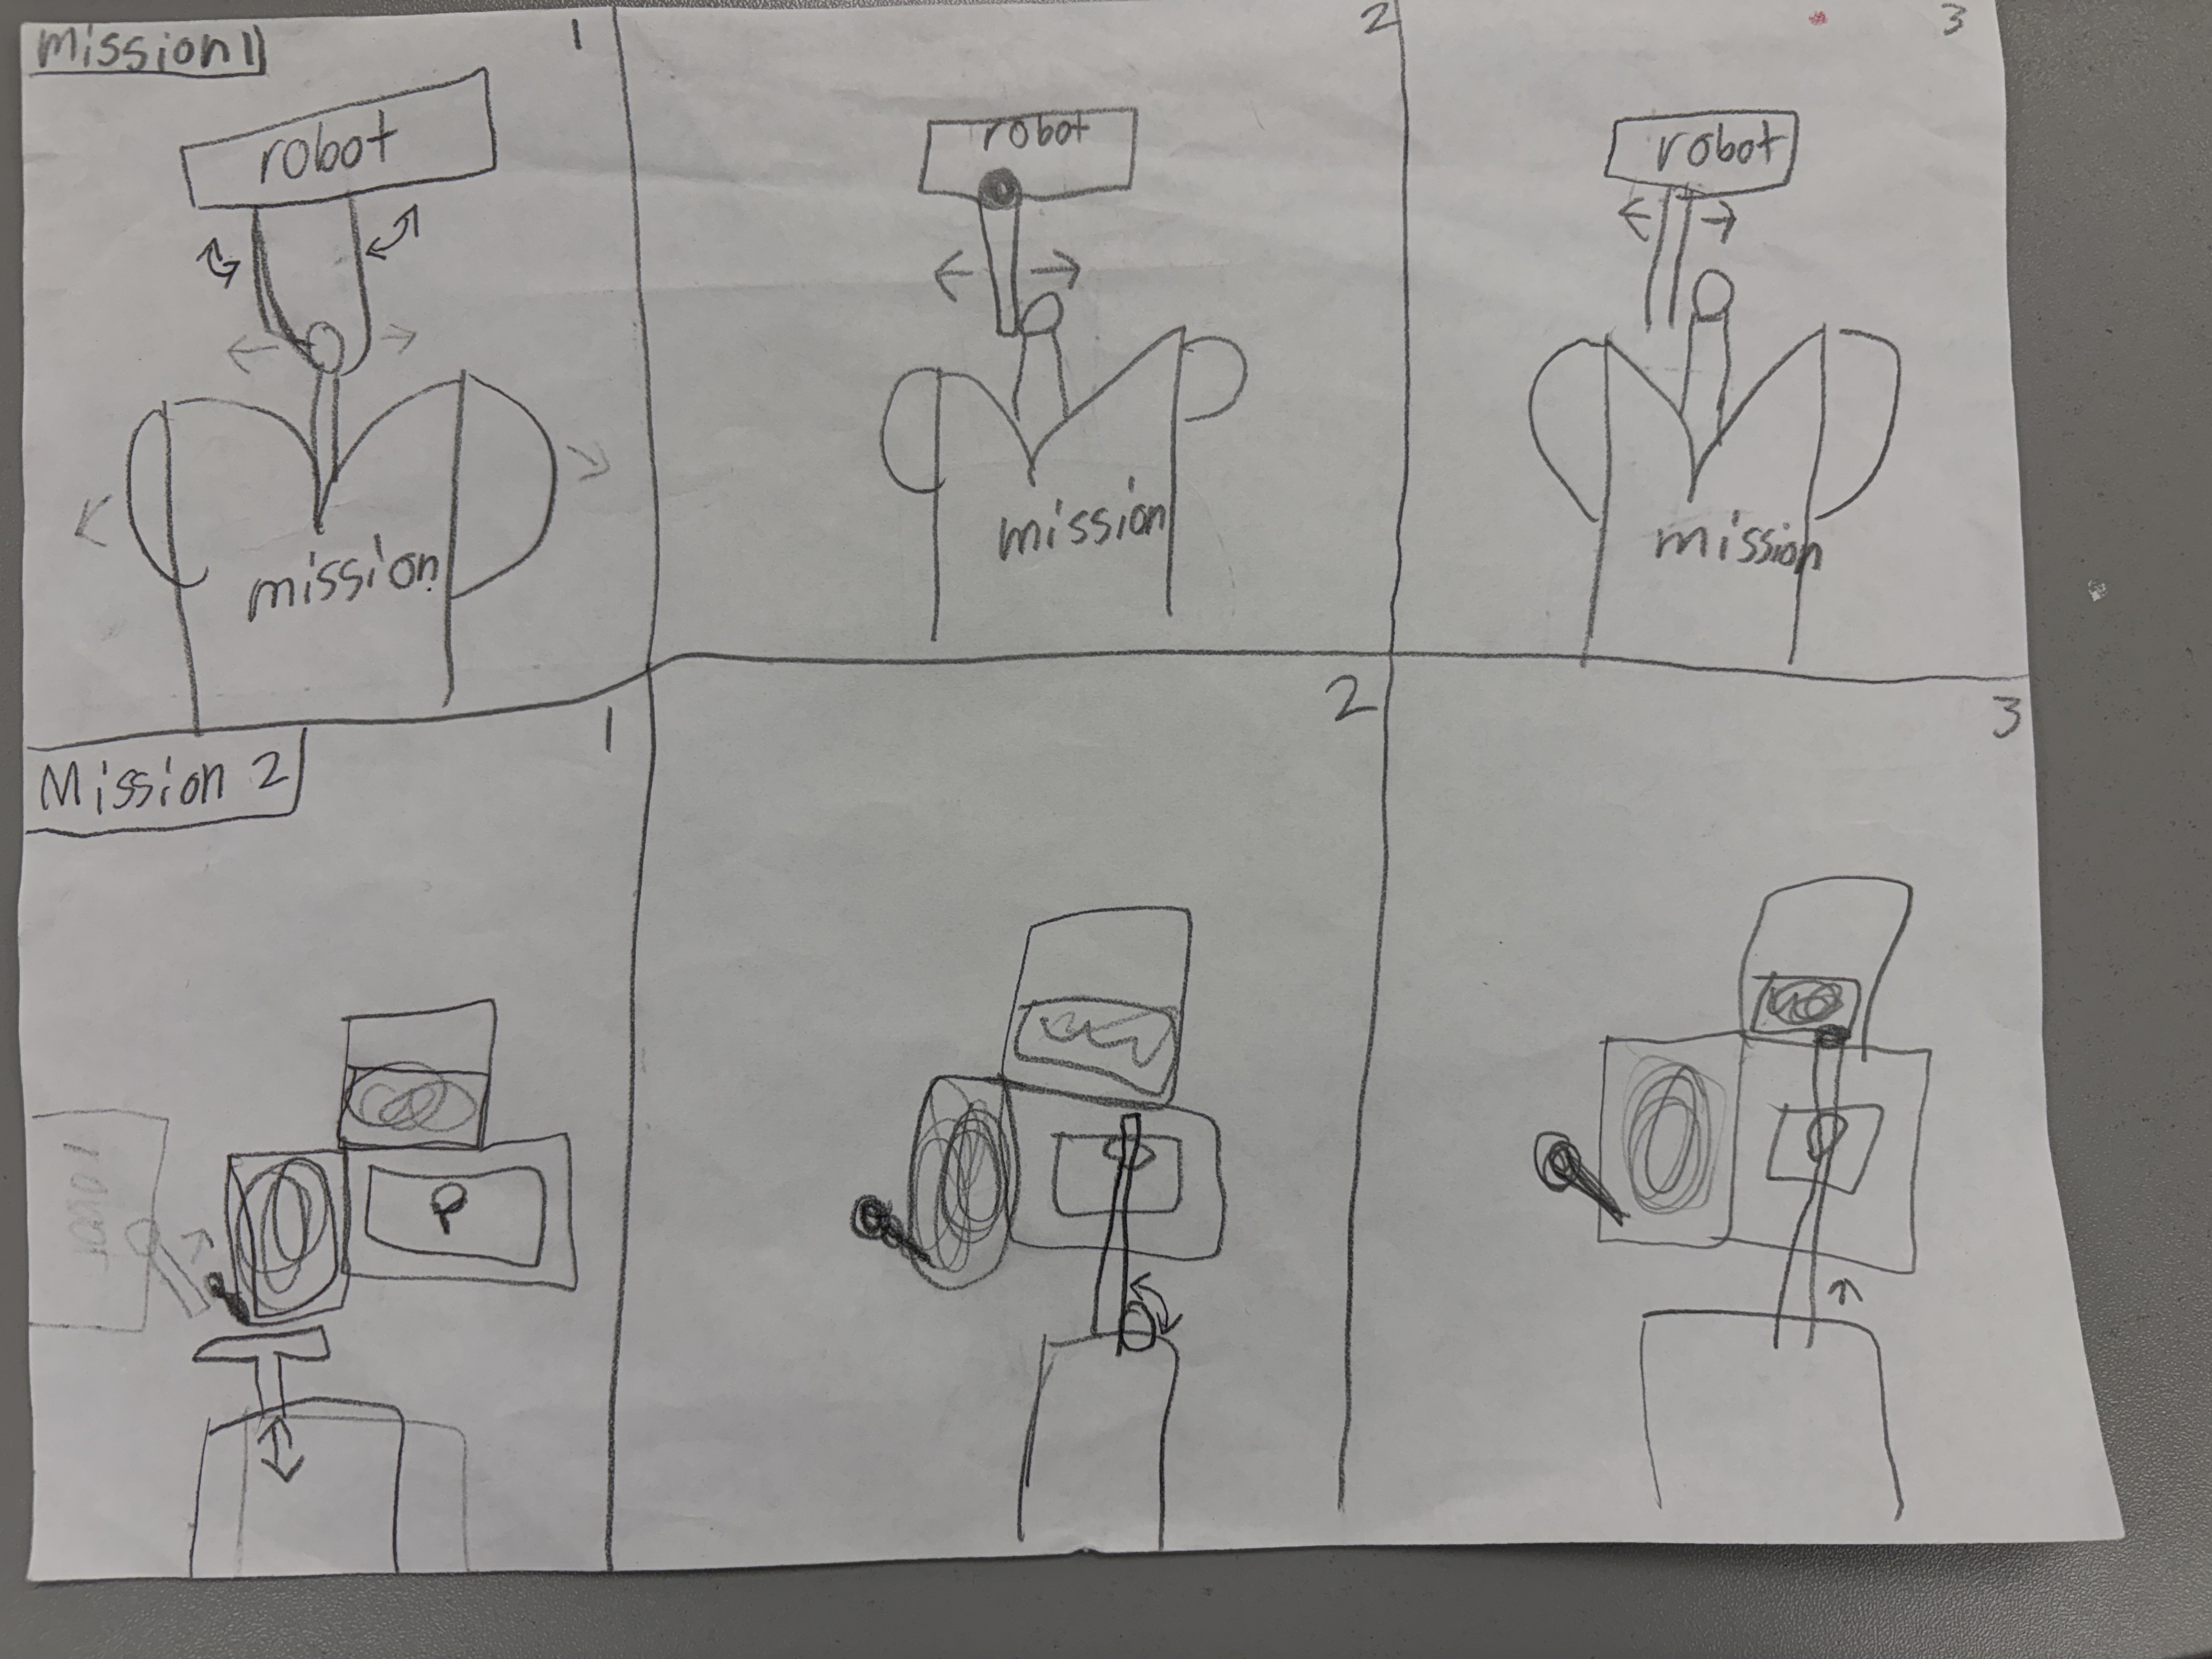
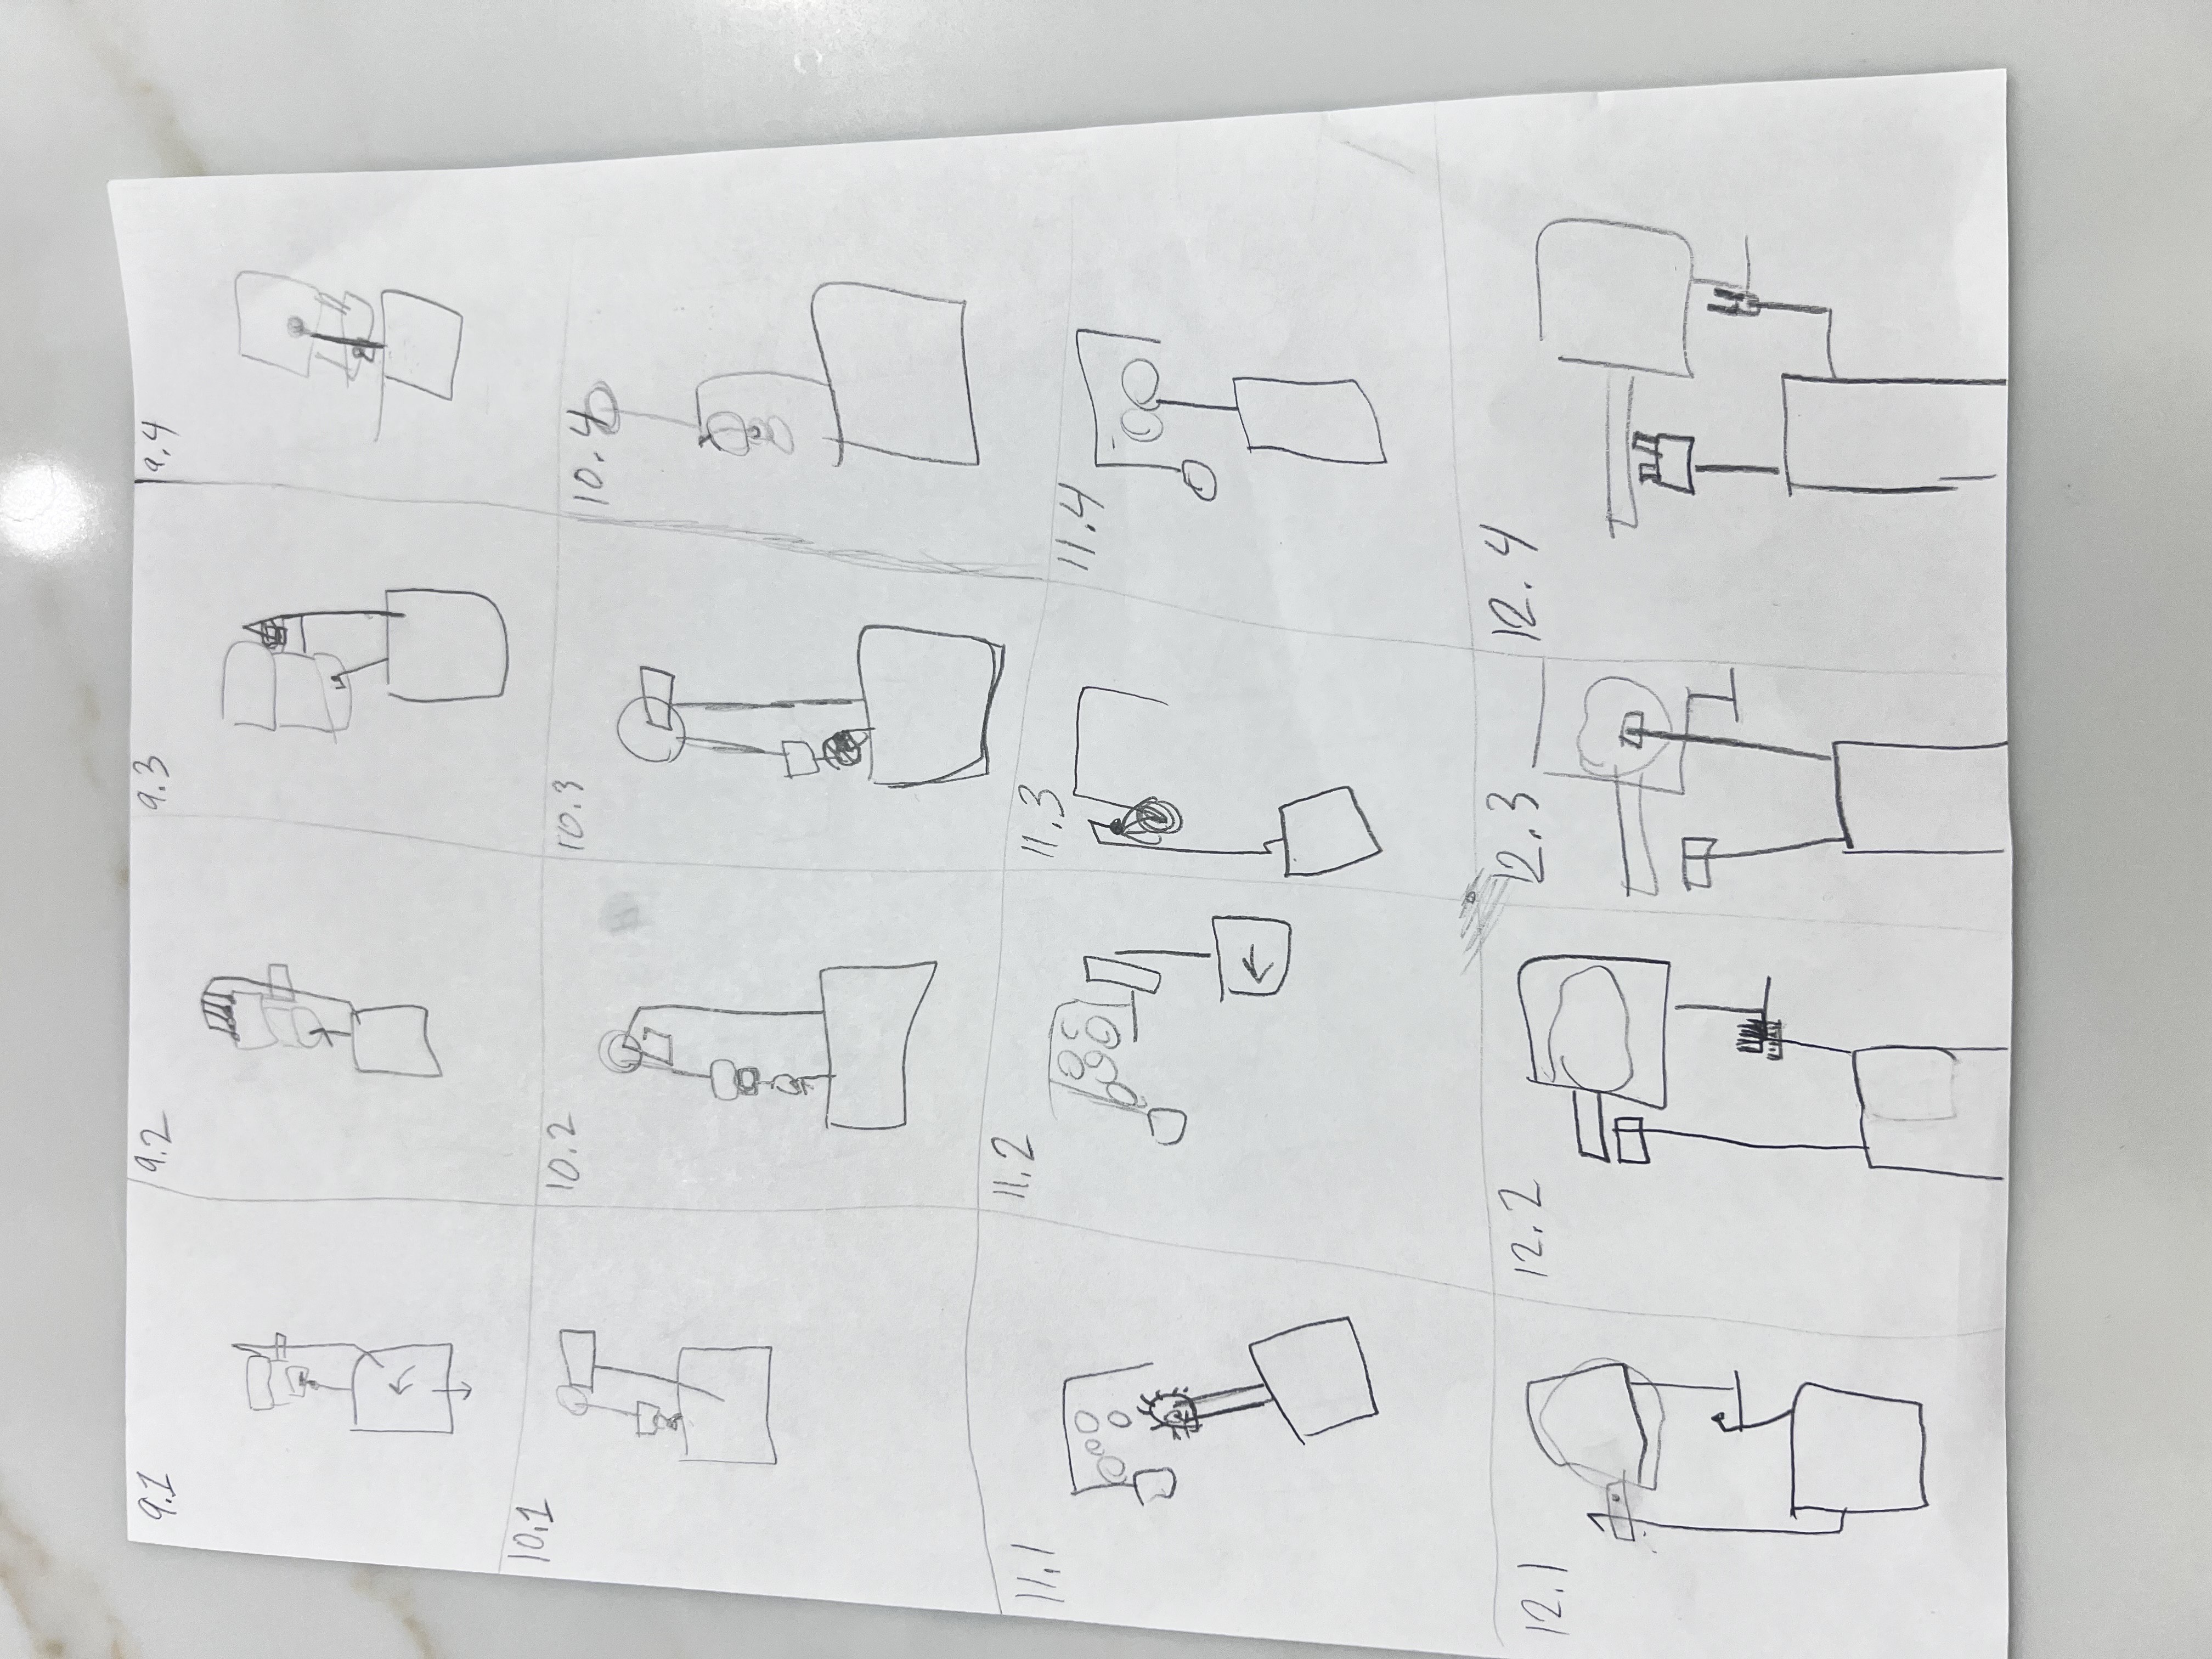
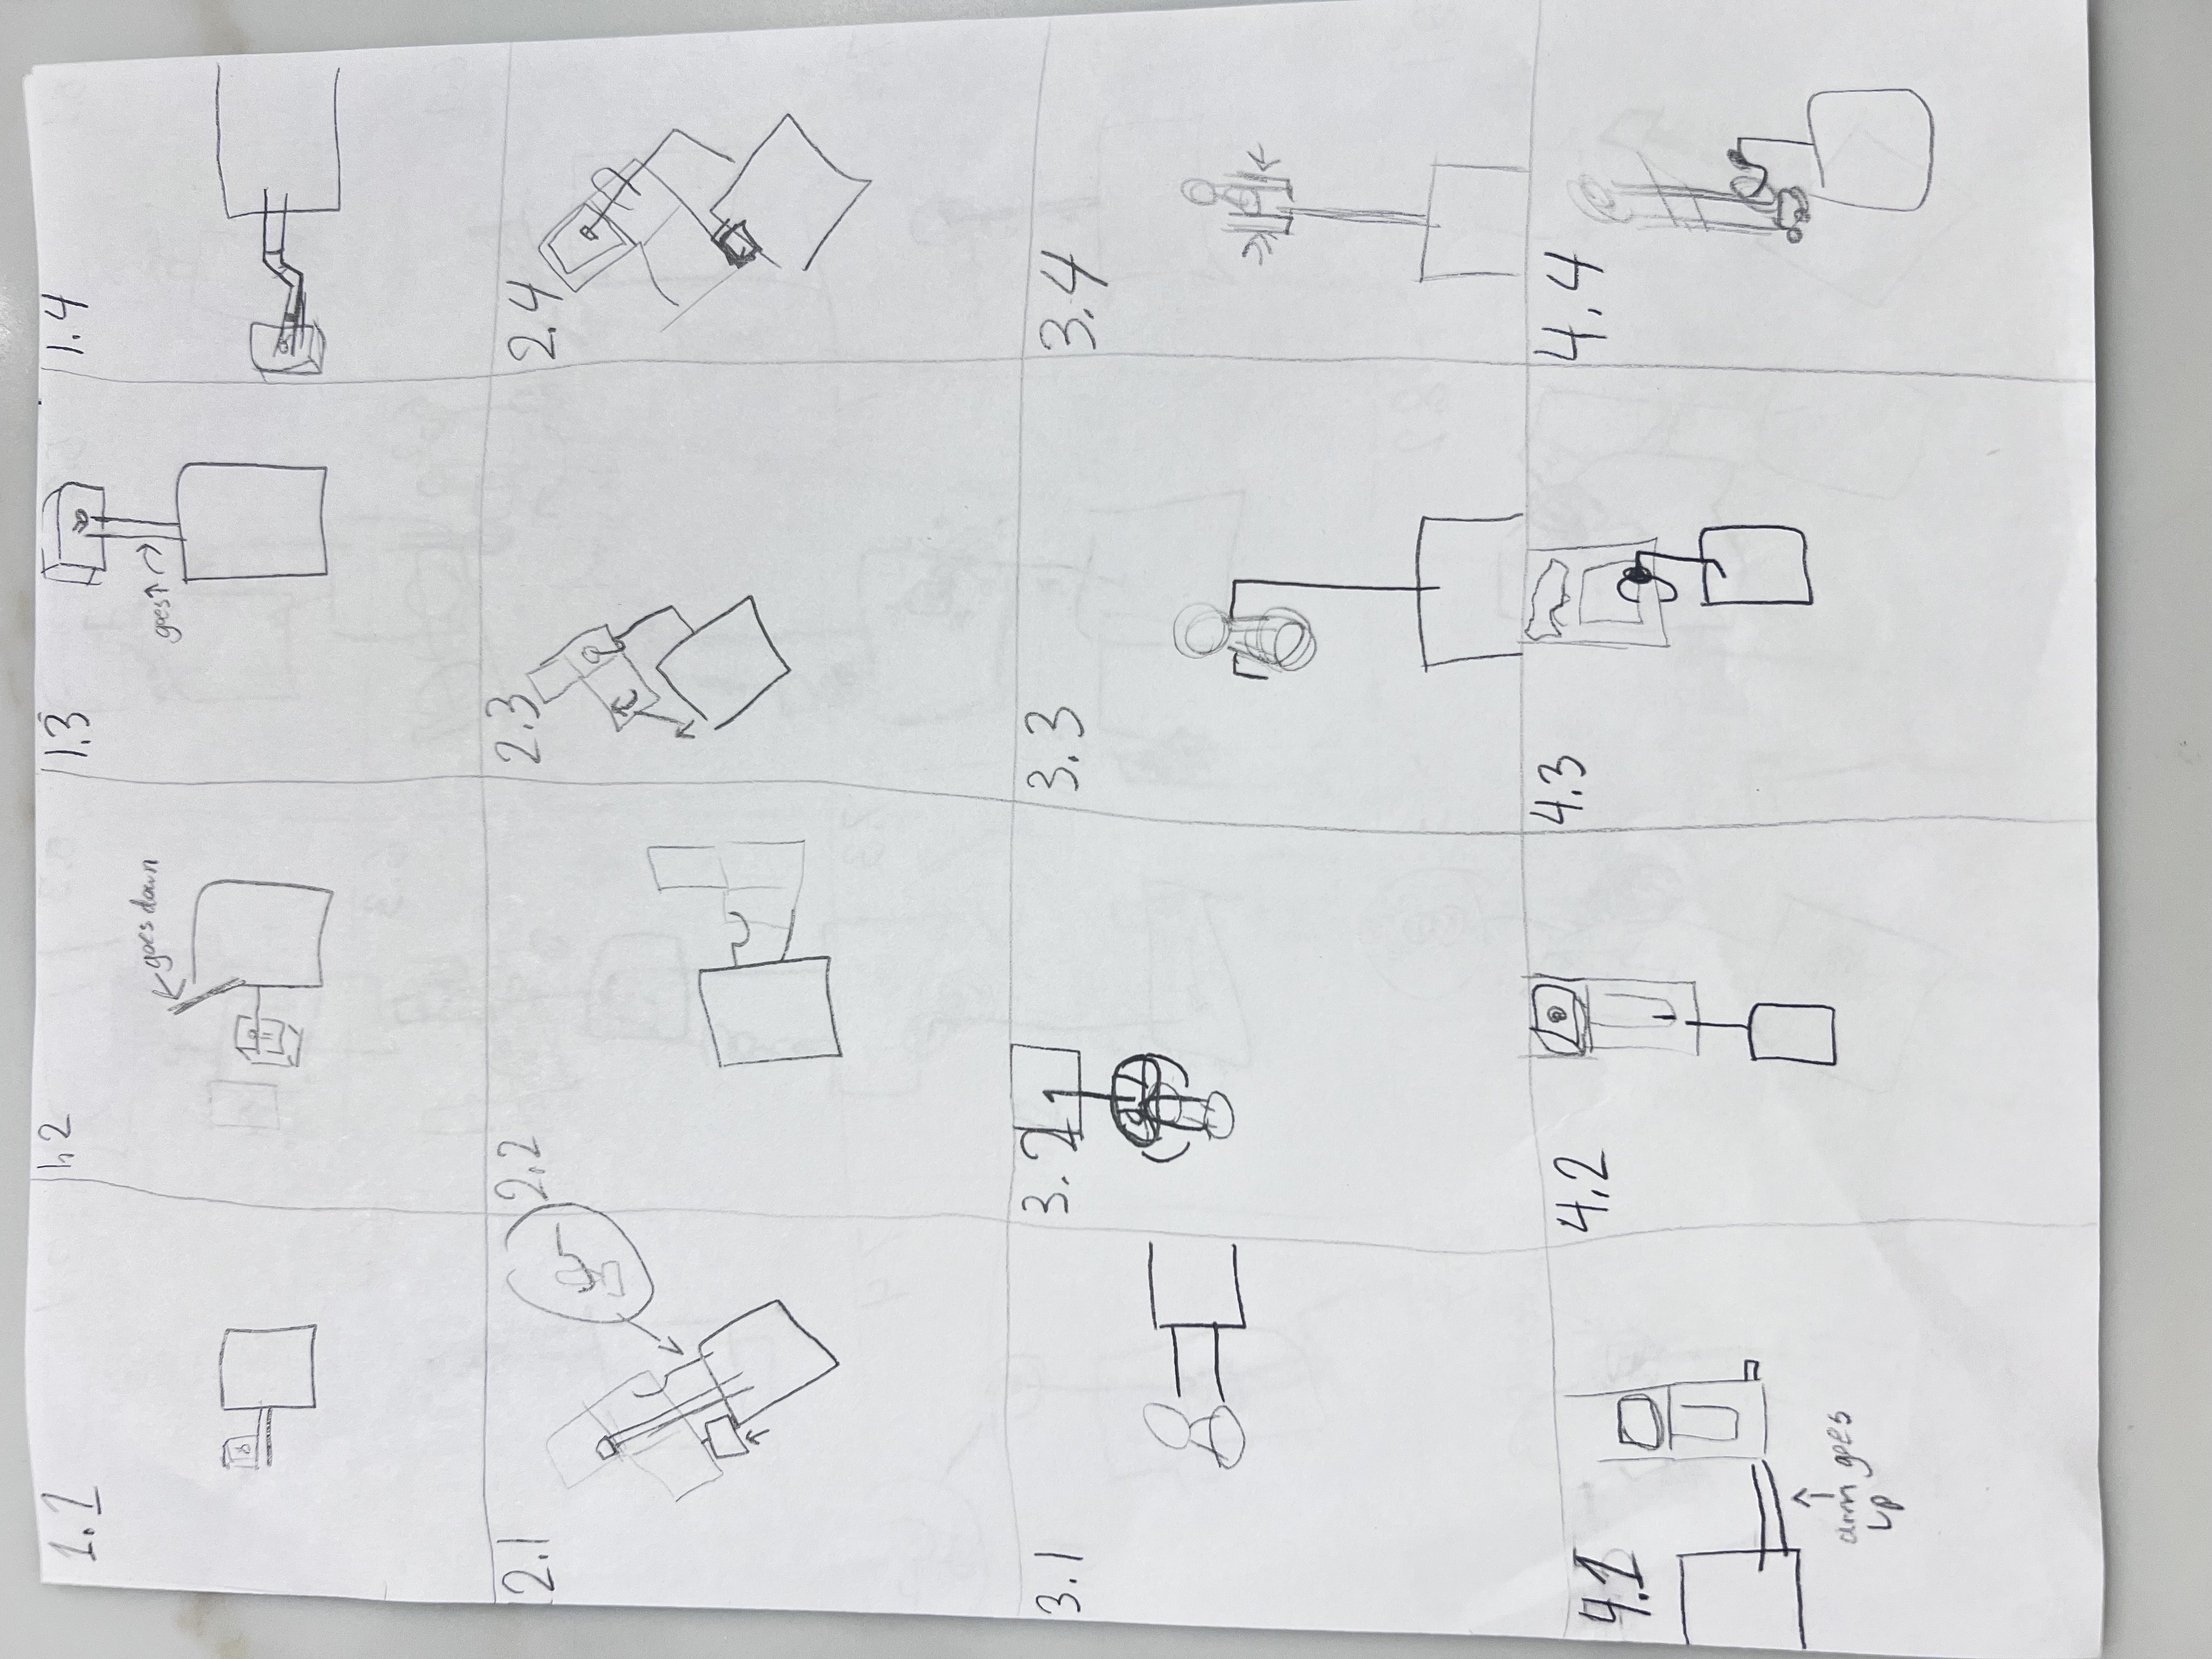
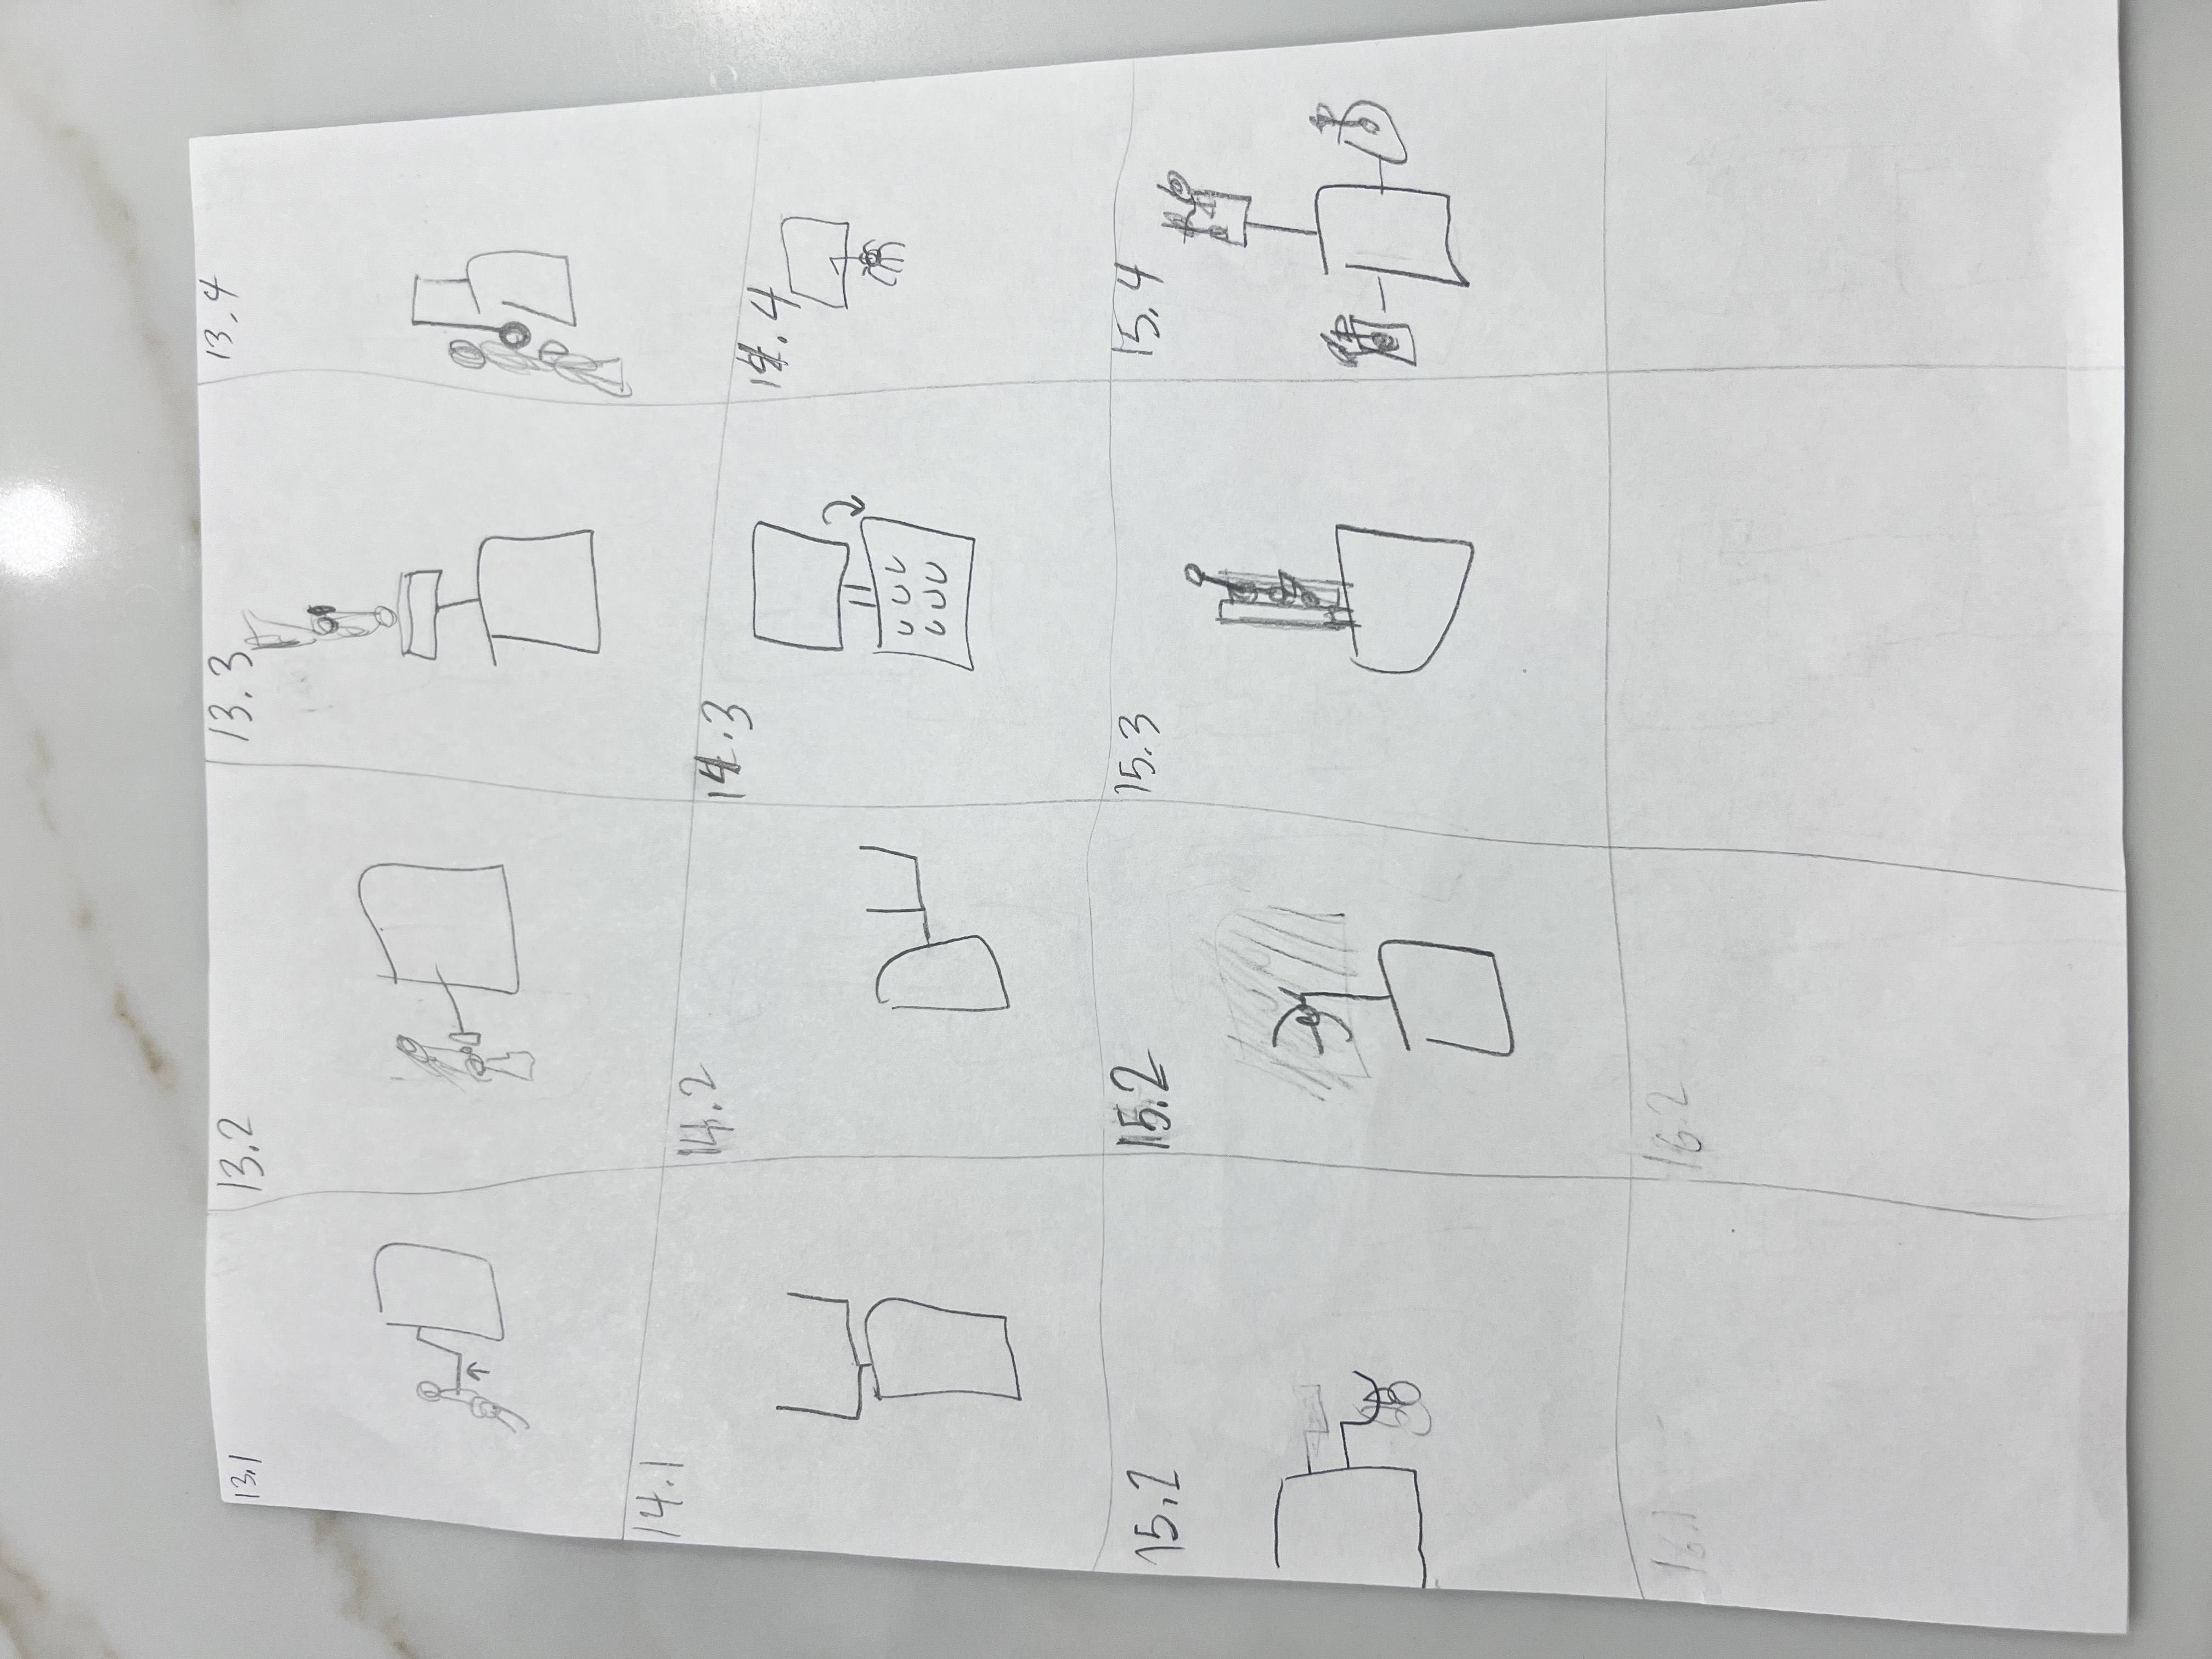
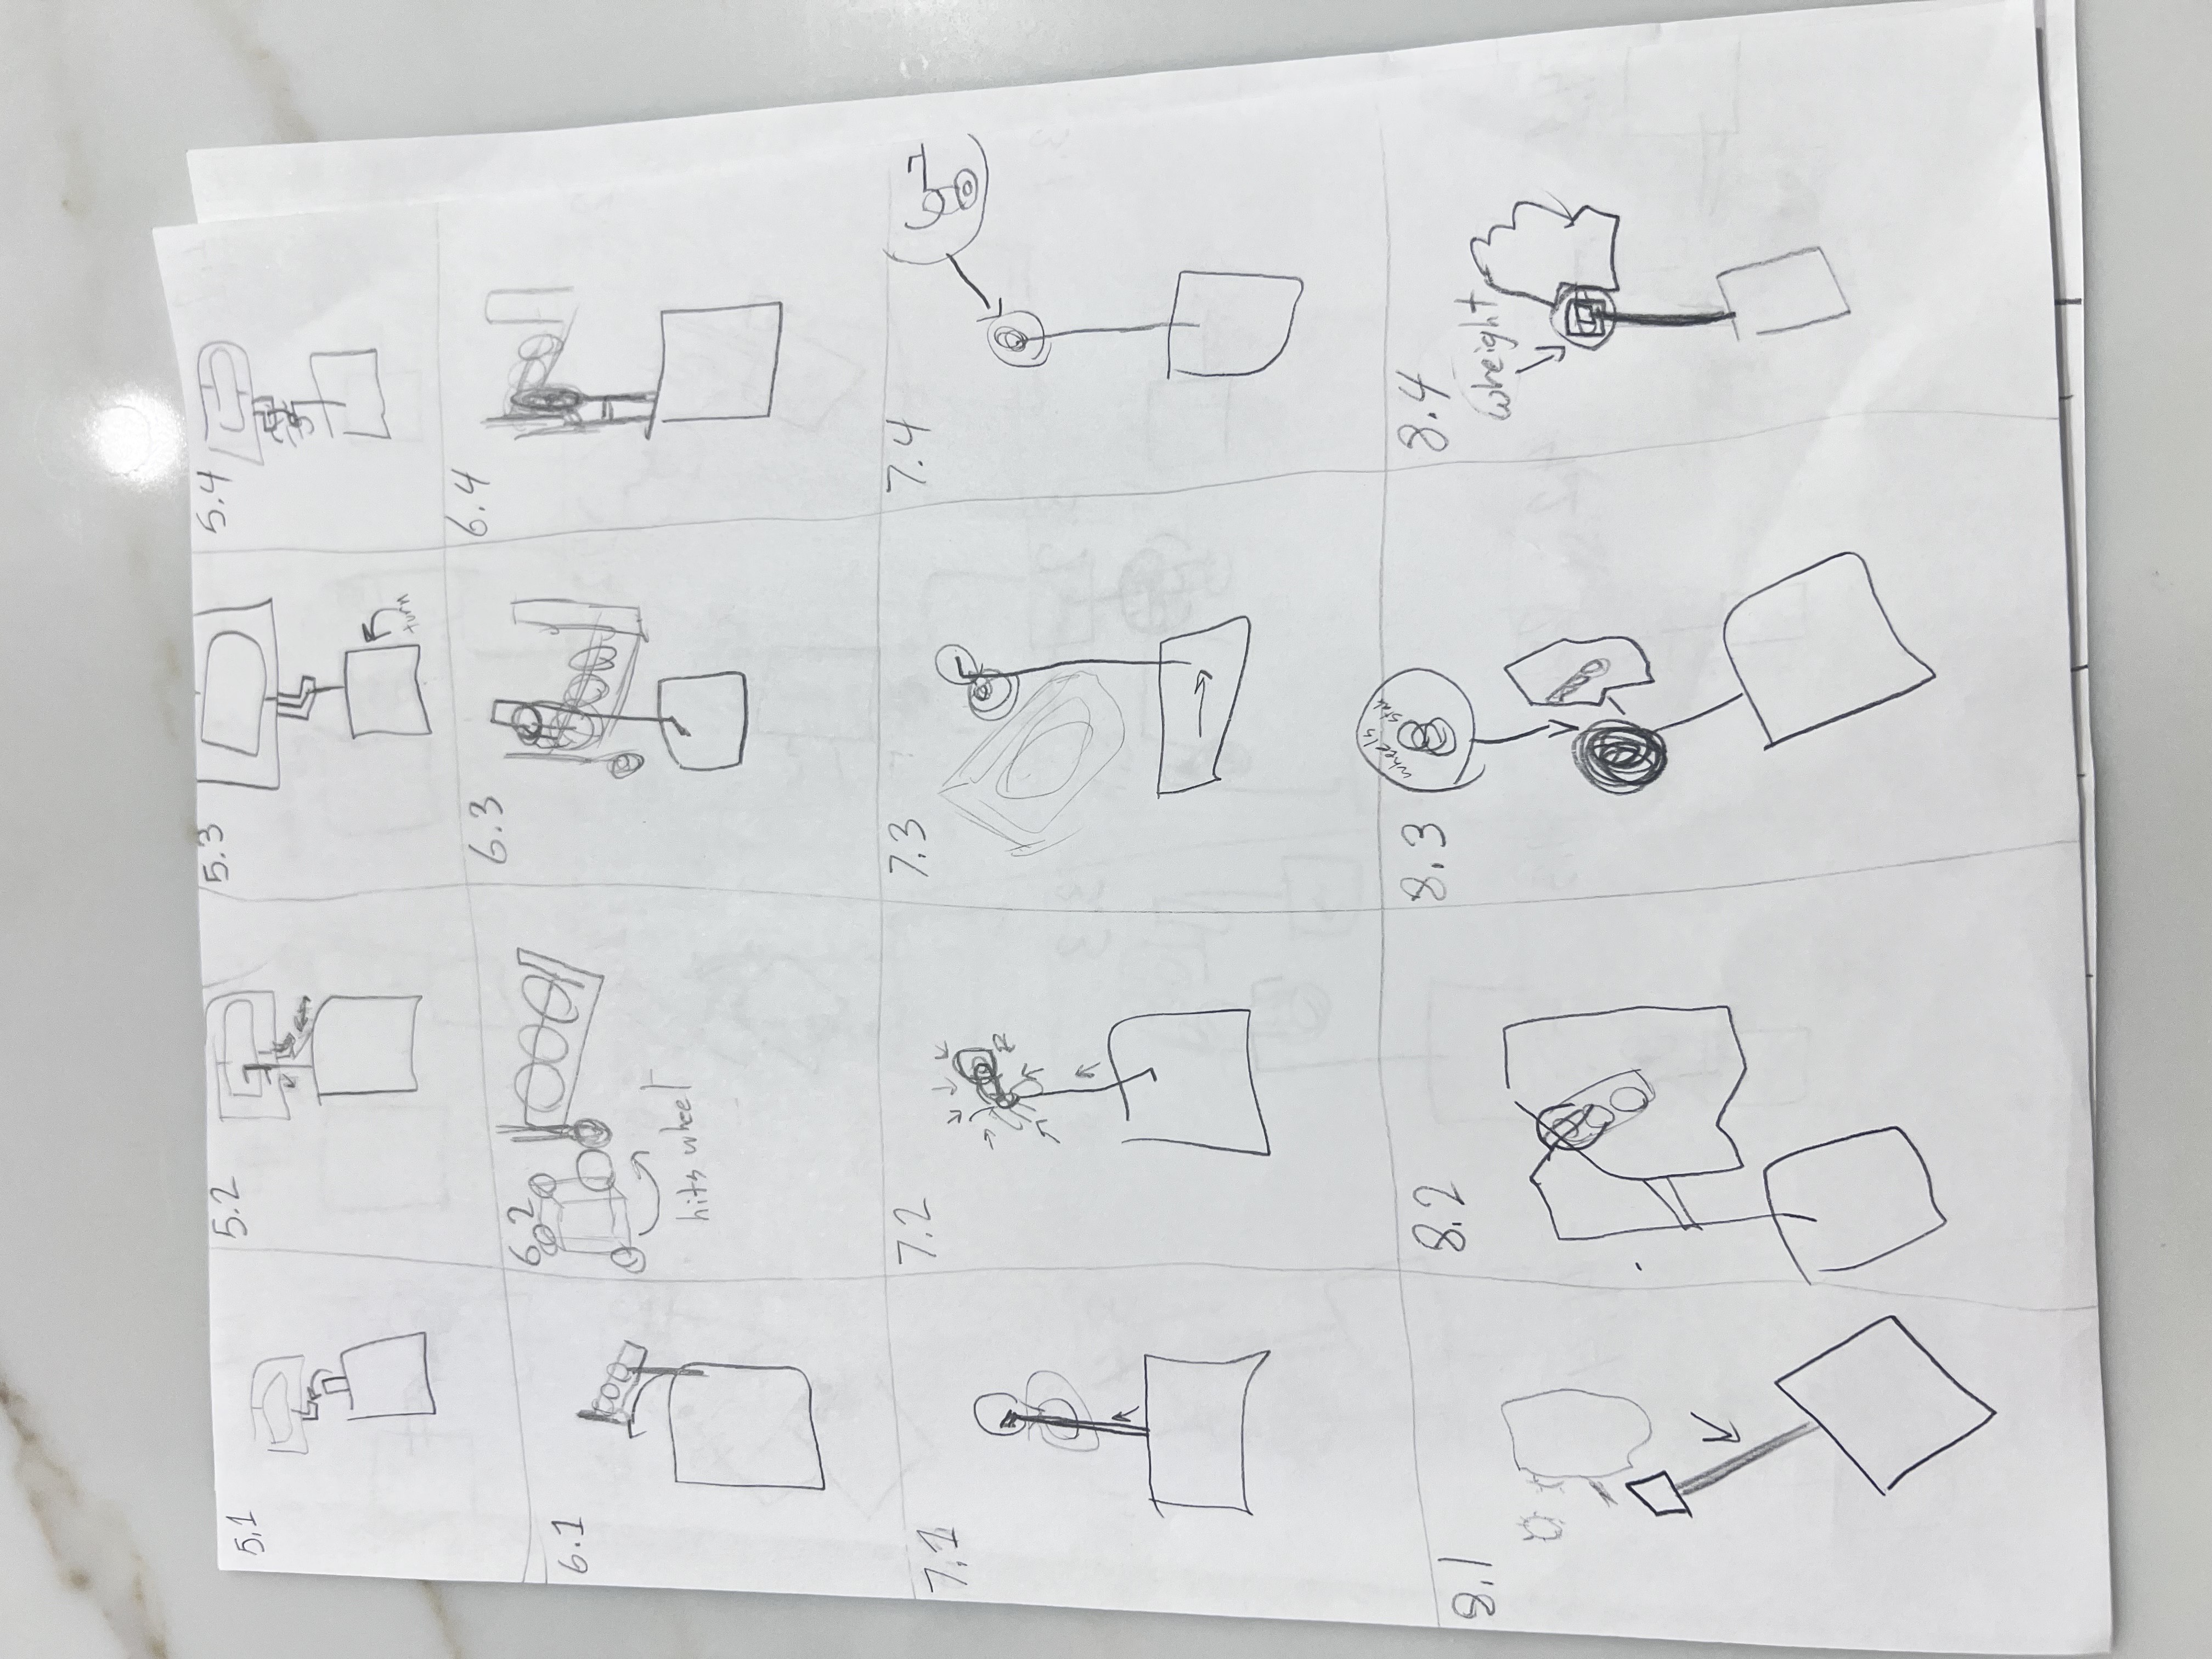
Click any sketch to open a larger view. These quick drawings capture early ideas and attachment concepts so visitors can scan options at a glance.
💡 Brainstorming by the Numbers: Each of our 4 team members generated 4 unique ideas for all 15 missions—resulting in 240 total ideas to analyze and refine!
Mission Analysis Snapshot

These visual summaries helped us quickly group missions that fit together and prioritize attachments for repeatable runs.
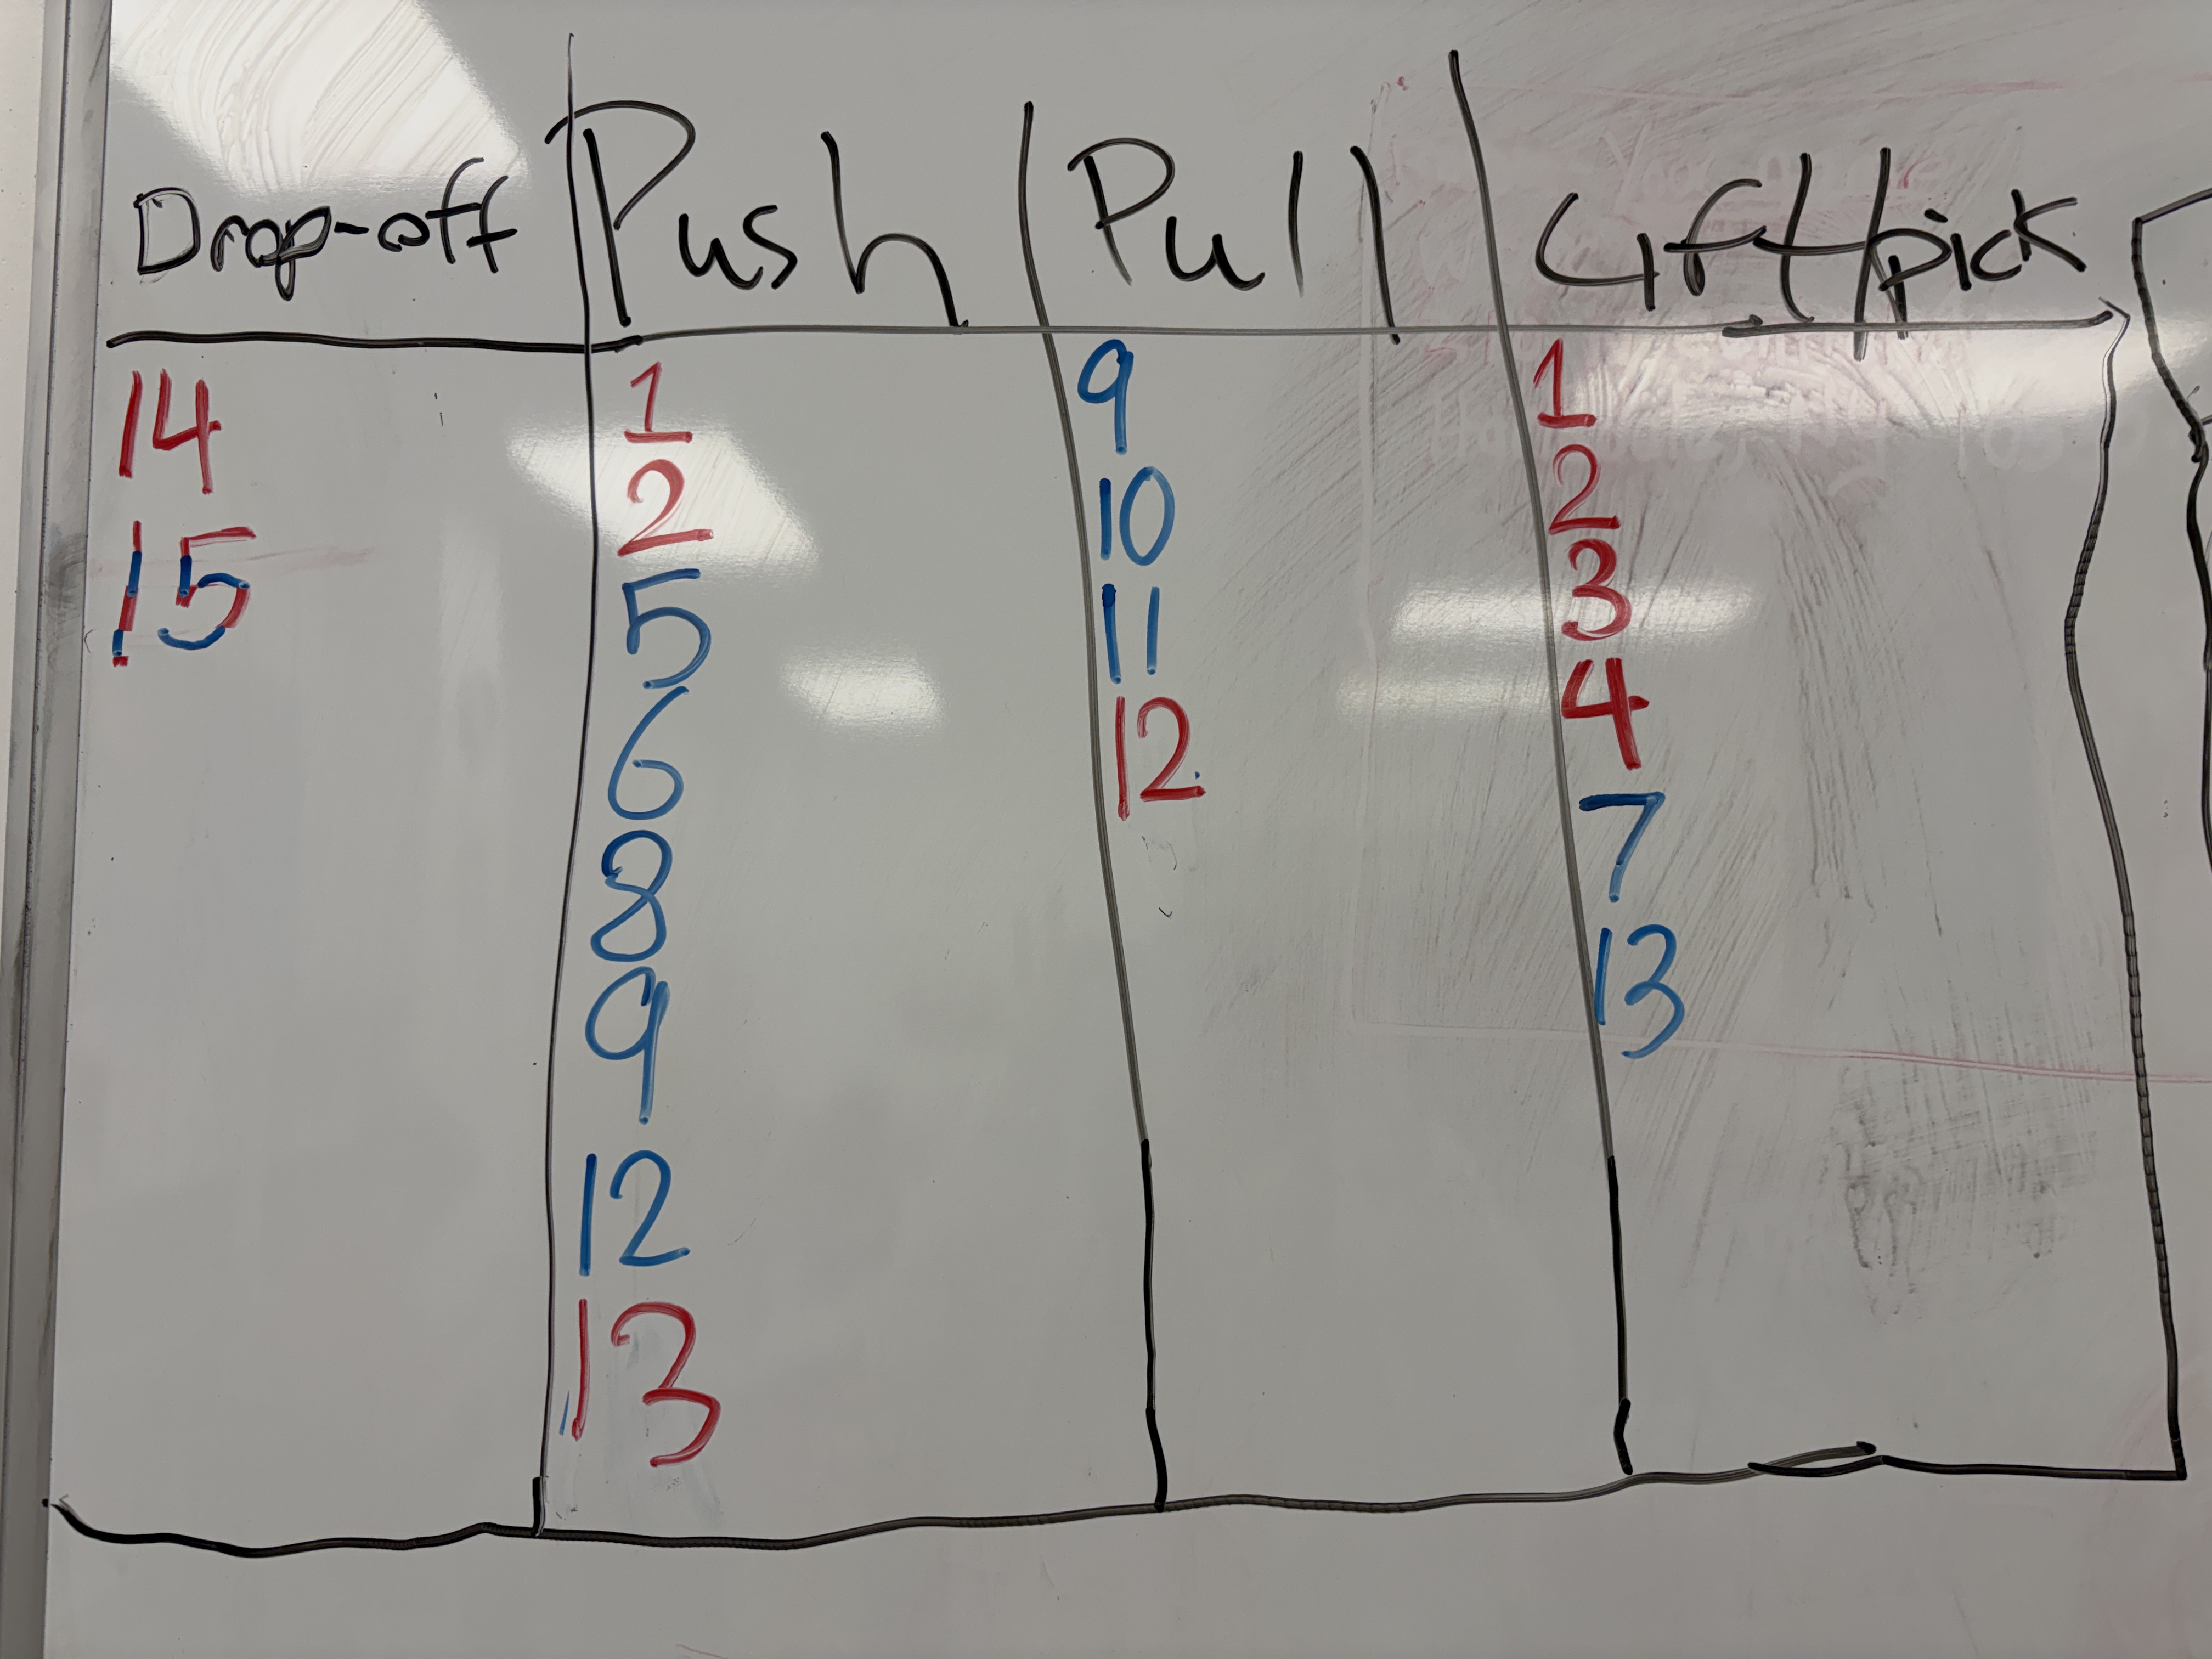
Mission Analysis & Sorting System
Before designing our robot and planning runs, we categorized all 15 missions by action type, difficulty, and point value. This systematic analysis helped us identify natural groupings and prioritize which missions to attempt.
🔴 Push Missions
7 missions require pushing objects or models
🔵 Pull Missions
3 missions involve pulling mechanisms
🟡 Pick Up/Drop Off
5 missions require precise object manipulation
🟢 Lift Missions
3 missions need vertical lifting action
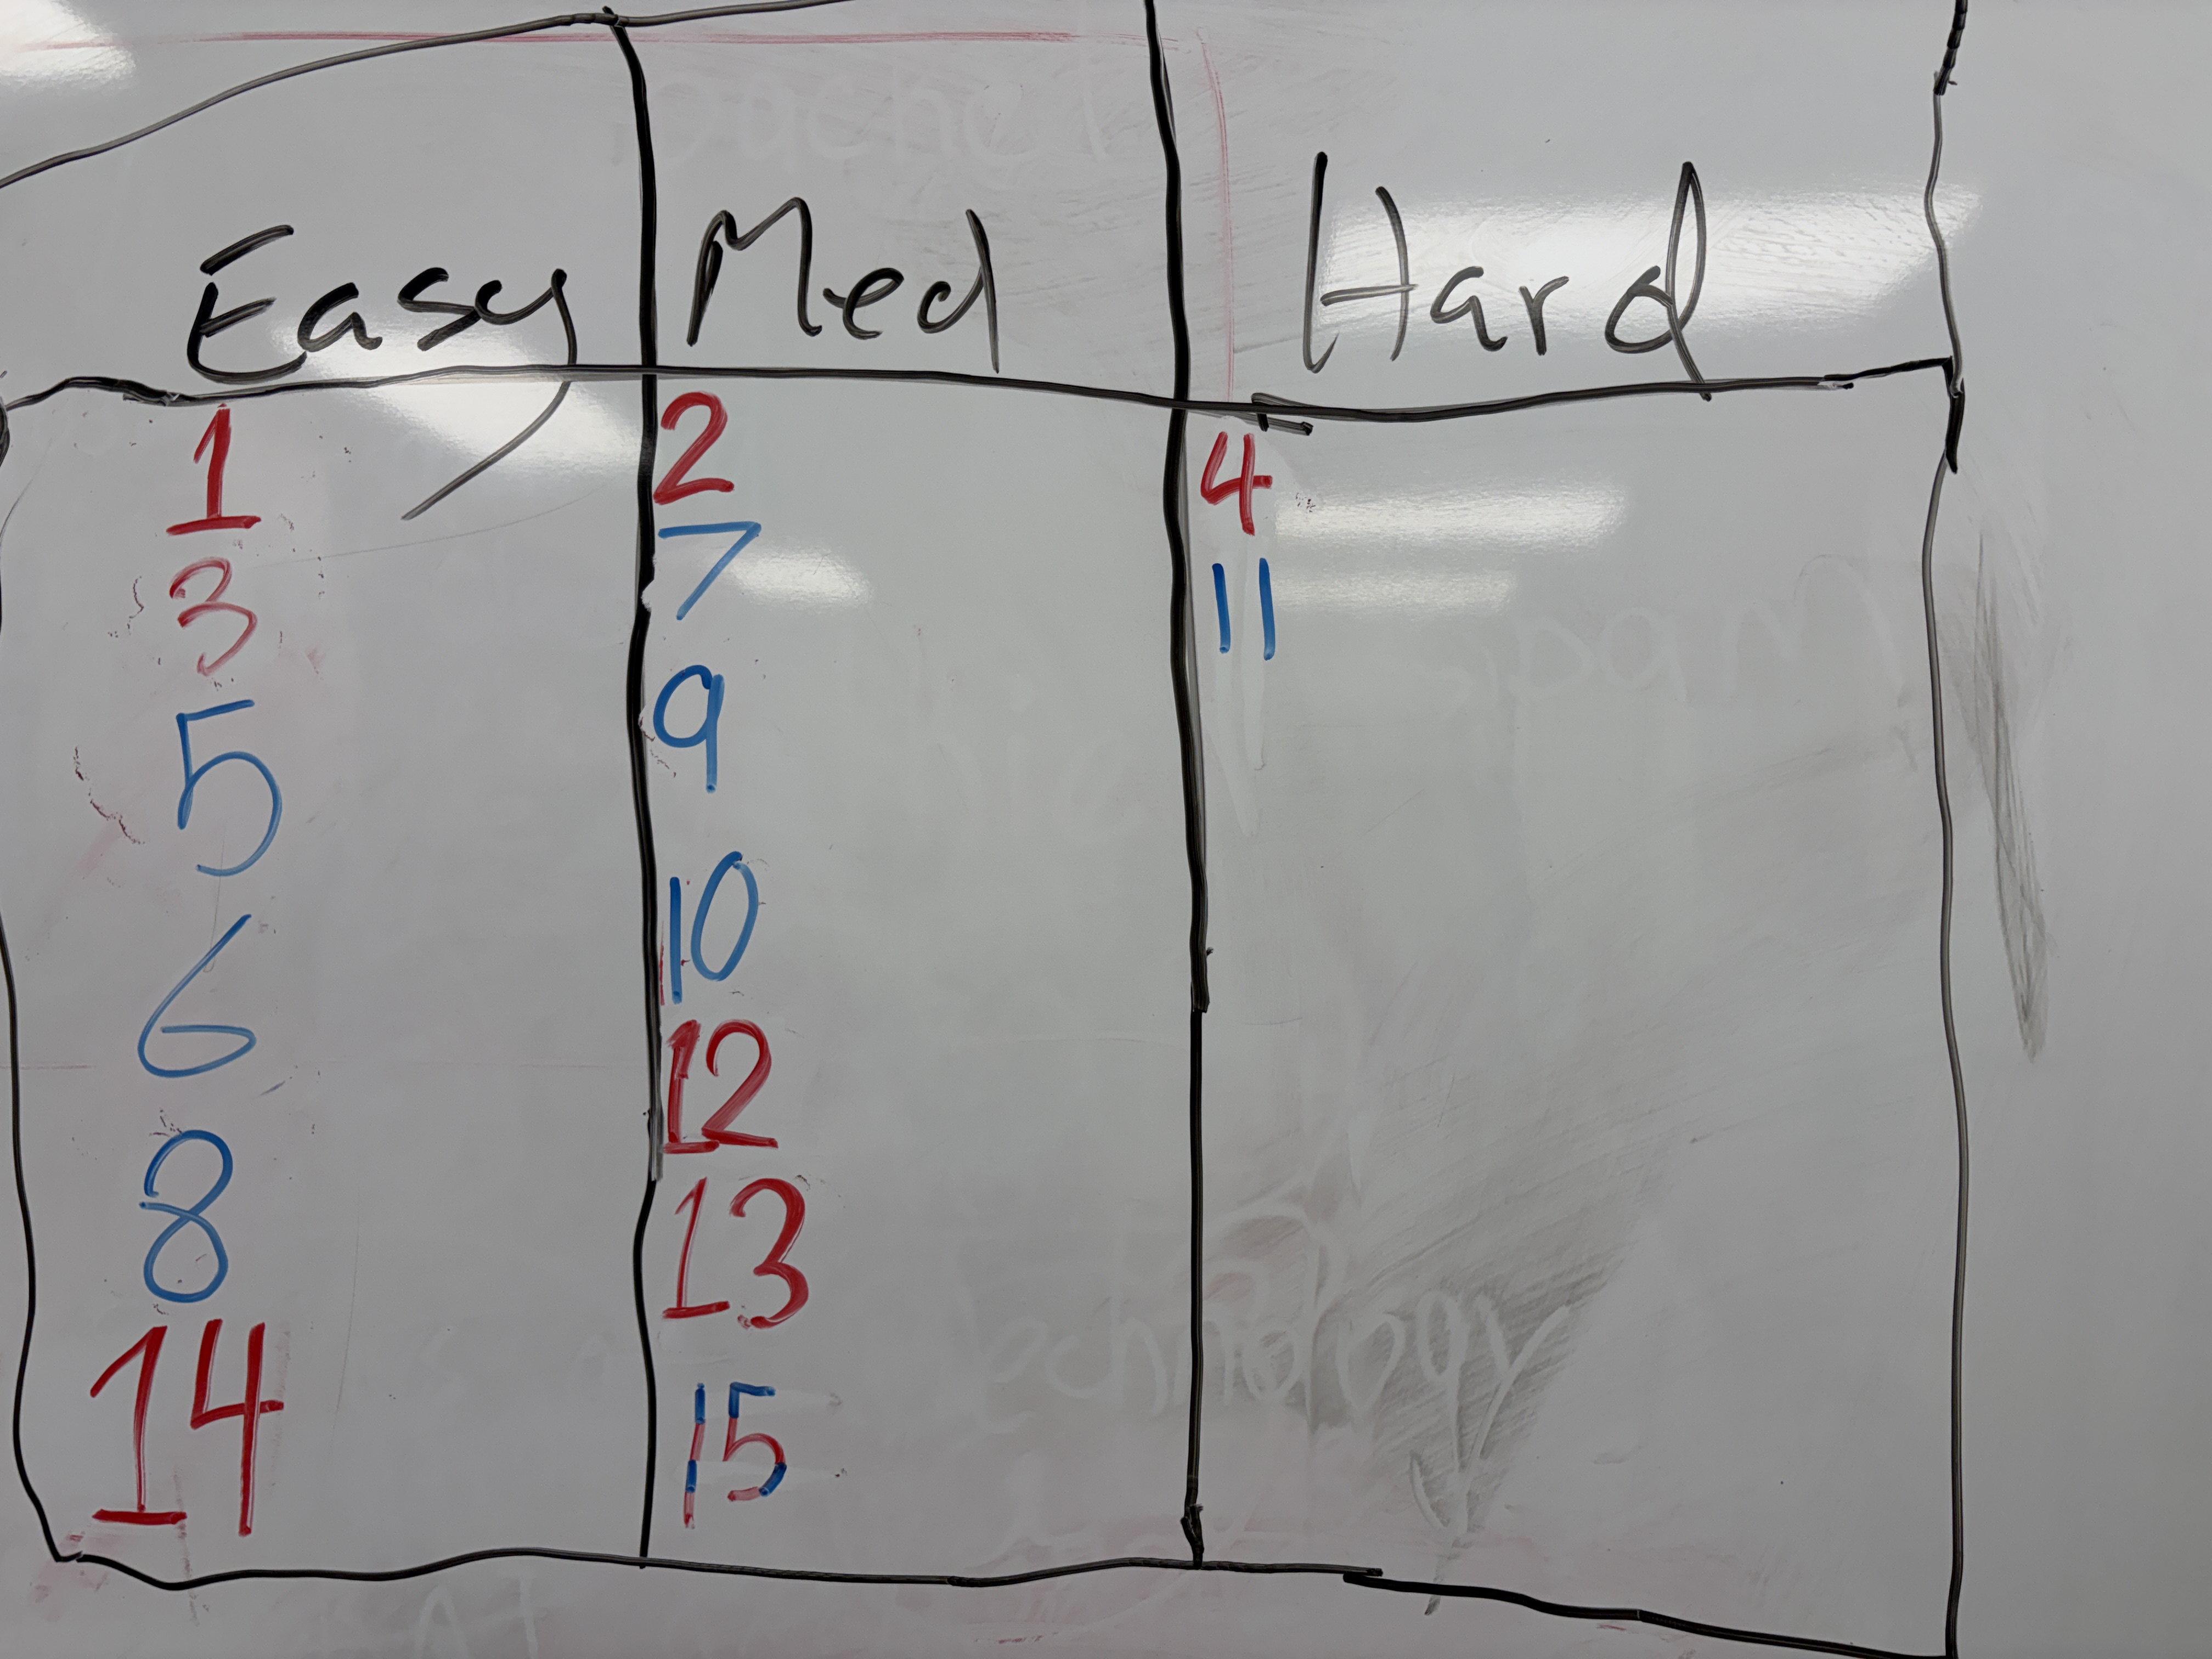
✅ Easy Missions
6 MissionsHigh success rate, straightforward execution, great for building confidence
⚠️ Medium Missions
5 MissionsModerate complexity, requires careful programming and attachment design
🔥 Hard Missions
3 MissionsHigh precision required, multiple failure points, advanced mechanisms needed
🏆 Total Available Points
Maximum score across all 15 missions
Project Management & Workflow
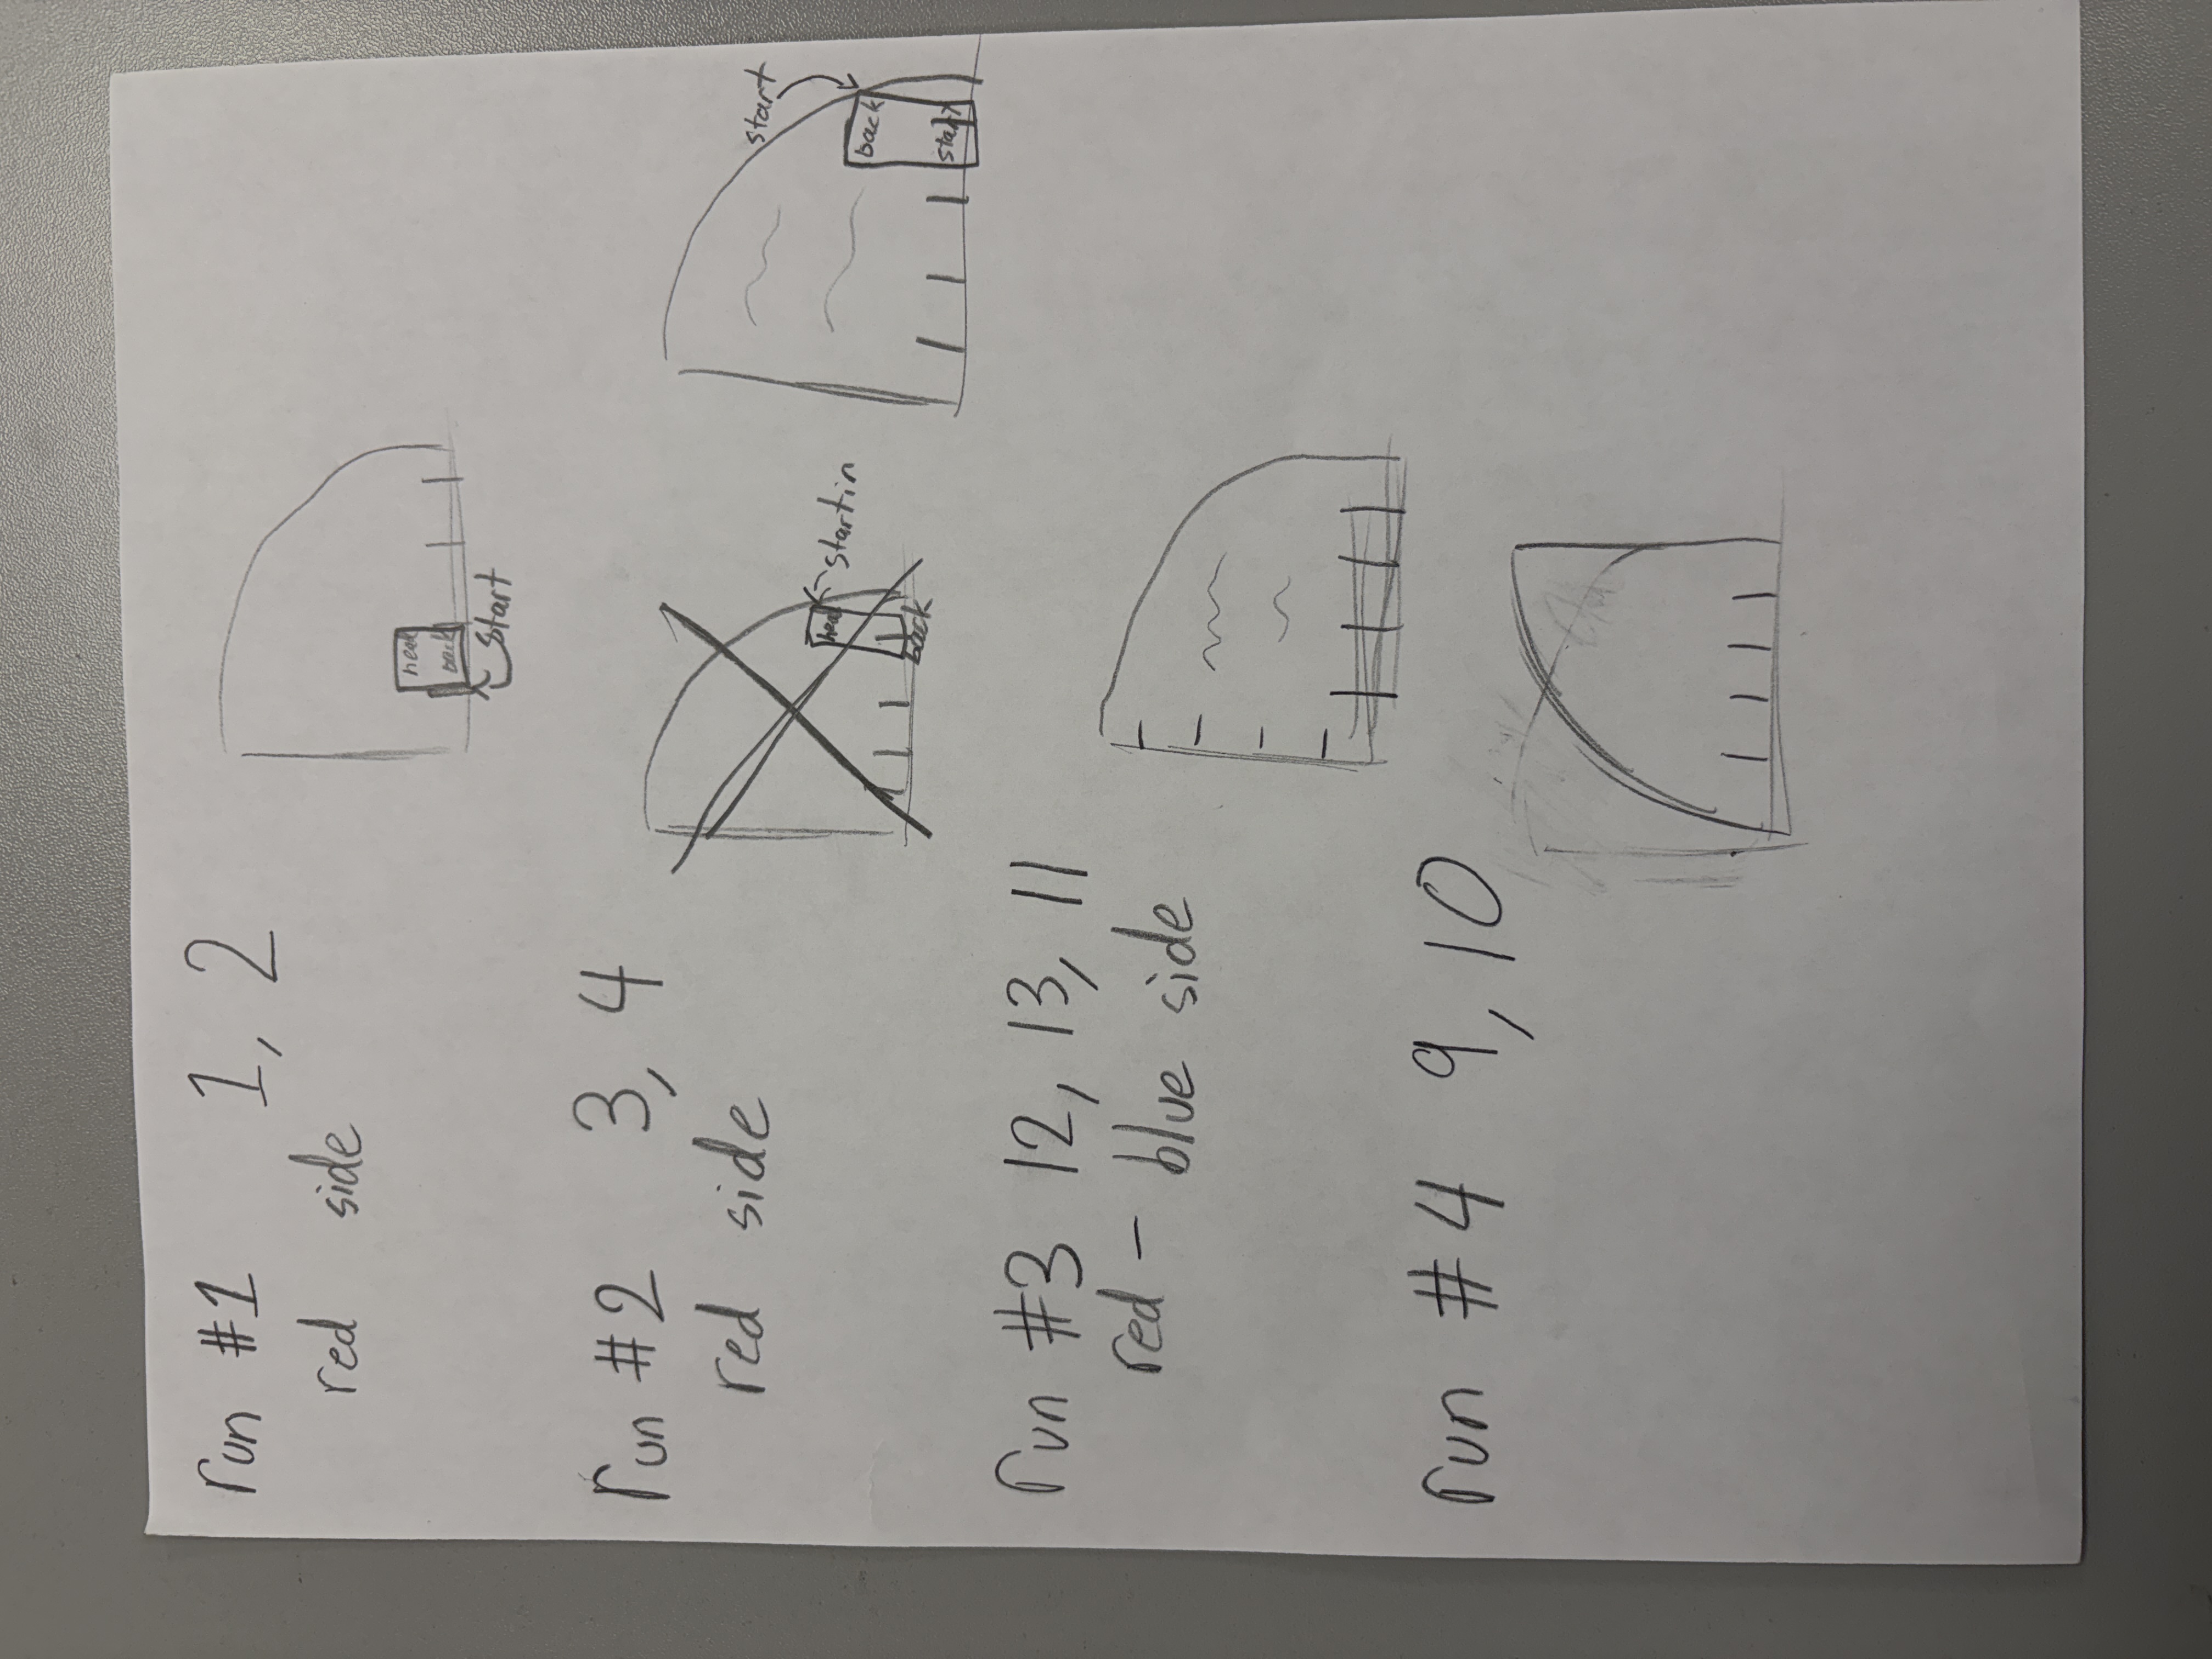
Run Groupings & Strategy
🔄 Run Grouping Evolution
Our mission groupings evolved through testing and iteration. See how each run changed from initial planning to final competition strategy.
🅰️ Run A
Foundation run • 60 points
🅱️ Run B
Optimized combo • 70 points
©️ Run C
Quad set • 90 points
🅳 Run D
Precision pair • 60 points
🅴 Run E
Simplified to solo mission • 30 points
💡 Why We Changed Run B
After initial practice and Qualifier 1 experience, we discovered that missions M3, M13, and M12 had better spatial grouping and could be completed more reliably in sequence.
Key improvement: The new grouping reduced attachment complexity and improved our success rate from 65% to 90% on this run.
📊 Strategic Grouping Results
We prioritized consistent, repeatable runs over attempting all 15 missions, and continued iterating our strategy based on competition experience.
Team Duos & Side Assignments
Three Step Method
Judging Feedback & Evolution
Judge: "What if it takes 4 days instead of 3?"
Our Team: "Then it's the Four Session Method!"
Judge's Response: "Maybe think about the name again..."
✨ Updated Approach:
We renamed it to the "Three Step Method" because it's about the process steps, not the number of days. Whether it takes 3 sessions or 4, we follow the same three fundamental steps: Proof of Concept → Alignment & Path → Tuning & Reliability.
Step 1
Proof of Concept
Step 2
Alignment & Path
Step 3
Tuning & Reliability
Step 1
Proof of Concept
Goals:
- Validate attachment feasibility
- Create rough path draft
- Identify major obstacles
Step 2
Alignment & Path
Goals:
- Optimize robot positioning
- Refine path waypoints
- Add alignment corrections
Step 3
Tuning & Reliability
Goals:
- Fine-tune PID values
- Test repeatability
- Handle edge cases
🔄 Iterative Excellence
The Three Step Method is a process framework, not a timeline. Whether development takes 3 sessions or 4, we always follow these three fundamental steps to transform rough concepts into competition-ready runs with reliability and repeatability.
Mission Runs: Design & Execution
Explore each mission run in detail, including design iterations, attachment evolution, and challenges we overcame.
Run A: Missions 1 & 2
Missions: Mission 1, Mission 2
Points Target: 60 points
Iteration 1: Final Solution
Solution: Added a passive guide rail to help align with mission models. Optimized motor speeds and added PID corrections.
Outcome: Achieved 95% success rate in practice. Consistently scores 75 points in this run.
Run B: Missions 3, 4 & 13
Missions: Mission 3, Mission 4, Mission 13
Points Target: 70 points
Iteration 1: Prototype (V1)
Approach: Initial prototype to validate dual-action attachment concept.
Challenges: The mechanism was complex and prone to jamming. Timing between actions was difficult to calibrate.
Iteration 2: Final (V2)
Solution: Simplified mechanism for reliability and added sensor feedback to confirm completion.
Outcome: Reliable performance with 90% success rate. Quick attachment swap makes this run efficient.
Run C: Missions 5,6,7,8
Missions: Mission 5, Mission 6, Mission 7, Mission 8
Points Target: 90 points
Iteration 1: Triple Mission Prototype (V1)
Approach: Ambitious design to complete three missions in one run.
Challenges: Path was too complex, increasing failure points. Robot occasionally missed alignment marks.
Iteration 2: Path Optimization (V2)
Improvements: Redesigned the path to reduce turns and improve flow. Added intermediate alignment points.
Results: Better consistency, but Mission 8 still had reliability issues.
Iteration 3: Final Refinement (V3)
Solution: Fine-tuned PID values for each segment. Added a passive attachment that automatically engages during the run.
Outcome: Our highest-scoring run with excellent reliability. Key to our competition strategy.
Run D: Missions 9 & 10
Missions: Mission 9, Mission 10
Points Target: 60 points
Iteration 1: Precision Prototype (V1)
Approach: Required extremely precise positioning for small mission models.
Challenges: Even minor drift caused mission failure. Battery level affected motor performance significantly.
Iteration 2: Enhanced Precision (V2)
Solution: Implemented battery voltage compensation in code. Added physical alignment guides to the attachment.
Outcome: Reliable execution even with varying battery levels. Consistent 60-point contribution.
Run E: Missions 11,12,15
Missions: Mission 11, Mission 12, Mission 15
Points Target: 90 points
Iteration 1: Speed vs. Accuracy (V1)
Approach: Attempted to complete missions quickly to maximize remaining time.
Challenges: Higher speeds reduced accuracy. Occasional overshooting caused mission failures.

Iteration 2: Balanced Approach (V2)
Solution: Implemented variable speed control—faster on long straights, slower near mission models. Added deceleration ramps.
Outcome: Maintains good speed while ensuring accuracy. Completes in under 30 seconds with high reliability.
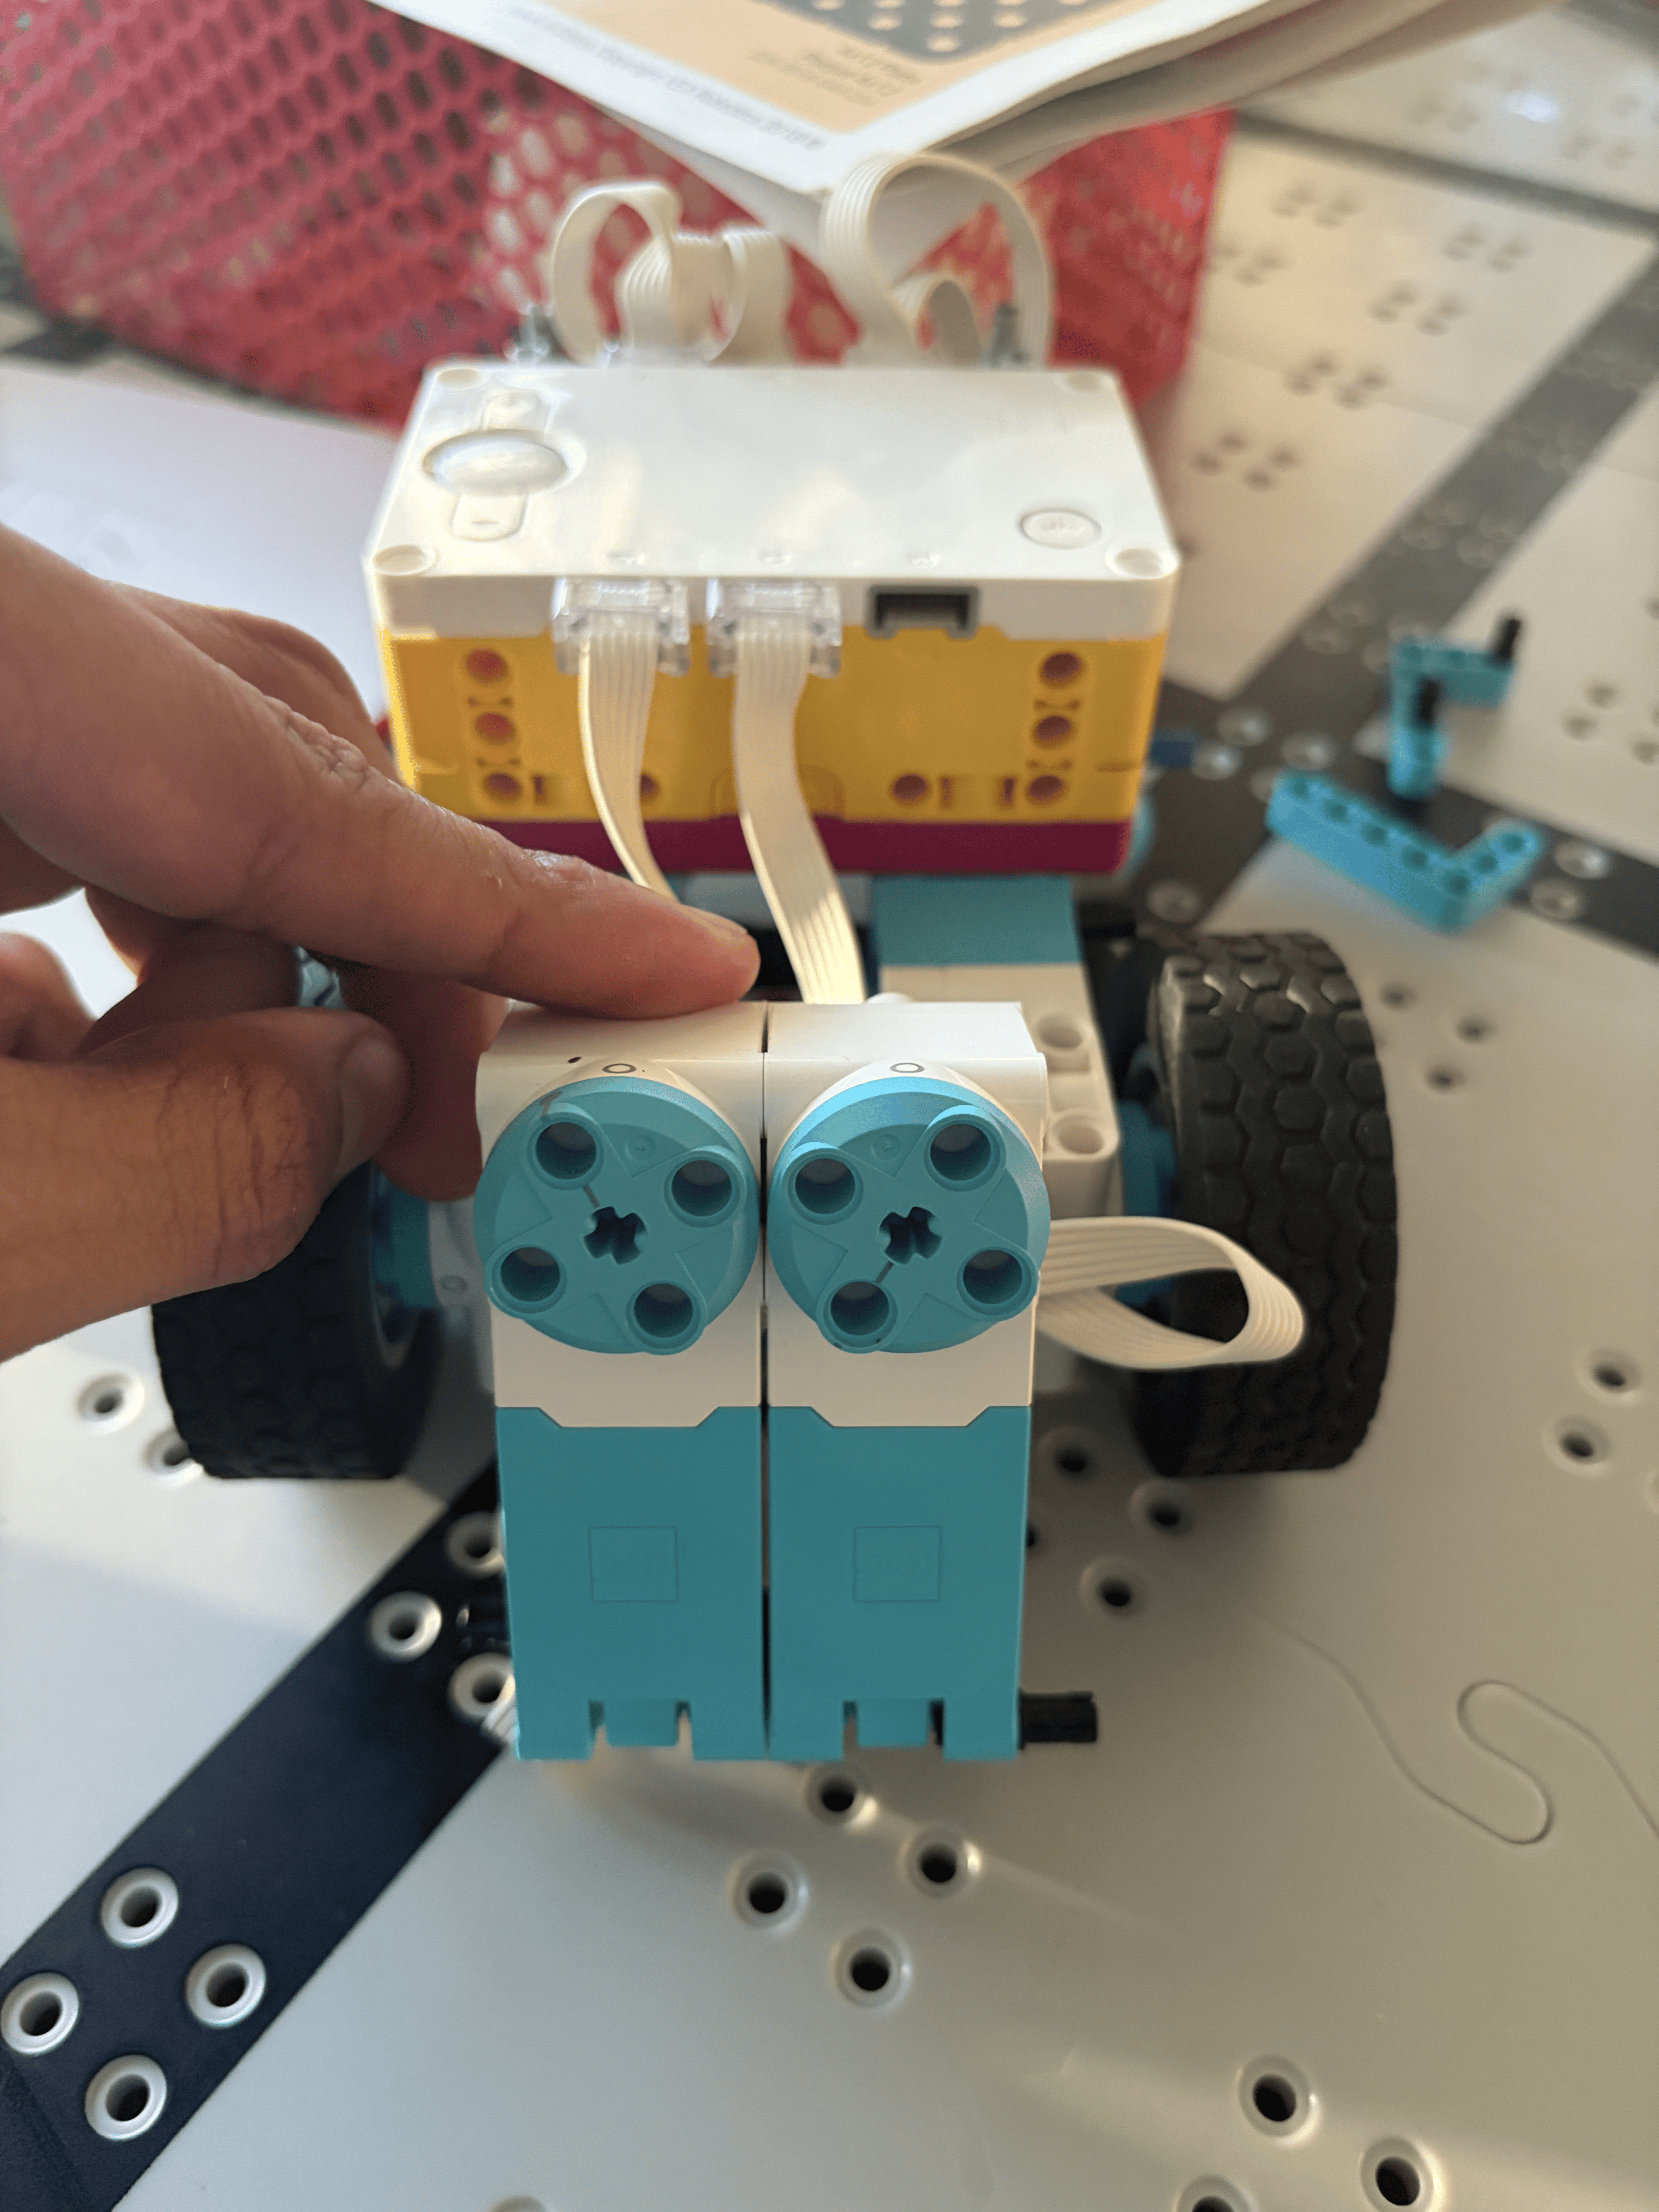
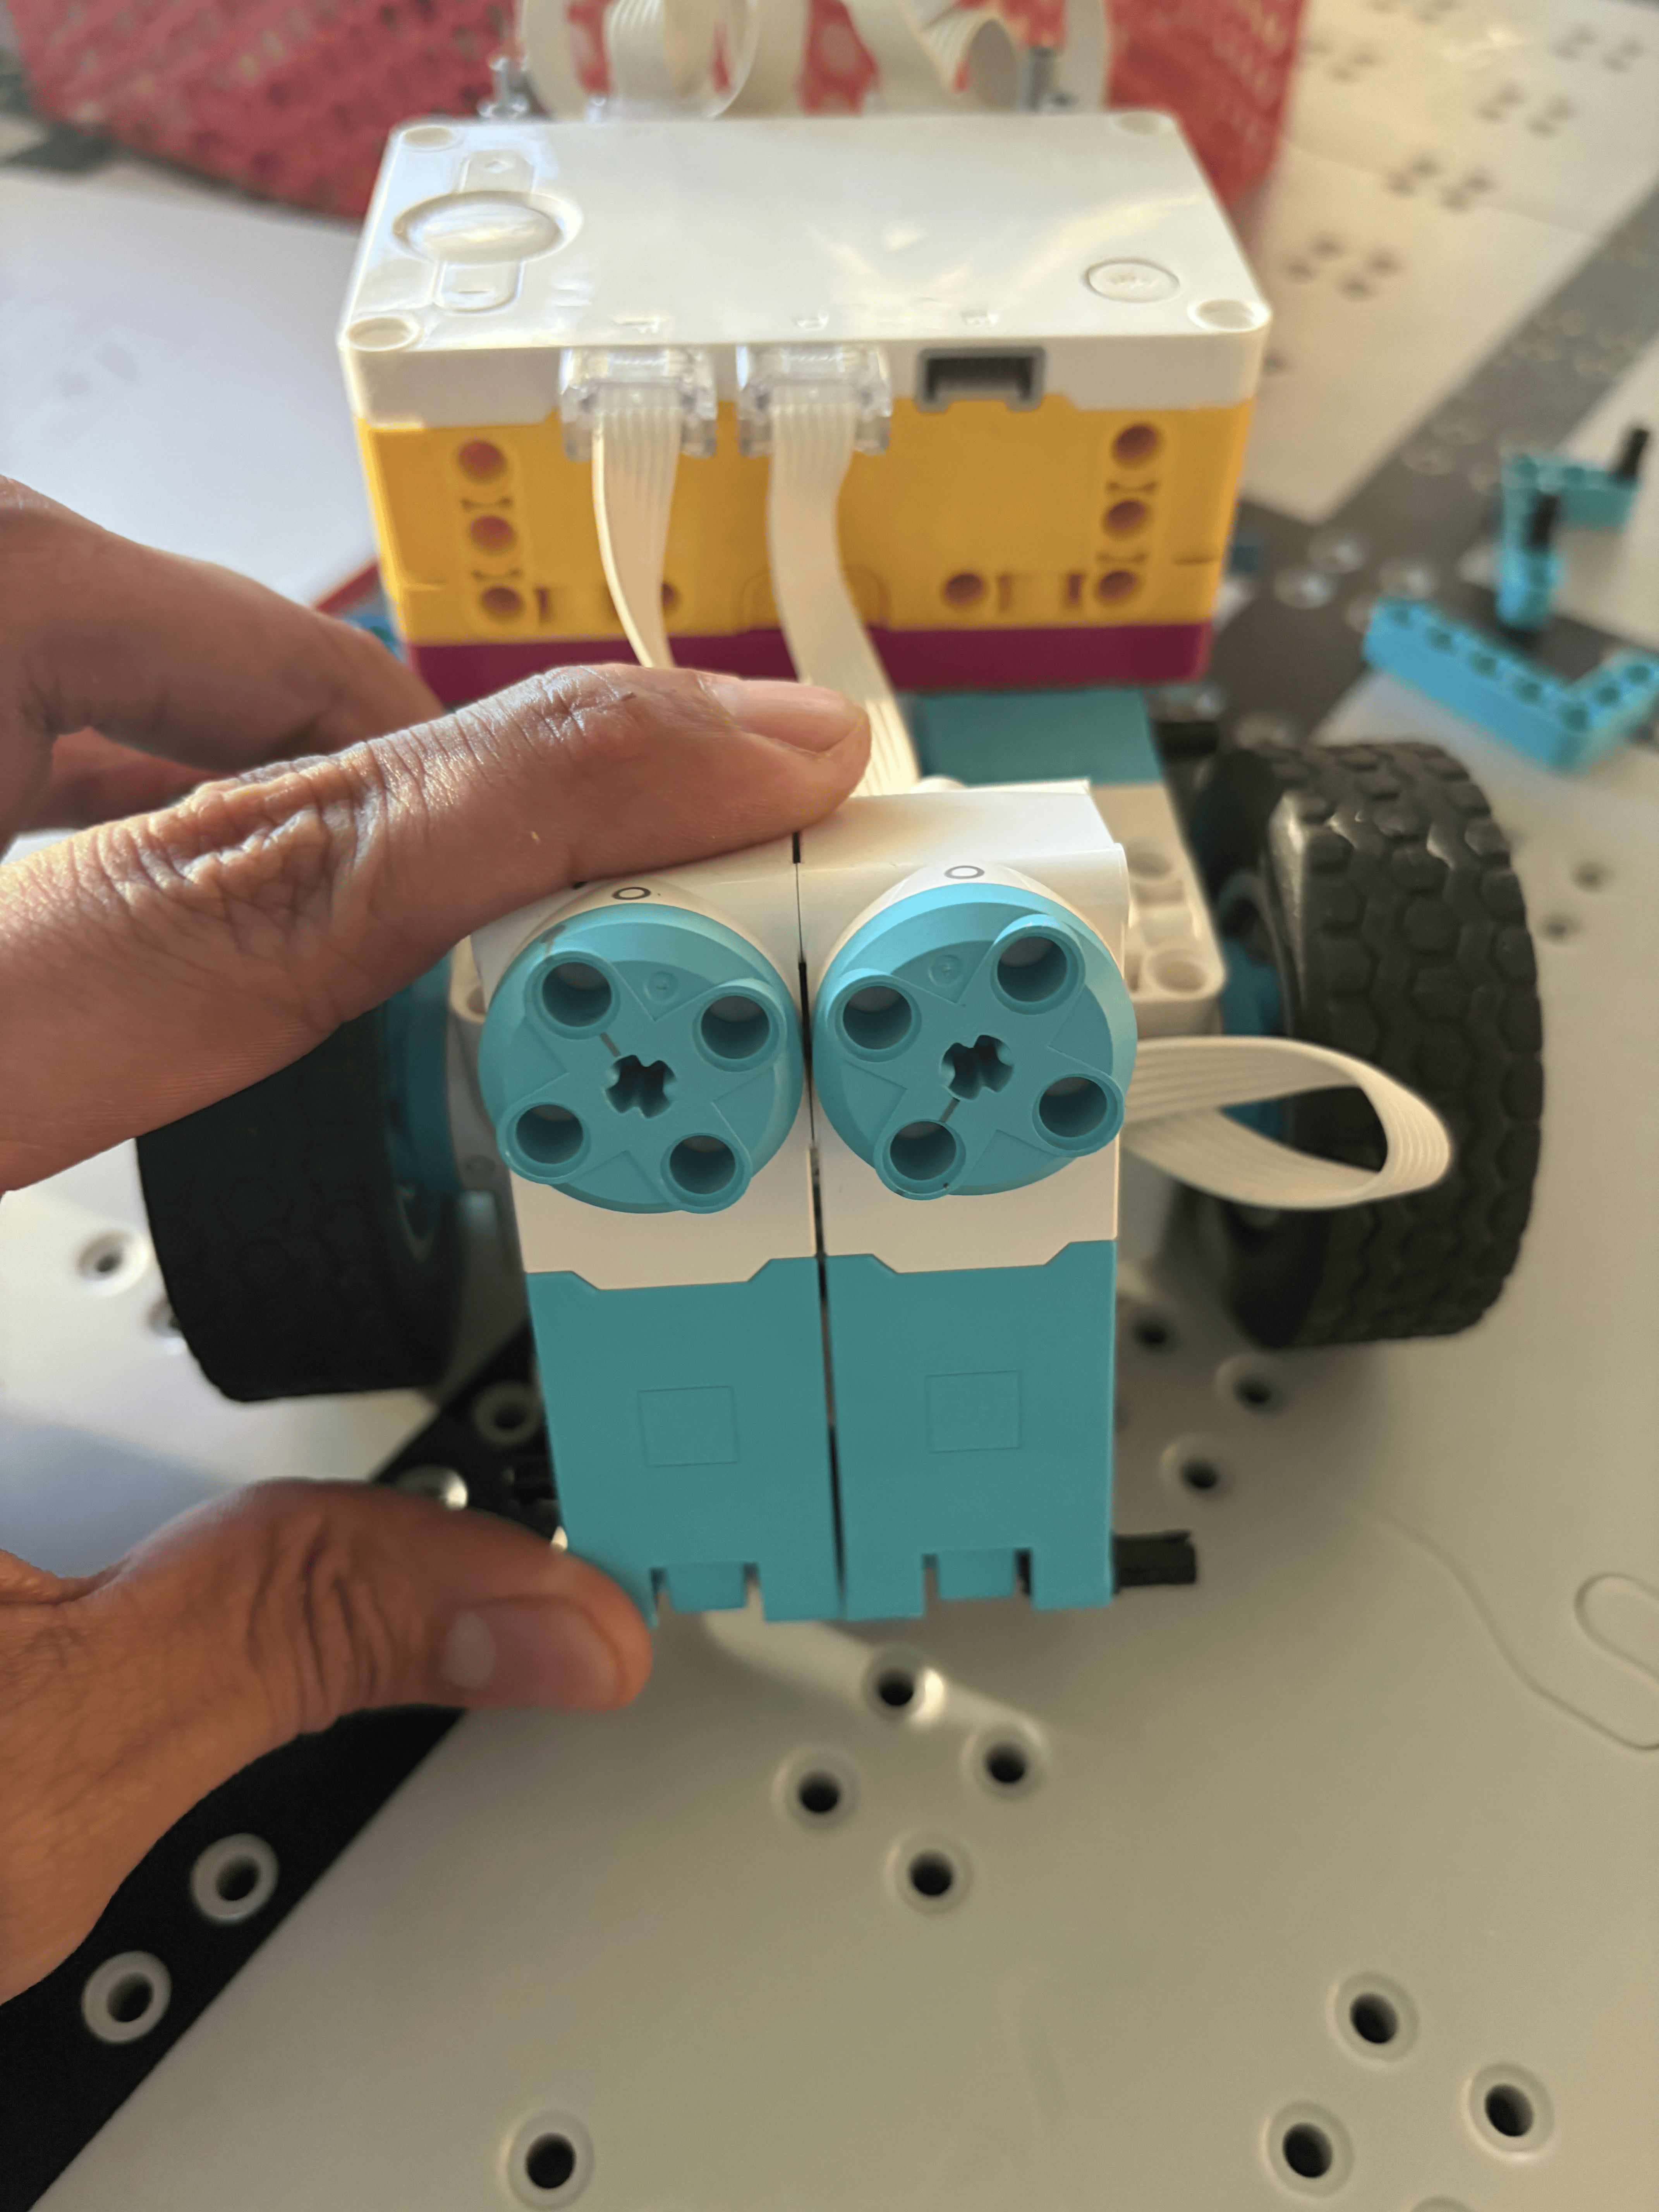
Mechanical Context & Programming Focus
.png)
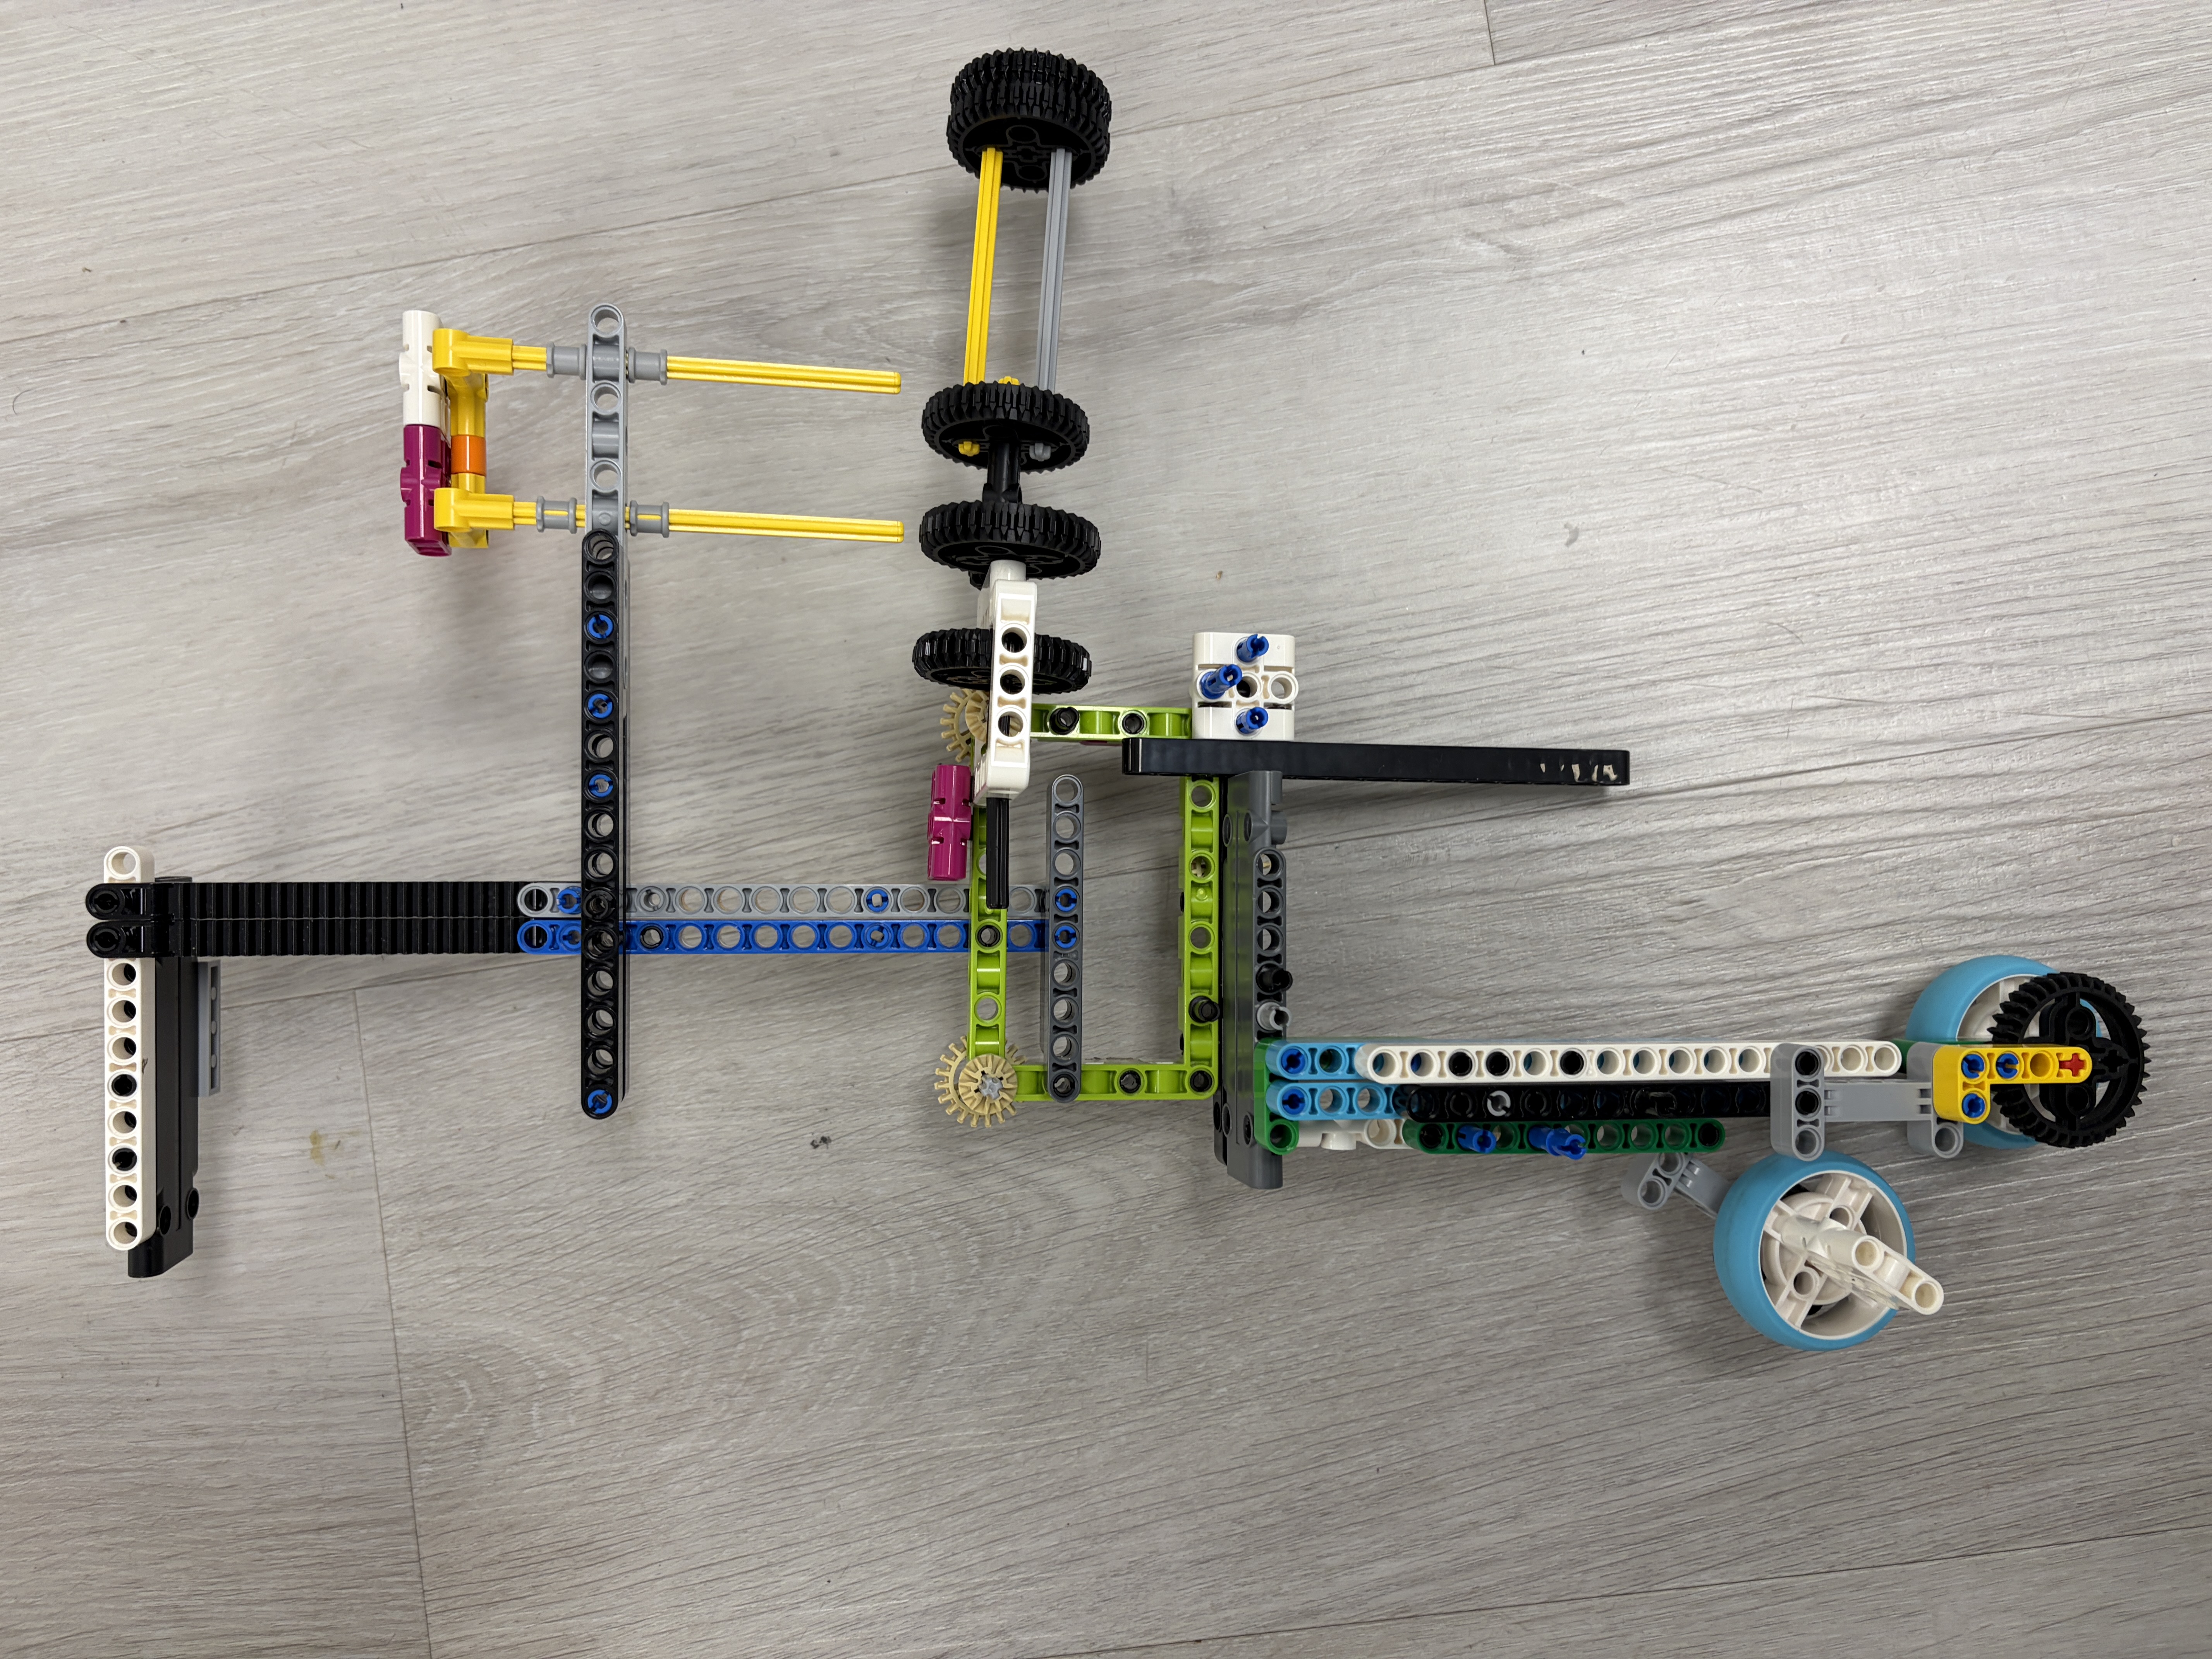
We faced many mechanical challenges early in the season. Lessons from last year—especially about passive attachments—strongly influenced this year's robot.
.png)
By combining two powered motors with passive mechanisms, one motor could complete one task, the second another, and a passive attachment a third—making it realistic to complete three missions in one run.
While mechanical challenges were significant, programming ultimately became our biggest focus.
Programming Evolution, PID, & Improvement
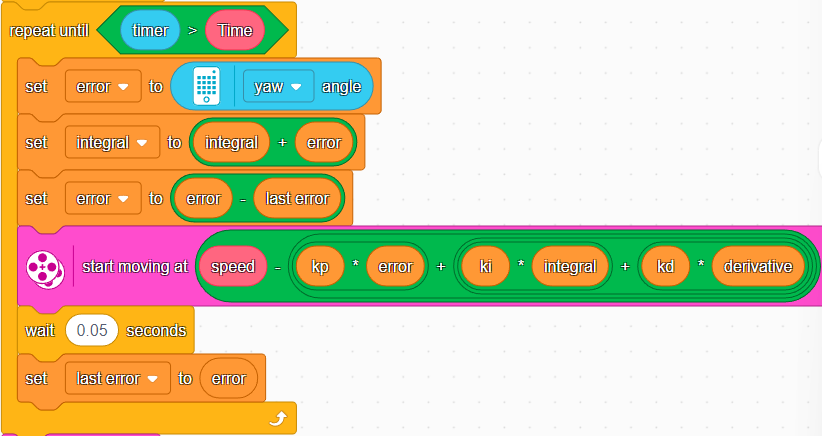
To improve consistency, we switched from block coding to Pybricks, which allows a much higher number of control loop iterations. We use the gyro sensor for heading, motor encoders for distance, and degree-based motor control.
We tested various Kp and Kd values to optimize drive performance. Our best results came from Kp=1.15 and Kd=0.02, which provided minimal drift across different speeds and distances.
PID Tuning Results
Kp Tuning (Heading Error in Degrees)
Kd Tuning (Heading Error in Degrees)
Acceleration / Deceleration Profile
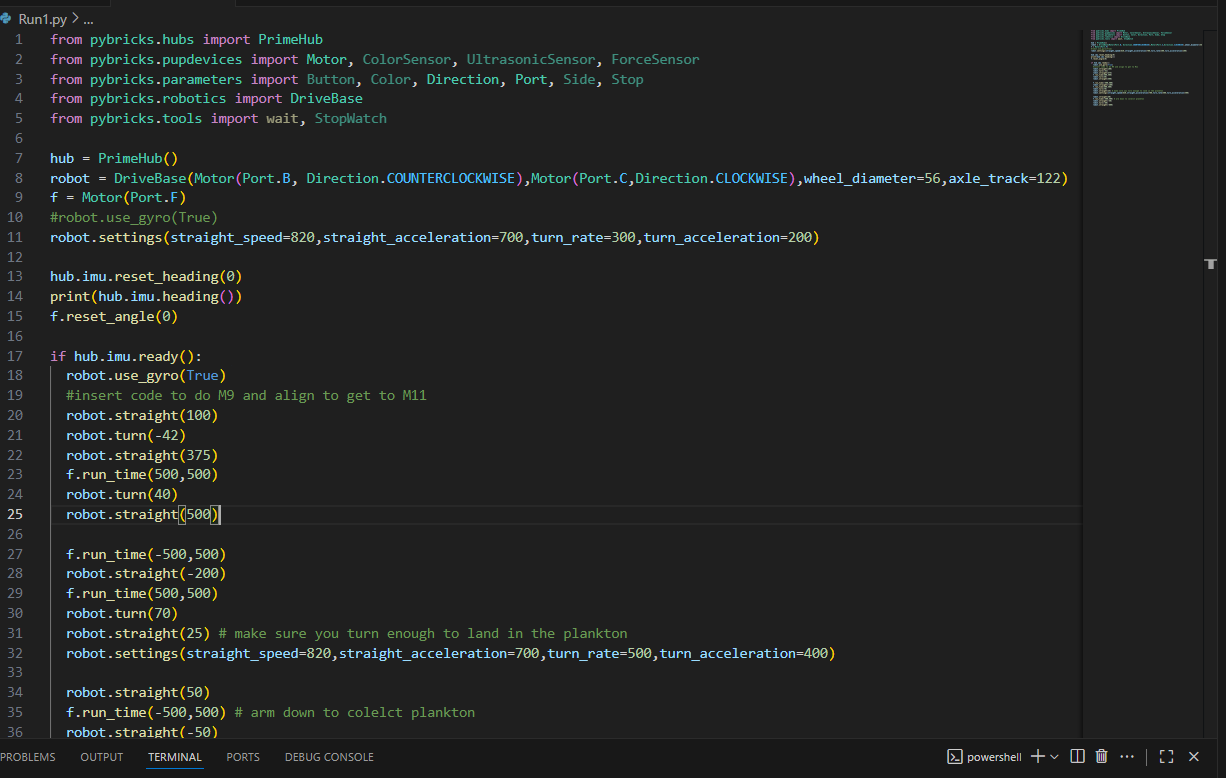
Drive Straight Function
def drive_straight(distance_mm, speed, kp=1.15, kd=0.02):
  robot.reset_gyro()
  robot.reset_encoders()

  while robot.get_distance() < distance_mm:
      error = robot.get_heading()
      correction = (kp * error) + (kd * (error - prev_error))
      left_power = speed - correction
      right_power = speed + correction

      robot.set_motors(left_power, right_power)
      prev_error = error

  robot.stop()
Turn Function
def turn(degrees, speed, kp=1.0):
  robot.reset_gyro()

  while abs(robot.get_heading()) < abs(degrees):
      error = degrees - robot.get_heading()
      power = kp * error

      robot.set_motors(power, -power)

  robot.stop()
Our drive-straight code uses PID-style corrections with optimized values: Kp=1.15 and Kd=0.02. These values emerged from systematic testing across different speeds and distances.
The result is repeatable and reliable performance, even under varying loads and battery levels. We also manage our code using GitHub for collaboration and version control.
Version Control with GitHub
Why We Use GitHub
GitHub allows our team to collaborate on code safely. Each team member can work on different runs or features without overwriting others' work.
We use branches for experimental changes and commits to track our progress. This means if something breaks, we can roll back to a working version.
Benefits for Our Team
- Collaboration: Multiple programmers can work simultaneously
- History: Every change is documented with commit messages
- Backup: Code is safely stored in the cloud
- Testing: We can experiment without breaking working code
- Learning: We review each other's code and learn better practices
GitHub in Action
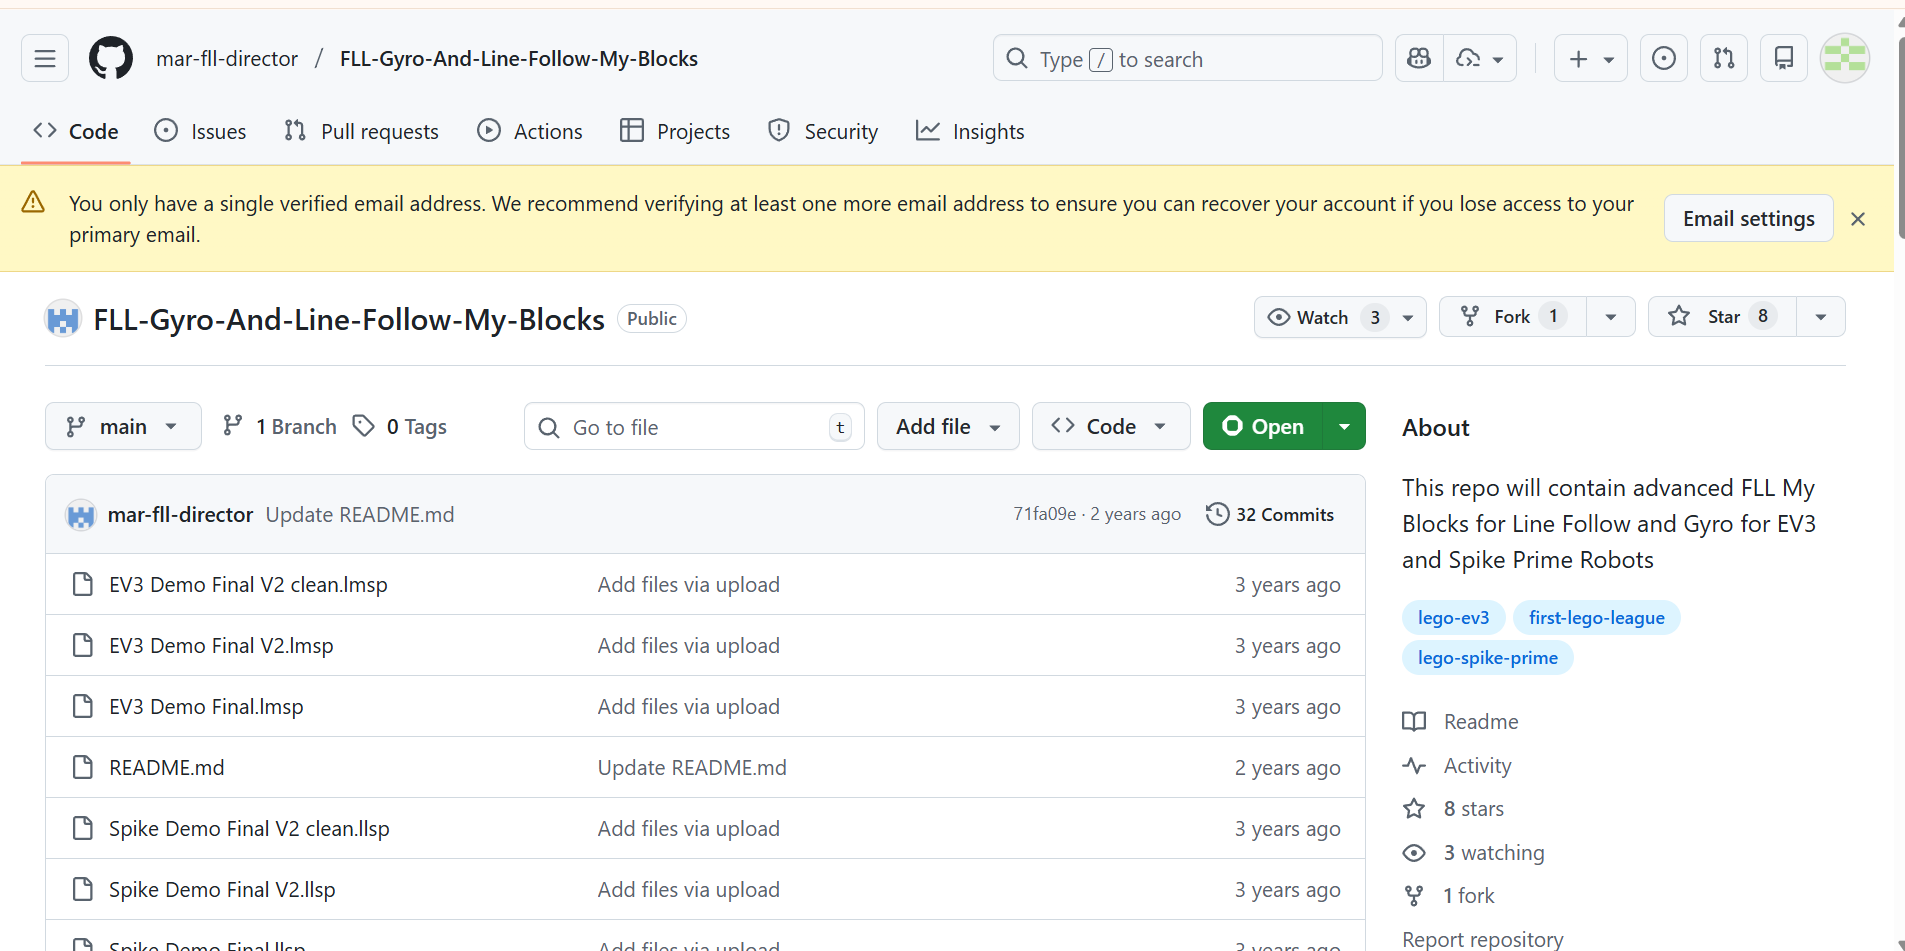
We organize runs, attachments, and PID tuning experiments with clear commit history and pull requests.
Coopertition & Shared Learning
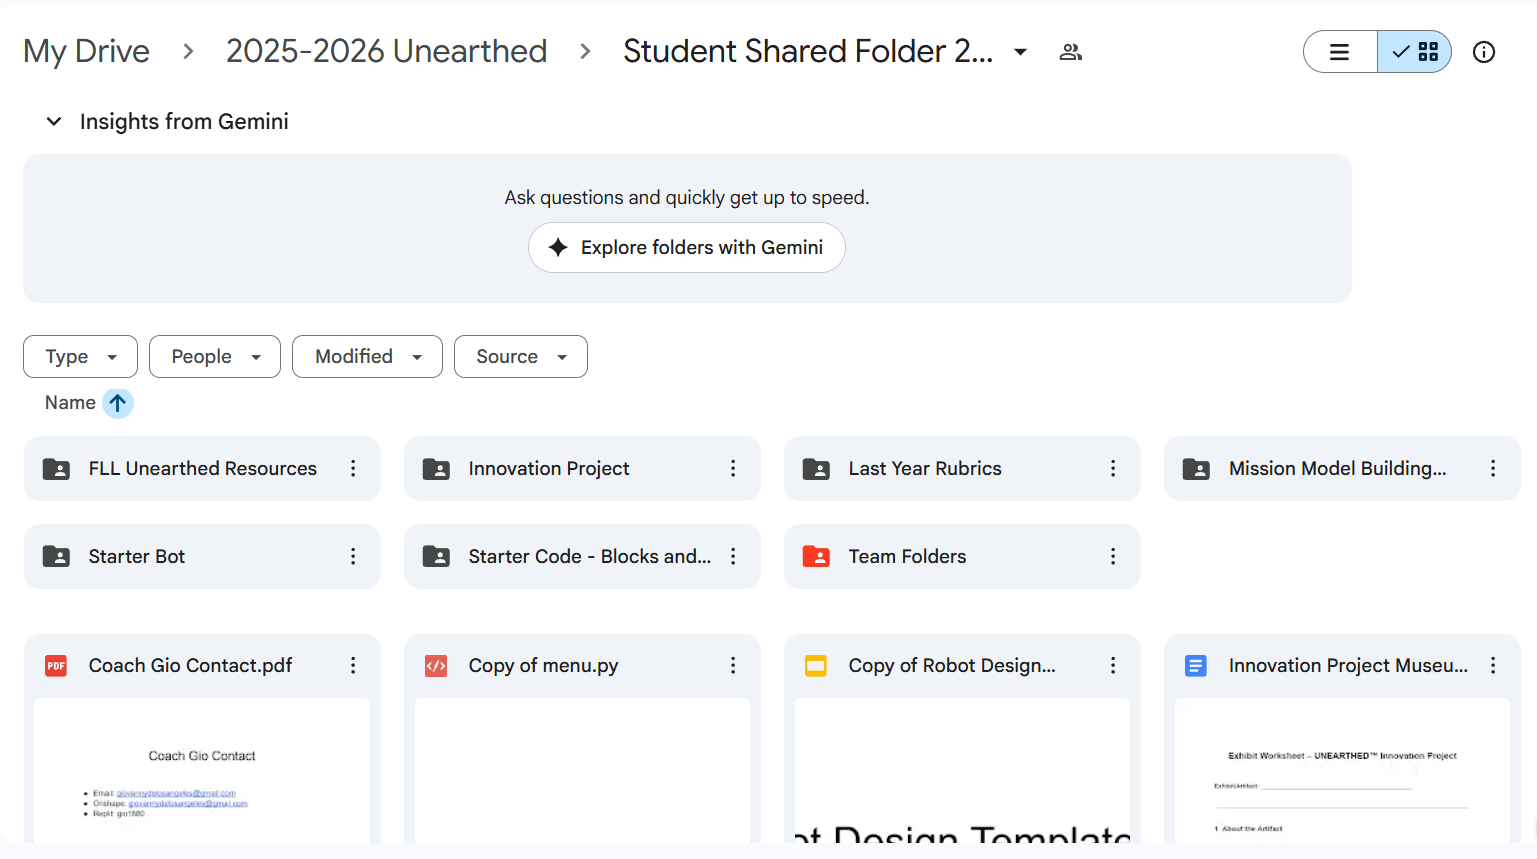
Our coach maintains a shared student folder where teams from Manhattan, Queens, and Hudson Valley upload robot designs, attachments, code, and videos. This resource accelerates learning and collaboration across teams.
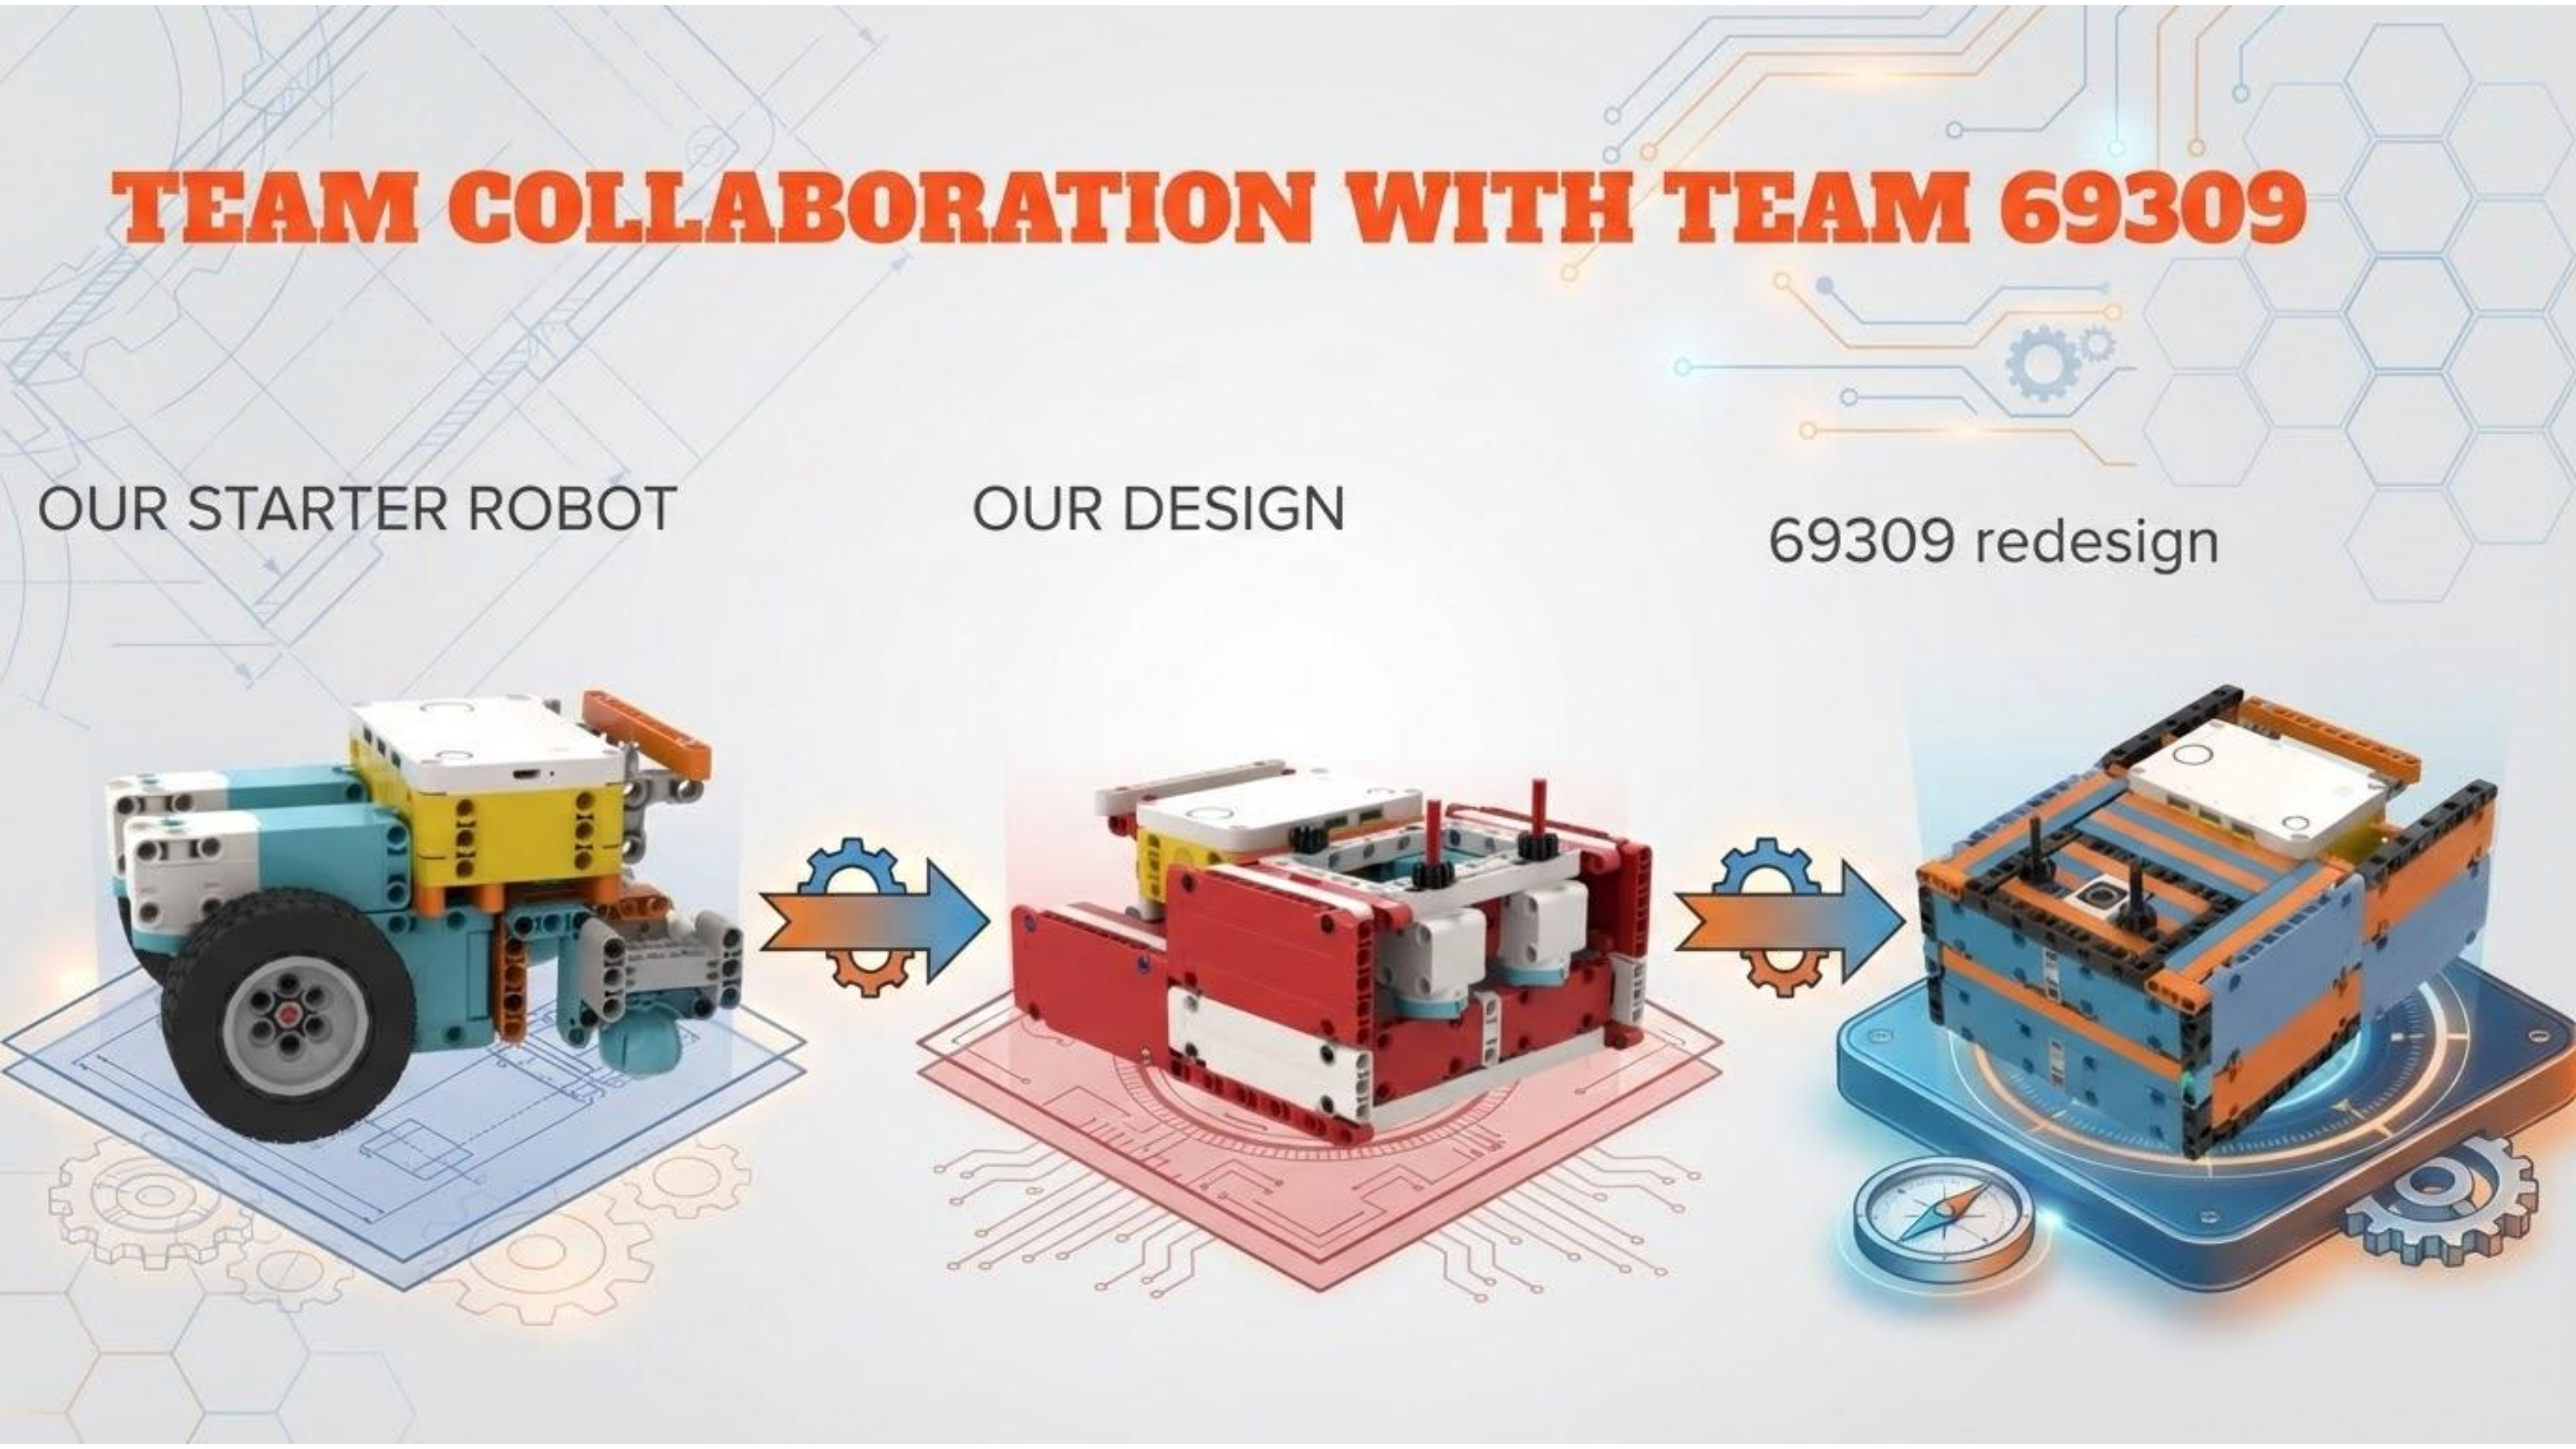
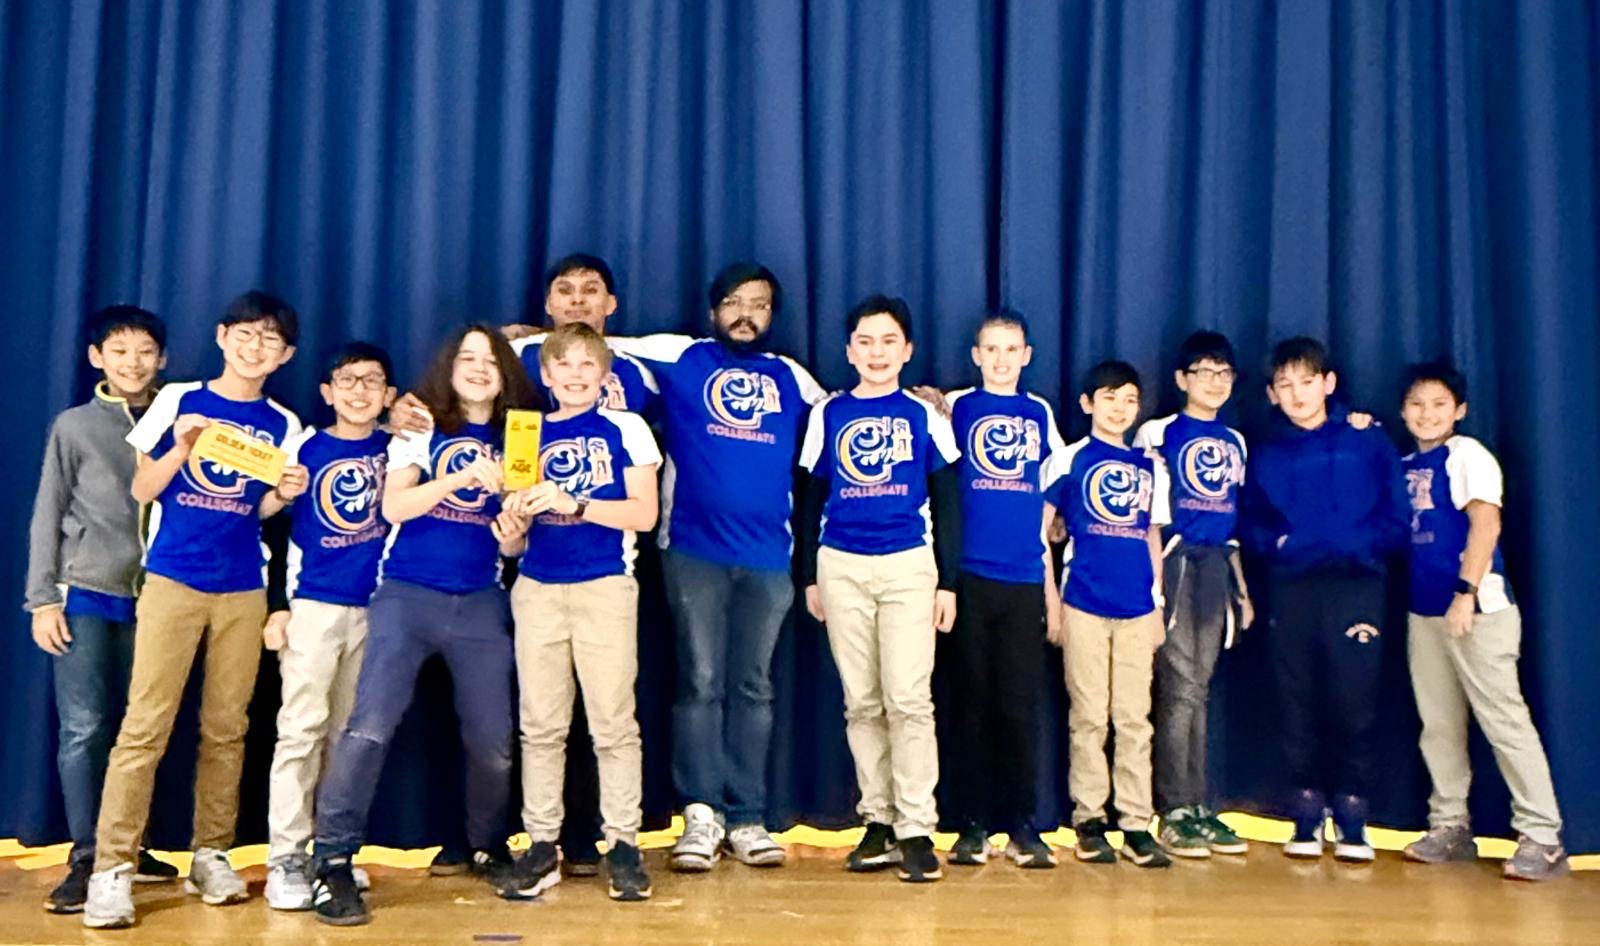
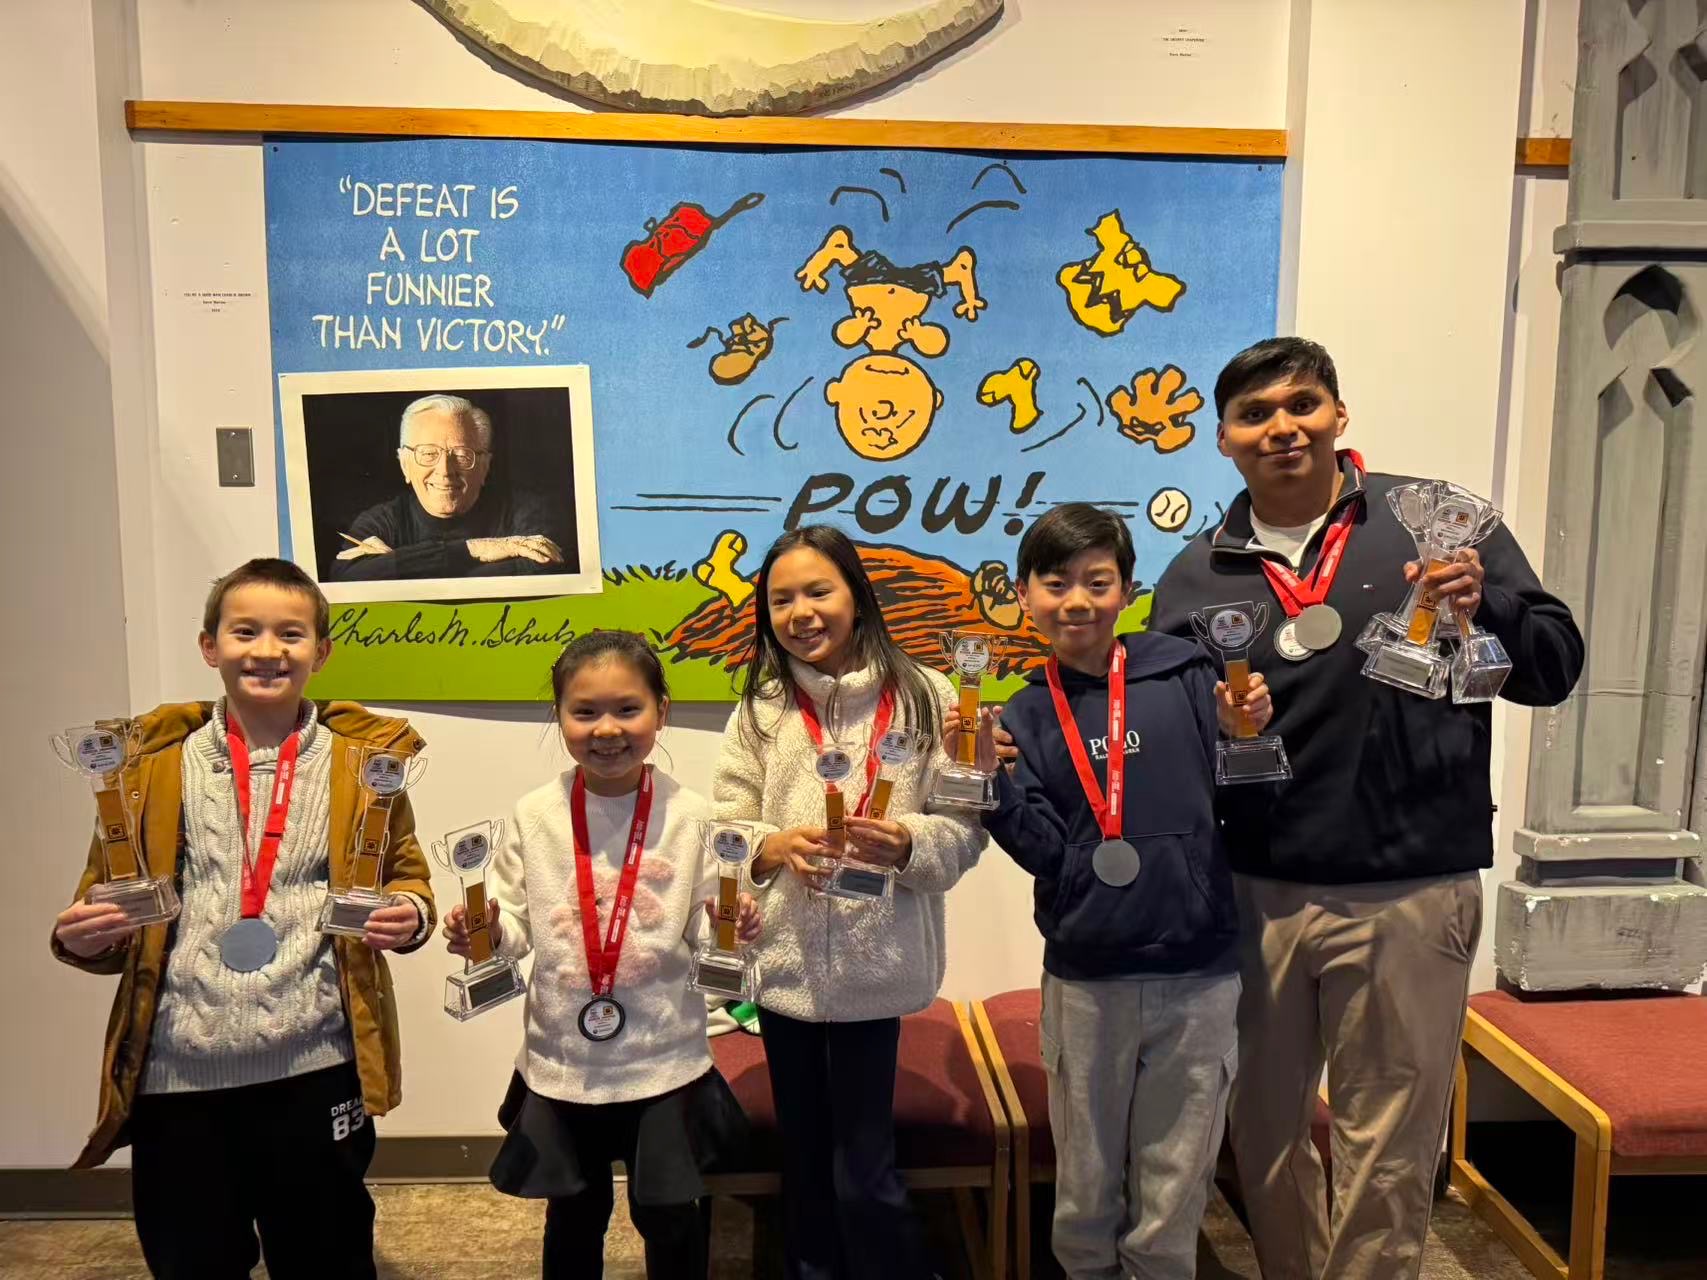
During our redesign, we studied Manhattan Team 69309’s robot and used it as a starting framework. After sharing our redesign, they later improved their robot using our ideas. This back-and-forth demonstrates true coopertition—learning from and contributing to the community.
Shout-out to Team 69309! Below are championship photos celebrating our shared spirit.
Summary & Reflection
Our robot reflects a complete design cycle: identifying problems, brainstorming, testing, and iterating. By combining strong mechanical design, precise programming, and effective teamwork, we built a robot that is reliable, efficient, and repeatable.
This process allowed us to overcome challenges from last year, improve our drive-straight performance, and consistently complete more missions during competition.